Step-by-step tutorial
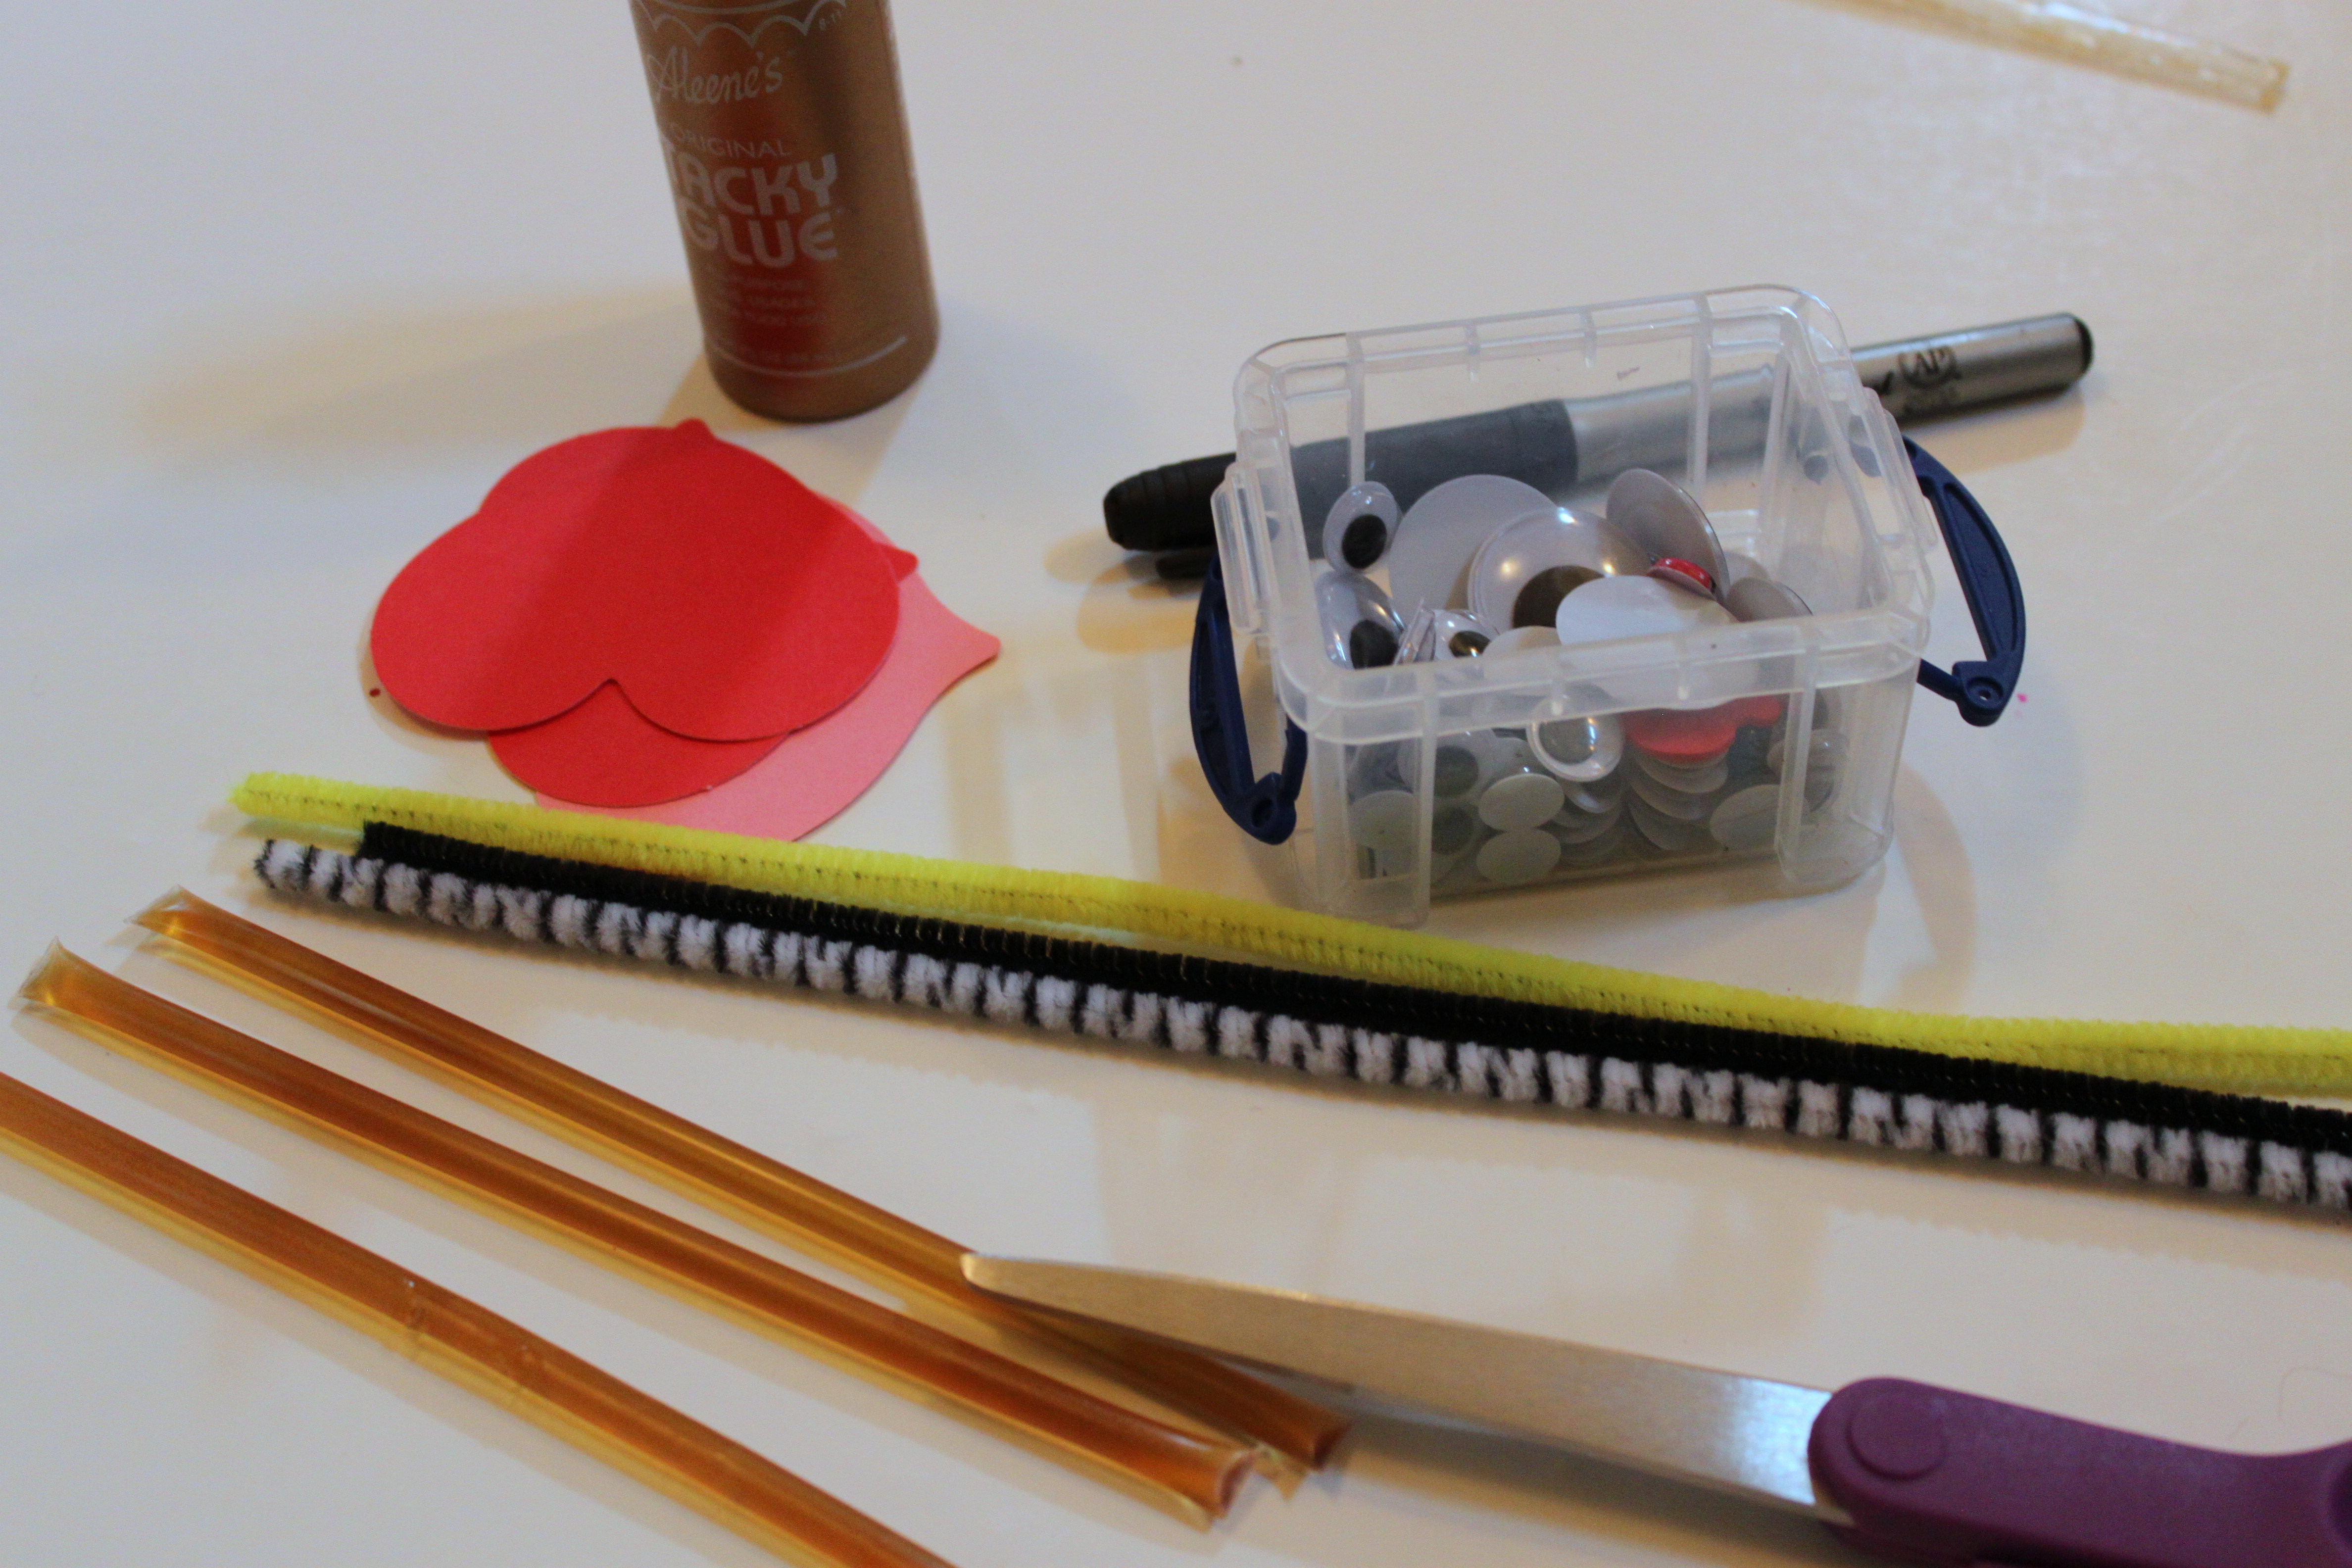
Step 1
Once you take a trip to the local farmers' market for some natural sweetness, you can gather your other materials. You will need googly eyes, glue, pipe cleaners (1 yellow, 1 black, and a half of another color of your choice for wings), heart cut out, and tape.

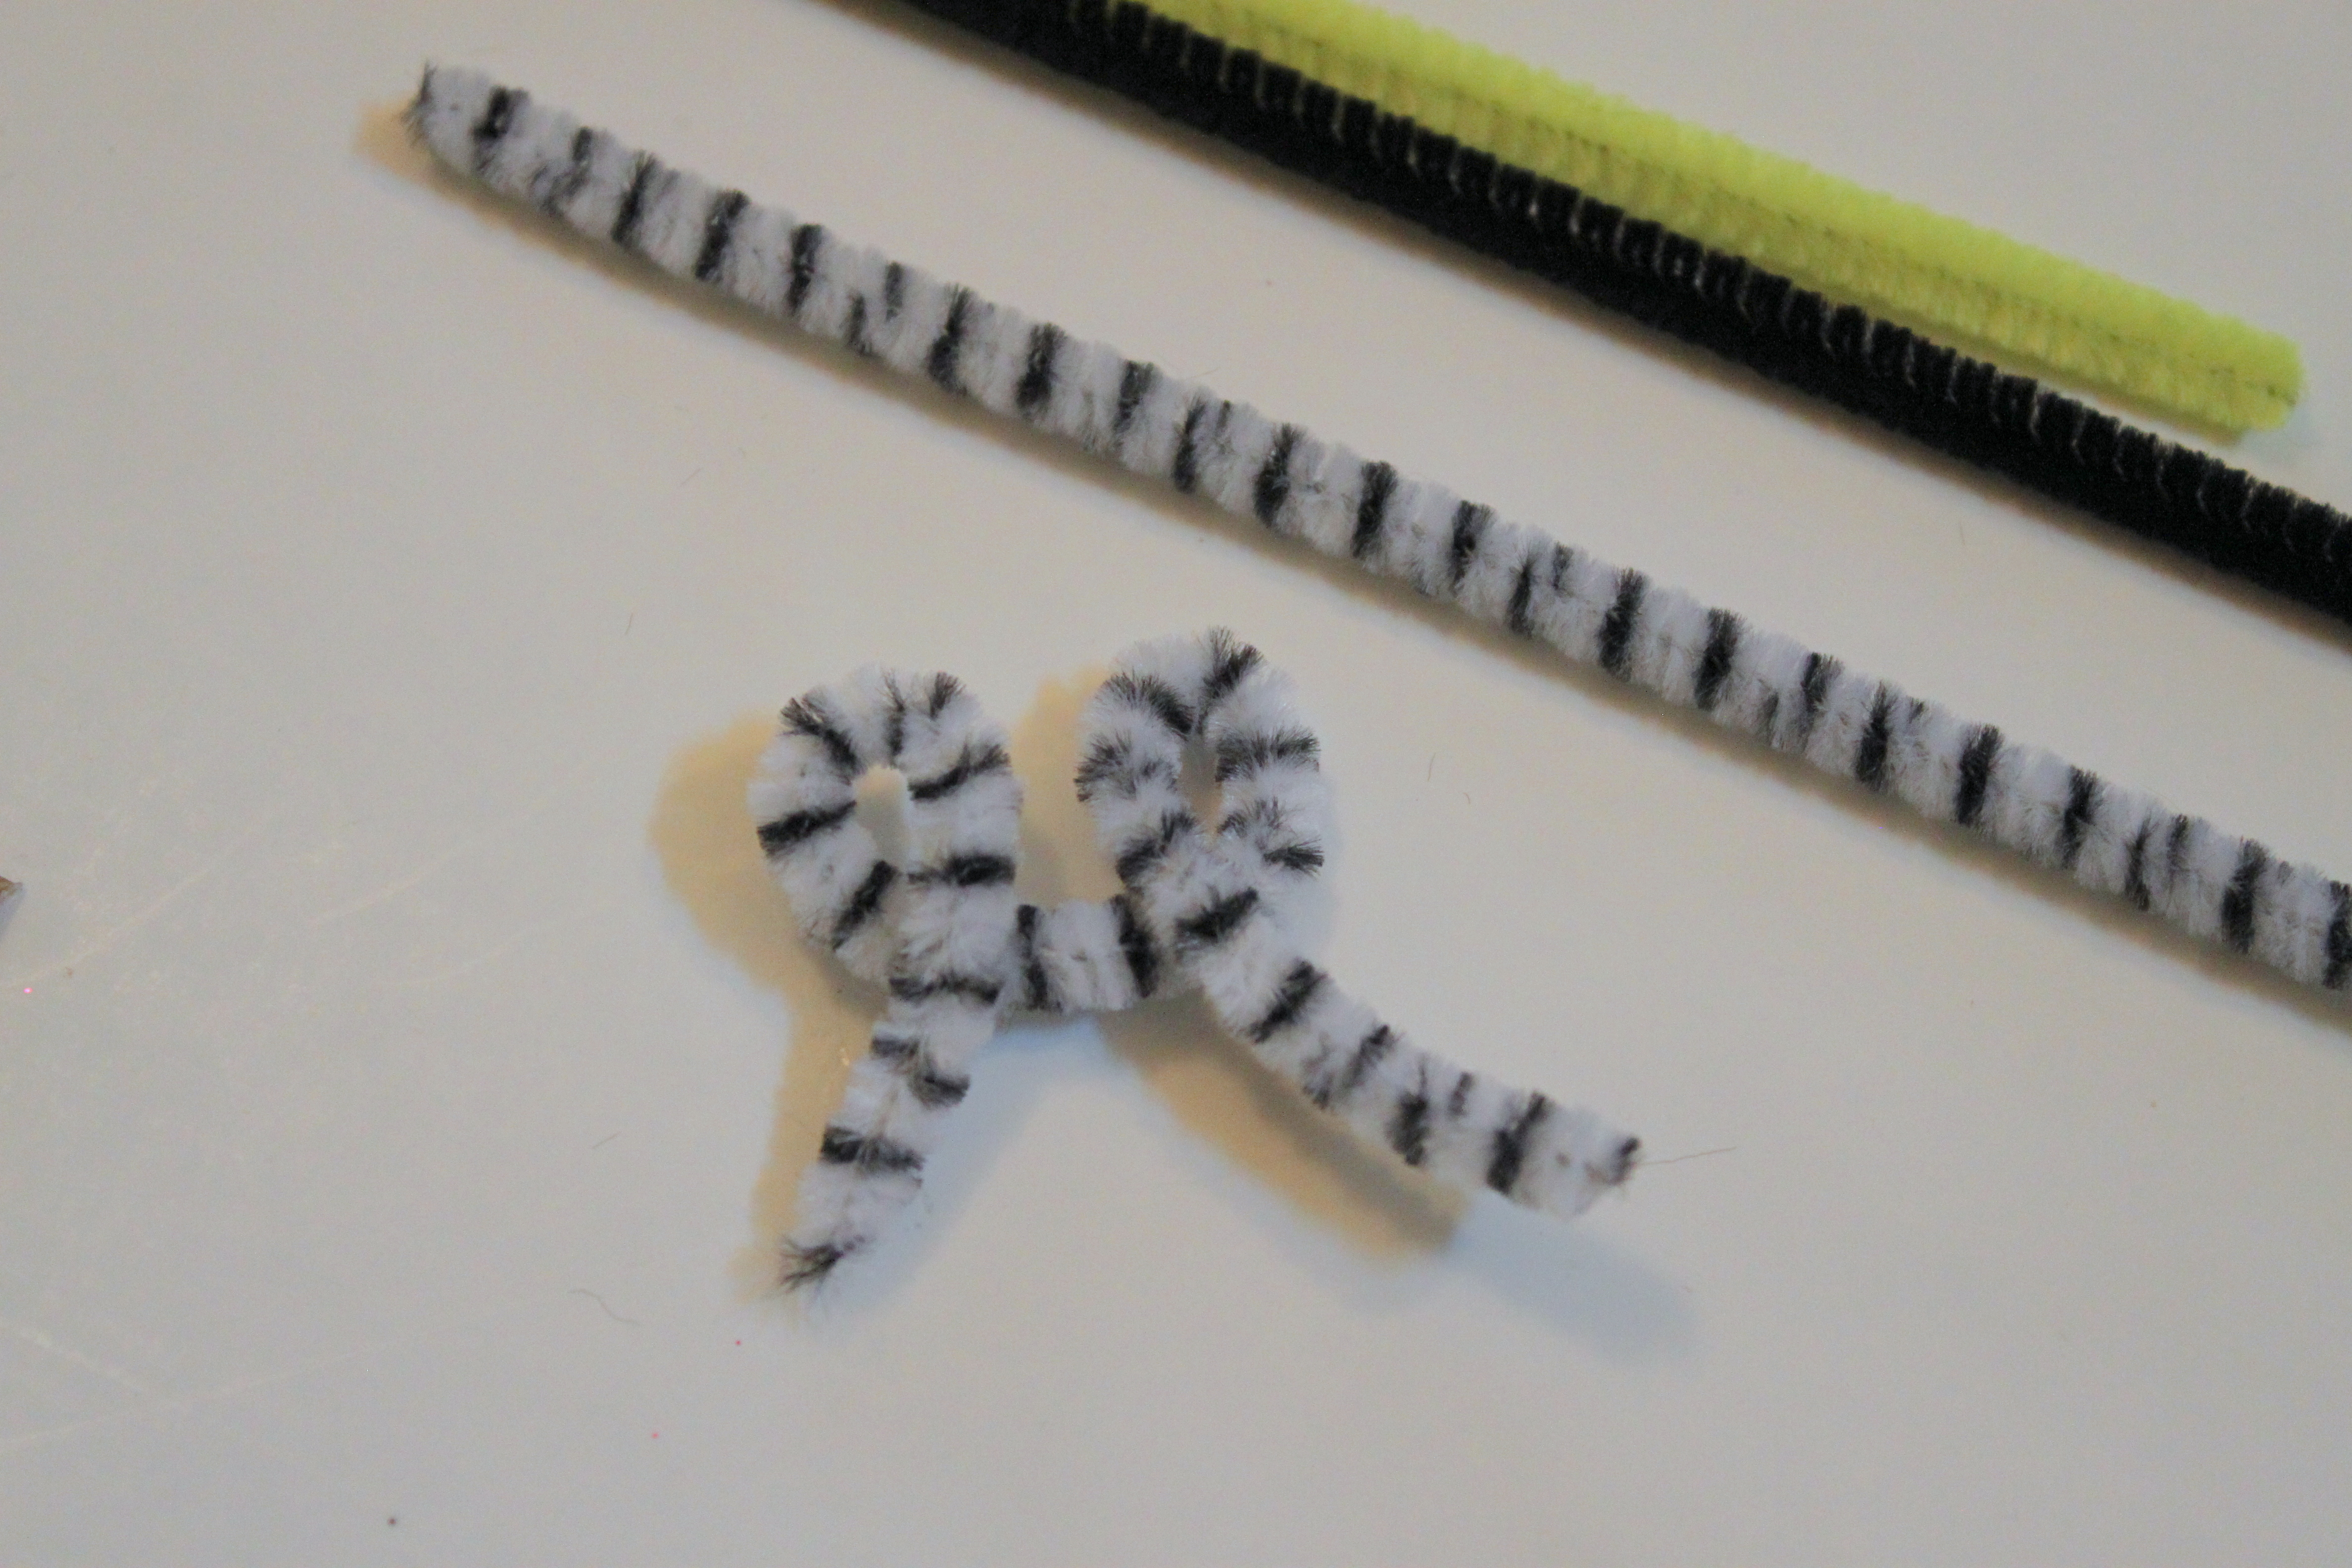
Step 2
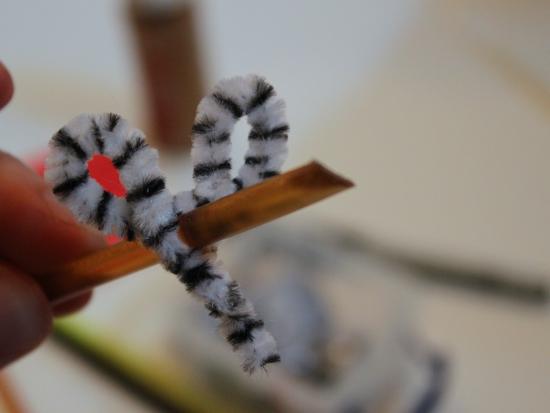
First, use the half pipe cleaner to shape two loops for wings.
Step 3
Next, attach the wings right onto the honey stick. My daughter needed some help with this step.
Step 4
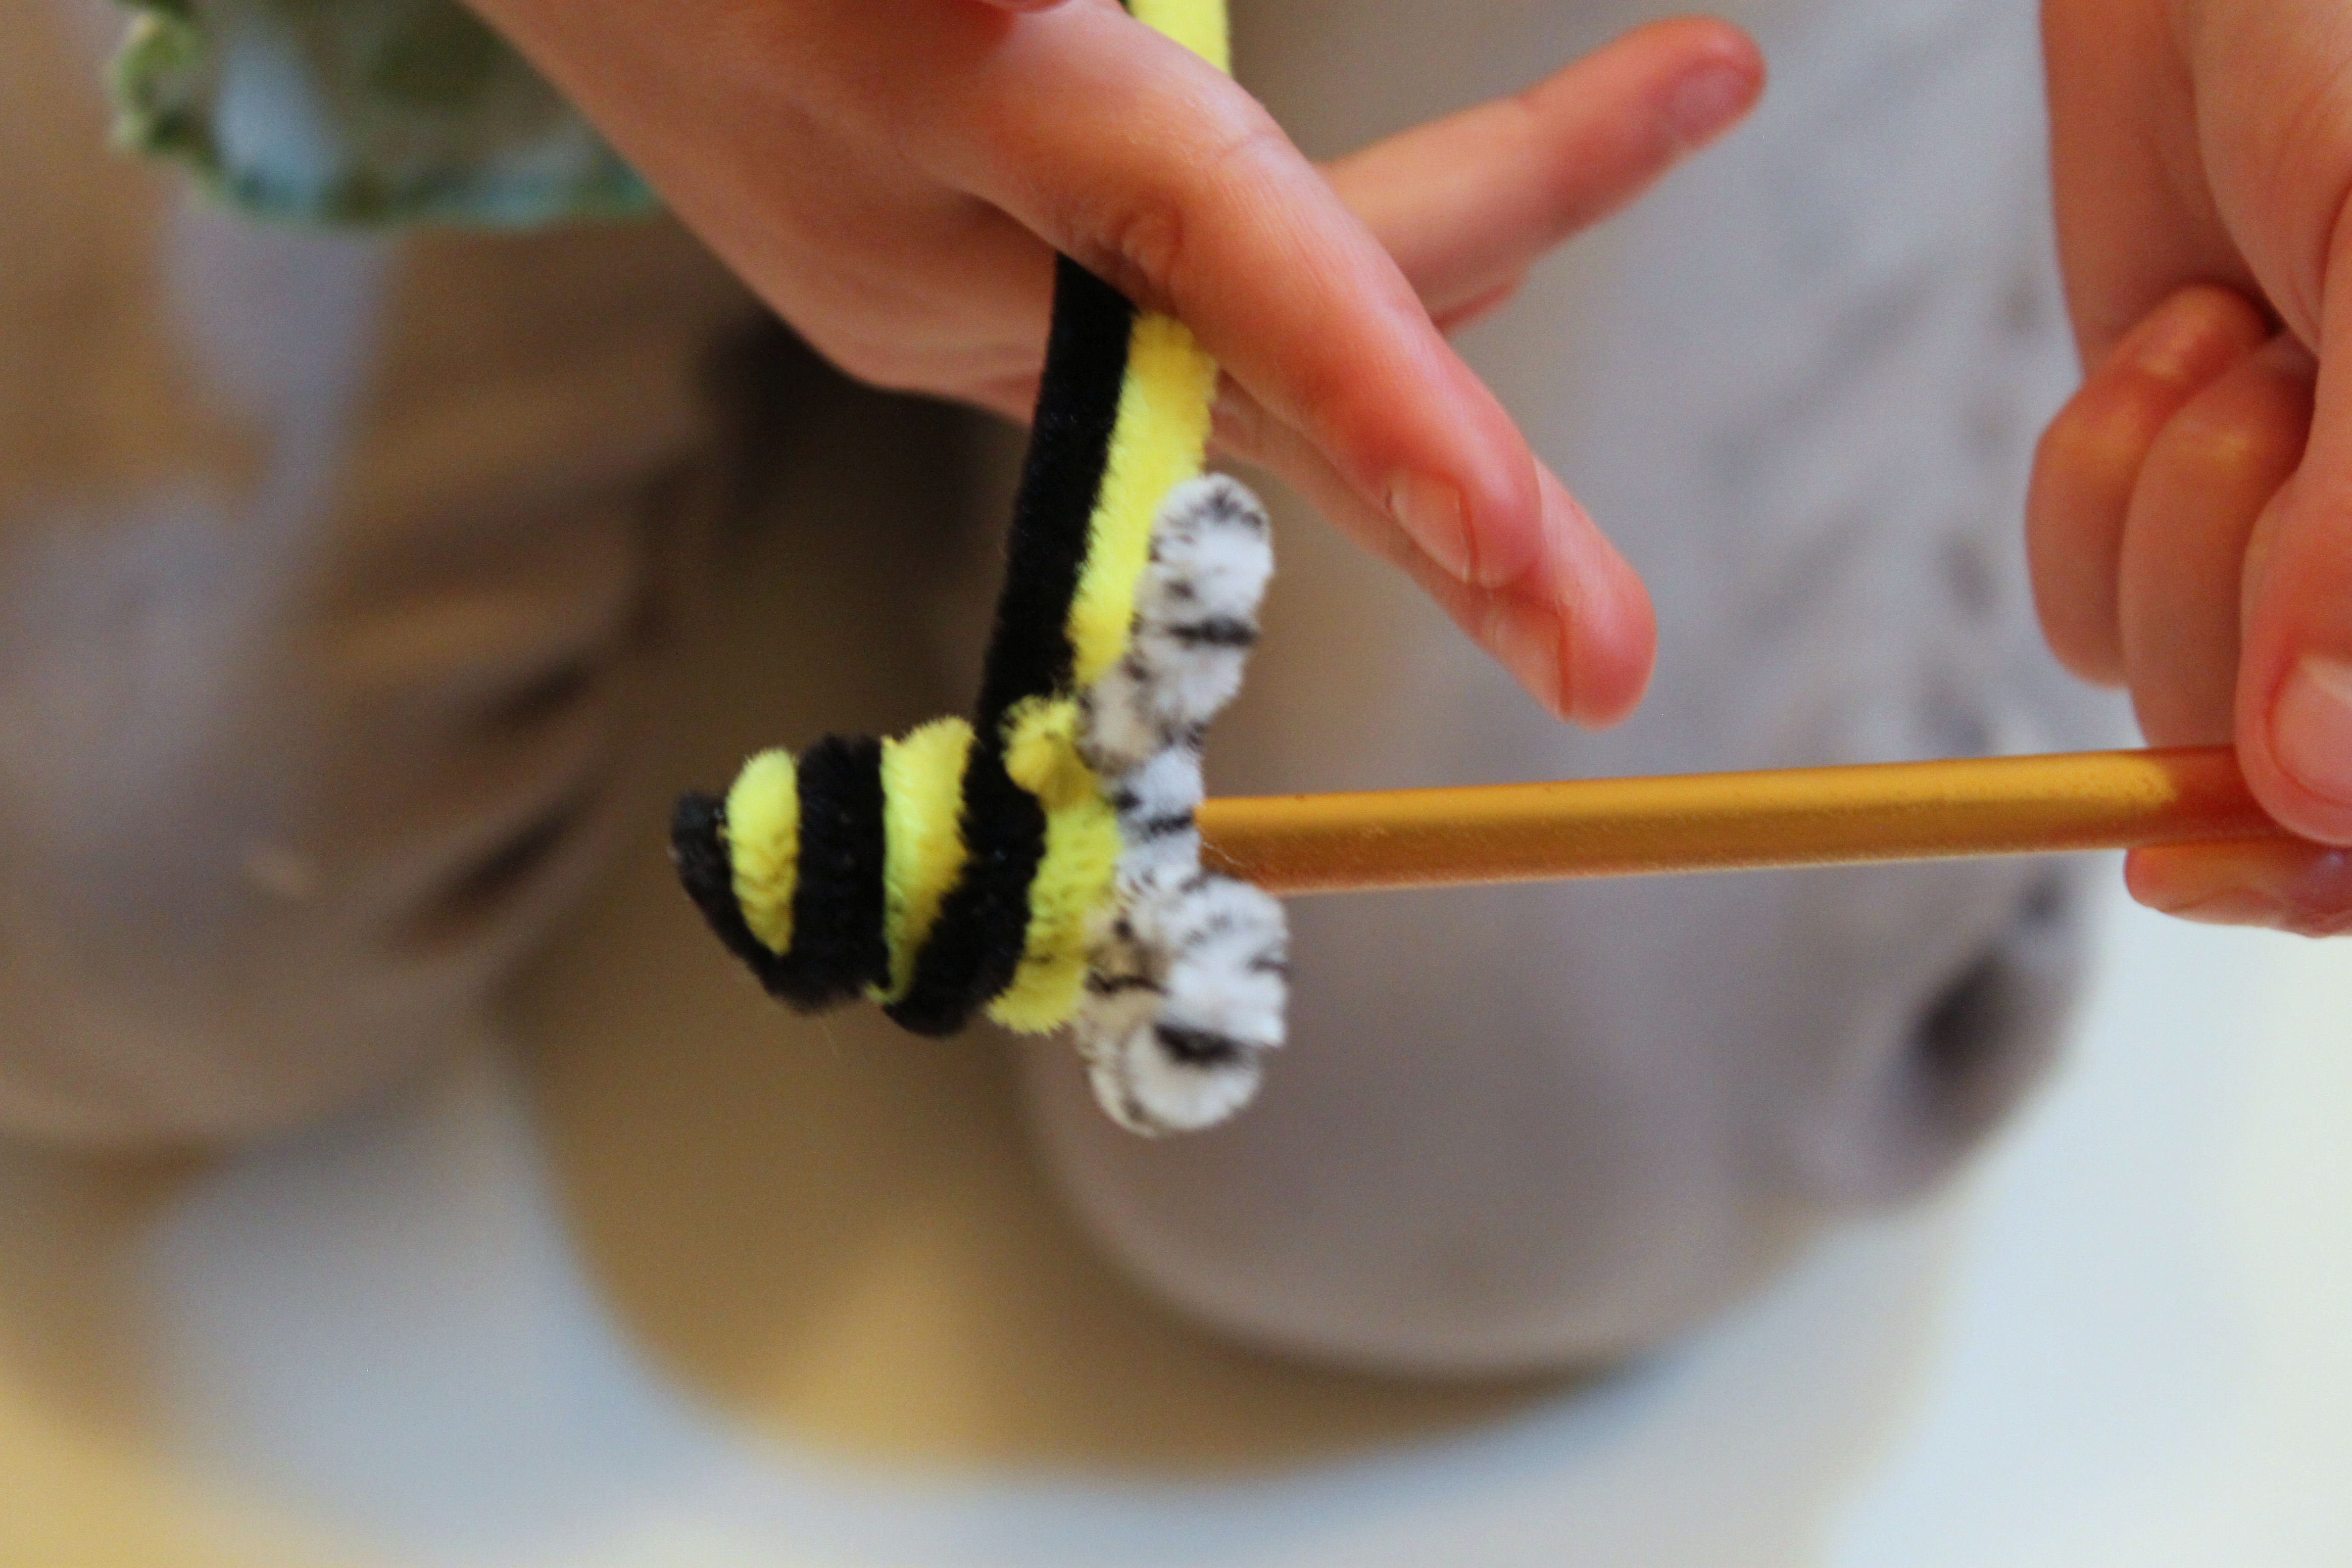
Once your wings are on, you can start wrapping the black and yellow pipe cleaners at the same time. (This will secure the wings in place more too.) After I started this step, I handed it off to Emma and she had a lot of fun creating the bee body. She was a little disappointed that there was no stinger. (I have no idea why, but I guess she really appreciates a good bee stinger)
Step 5
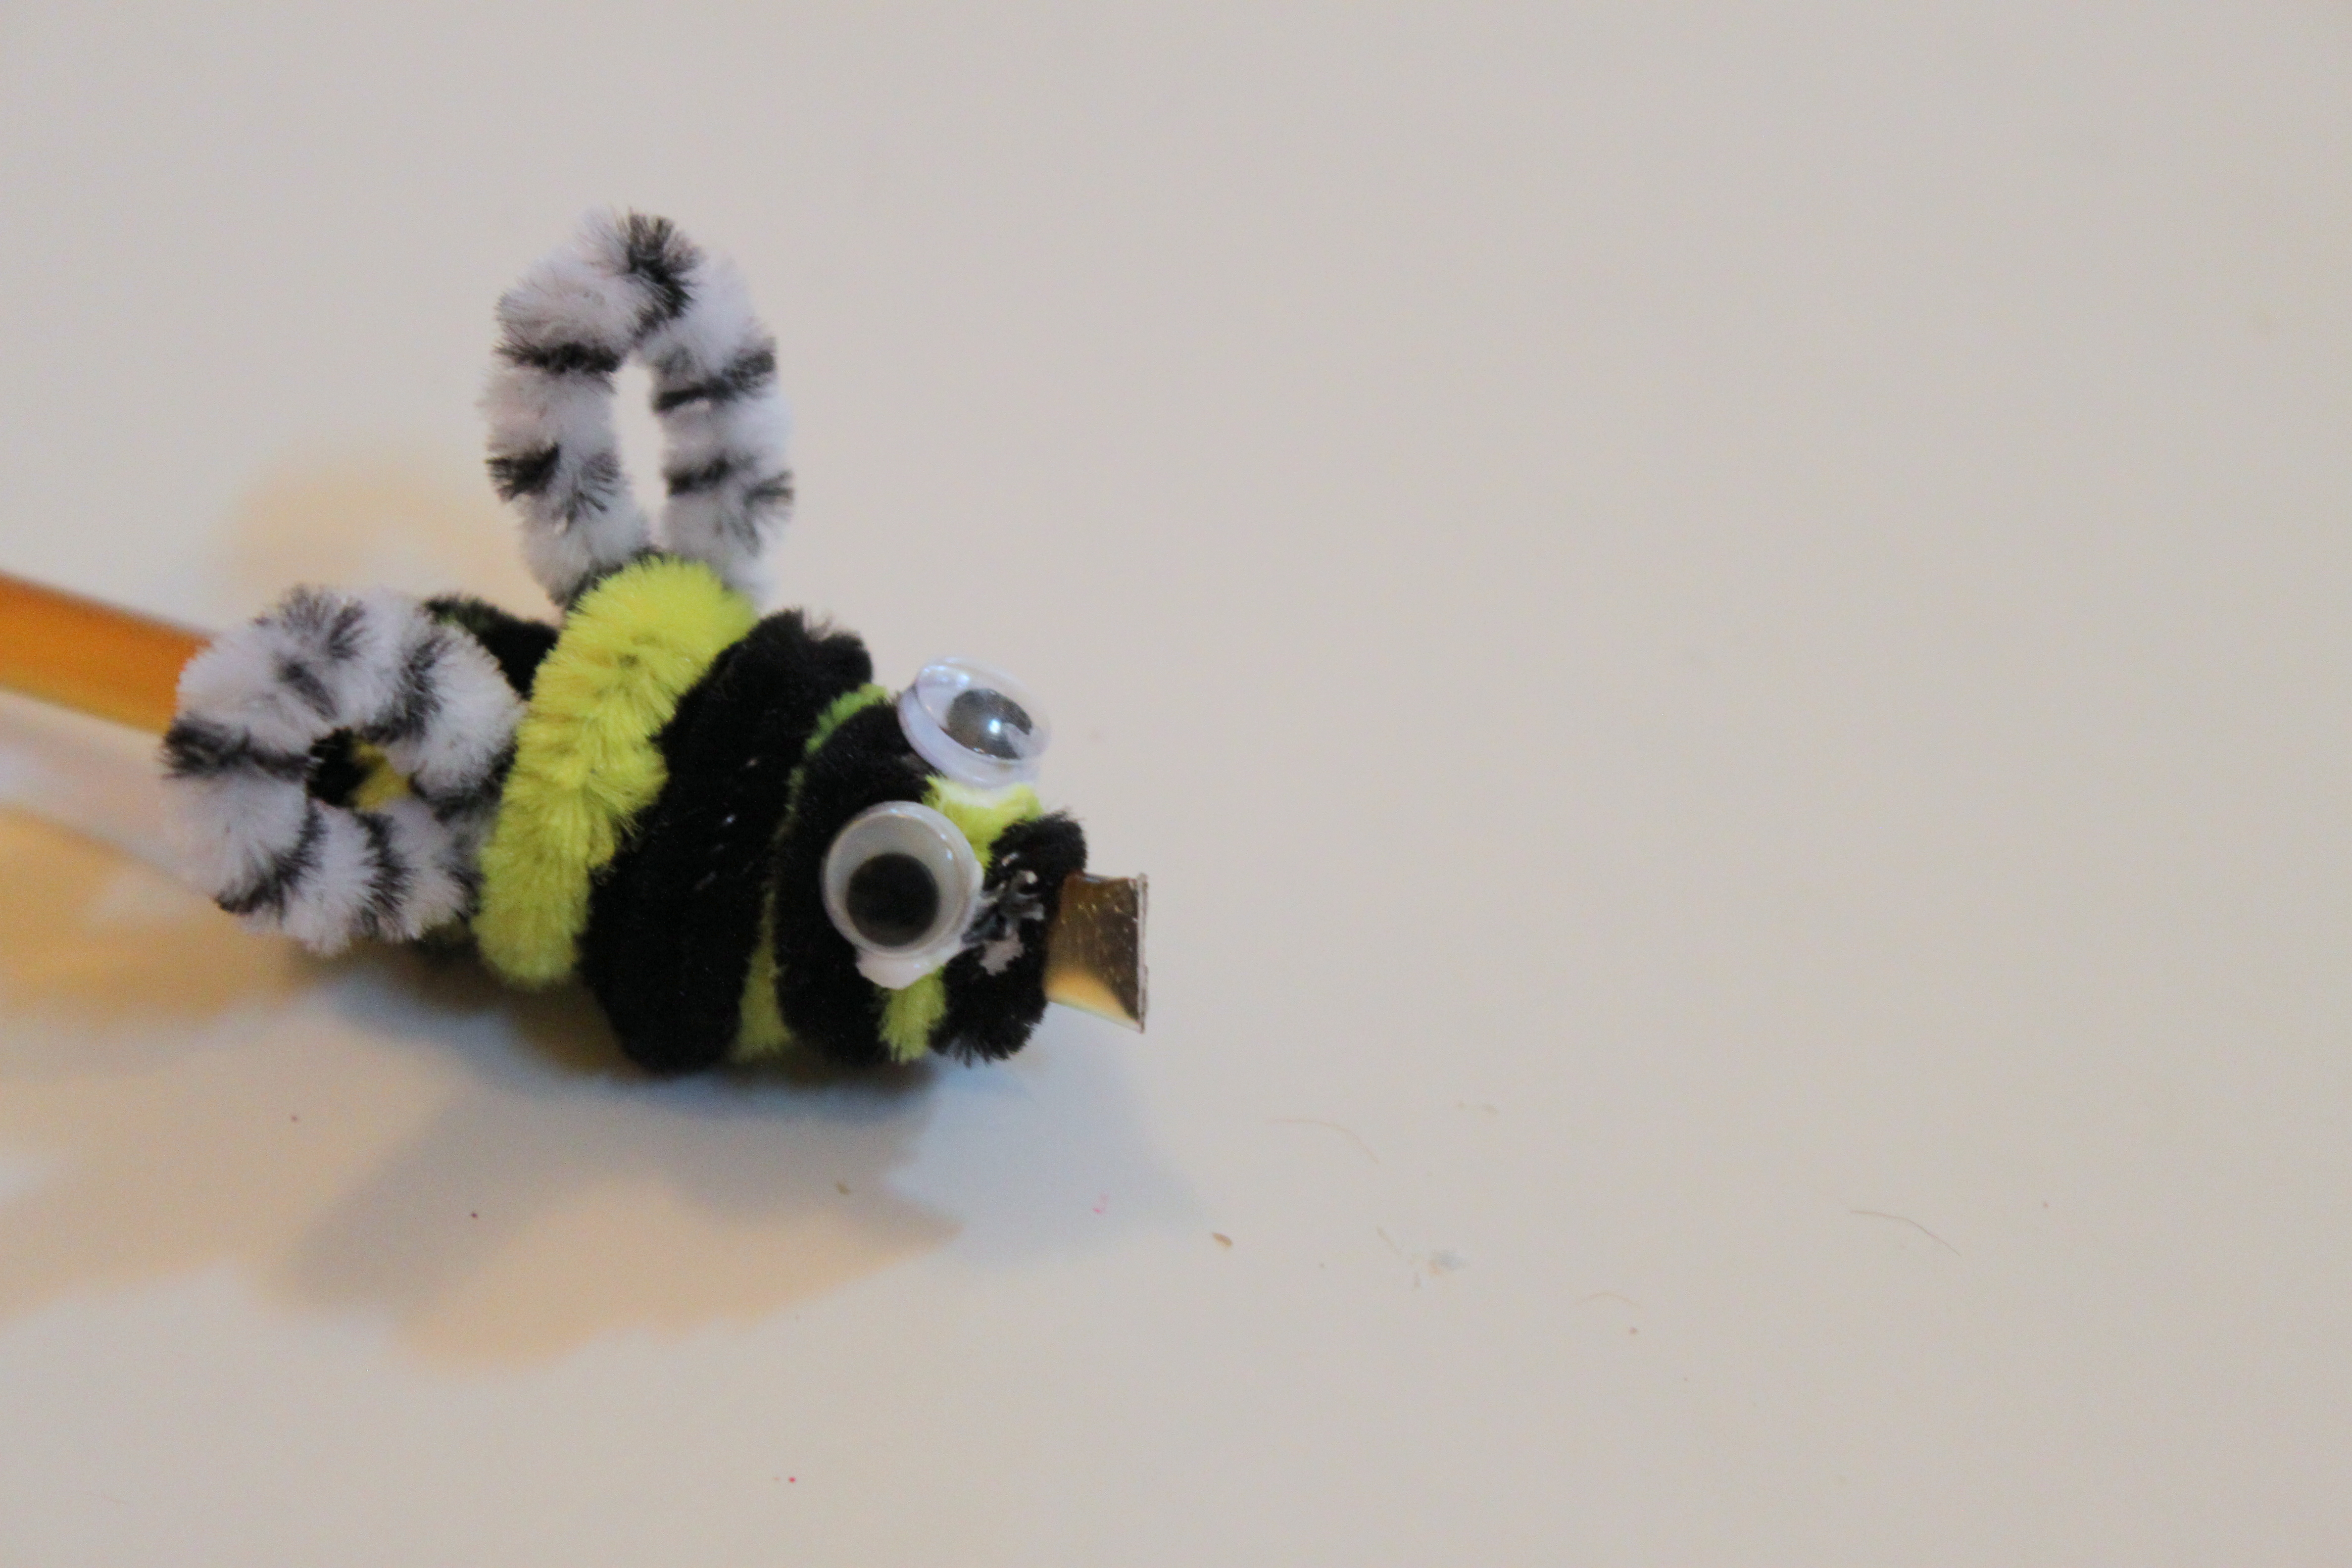
After the pipe cleaner is wrapped around the stick, add on the googly eyes with a dab of glue.
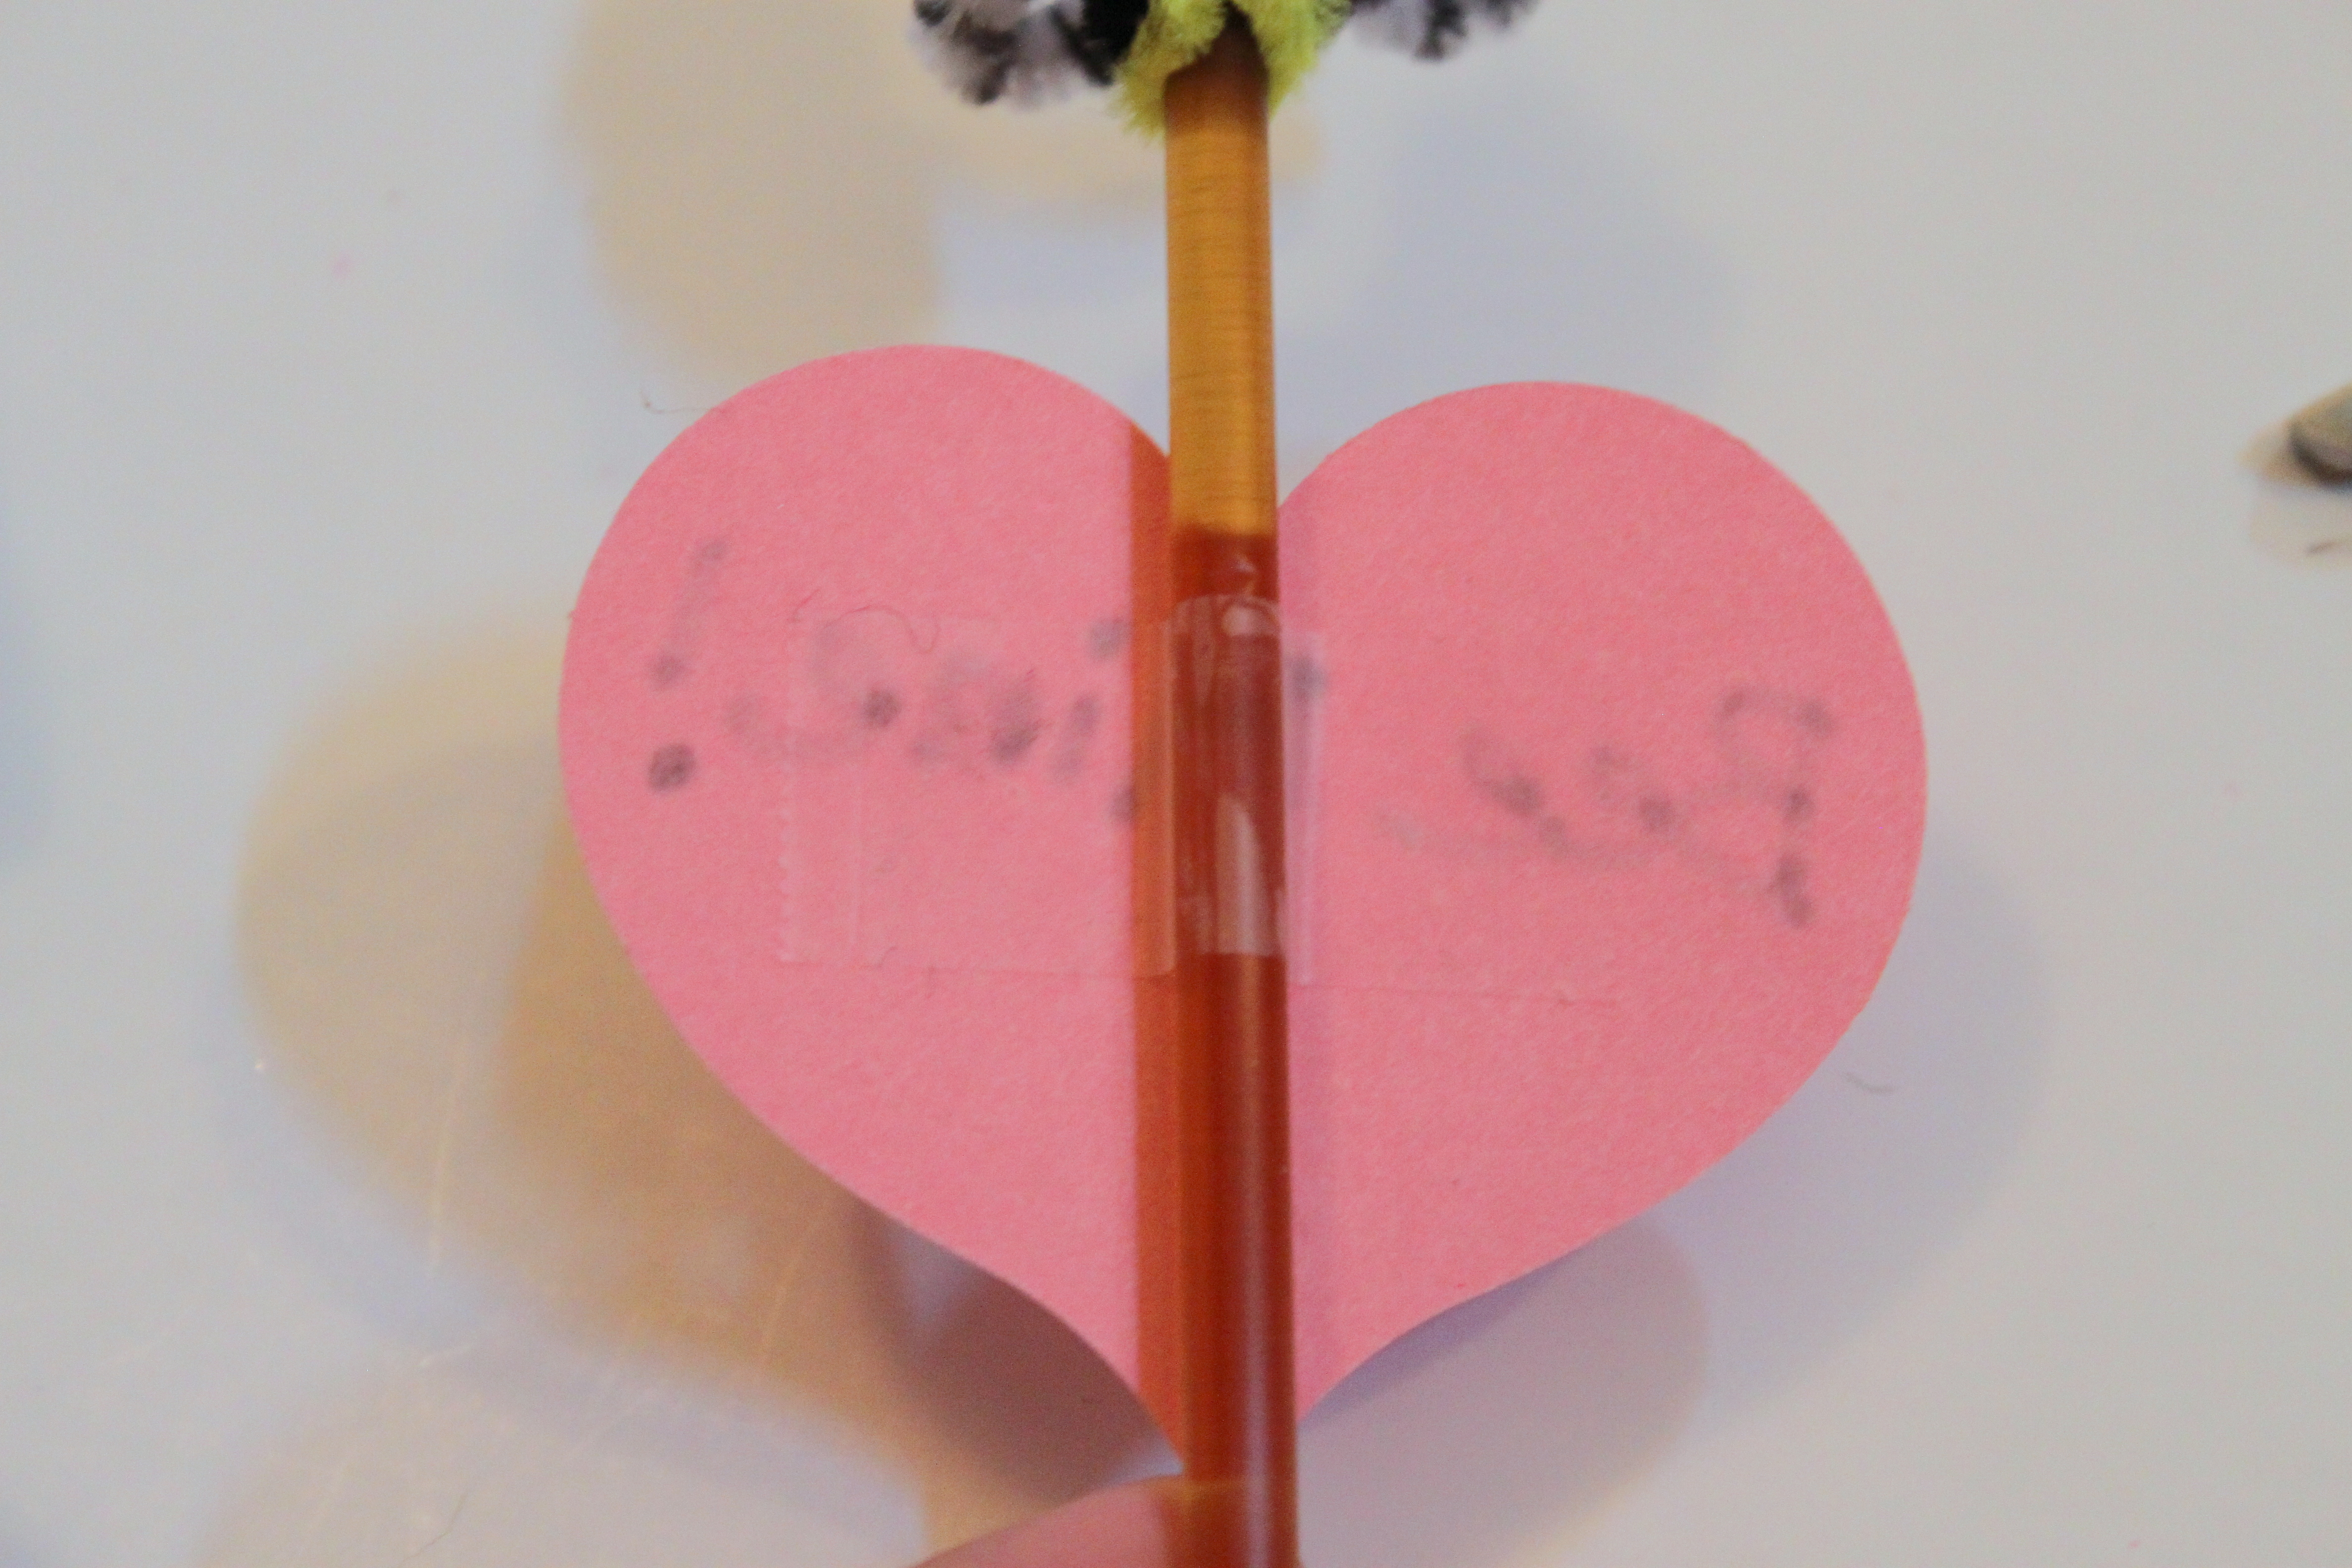
Step 6
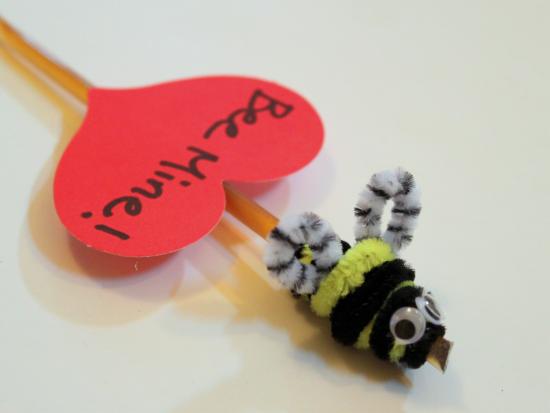
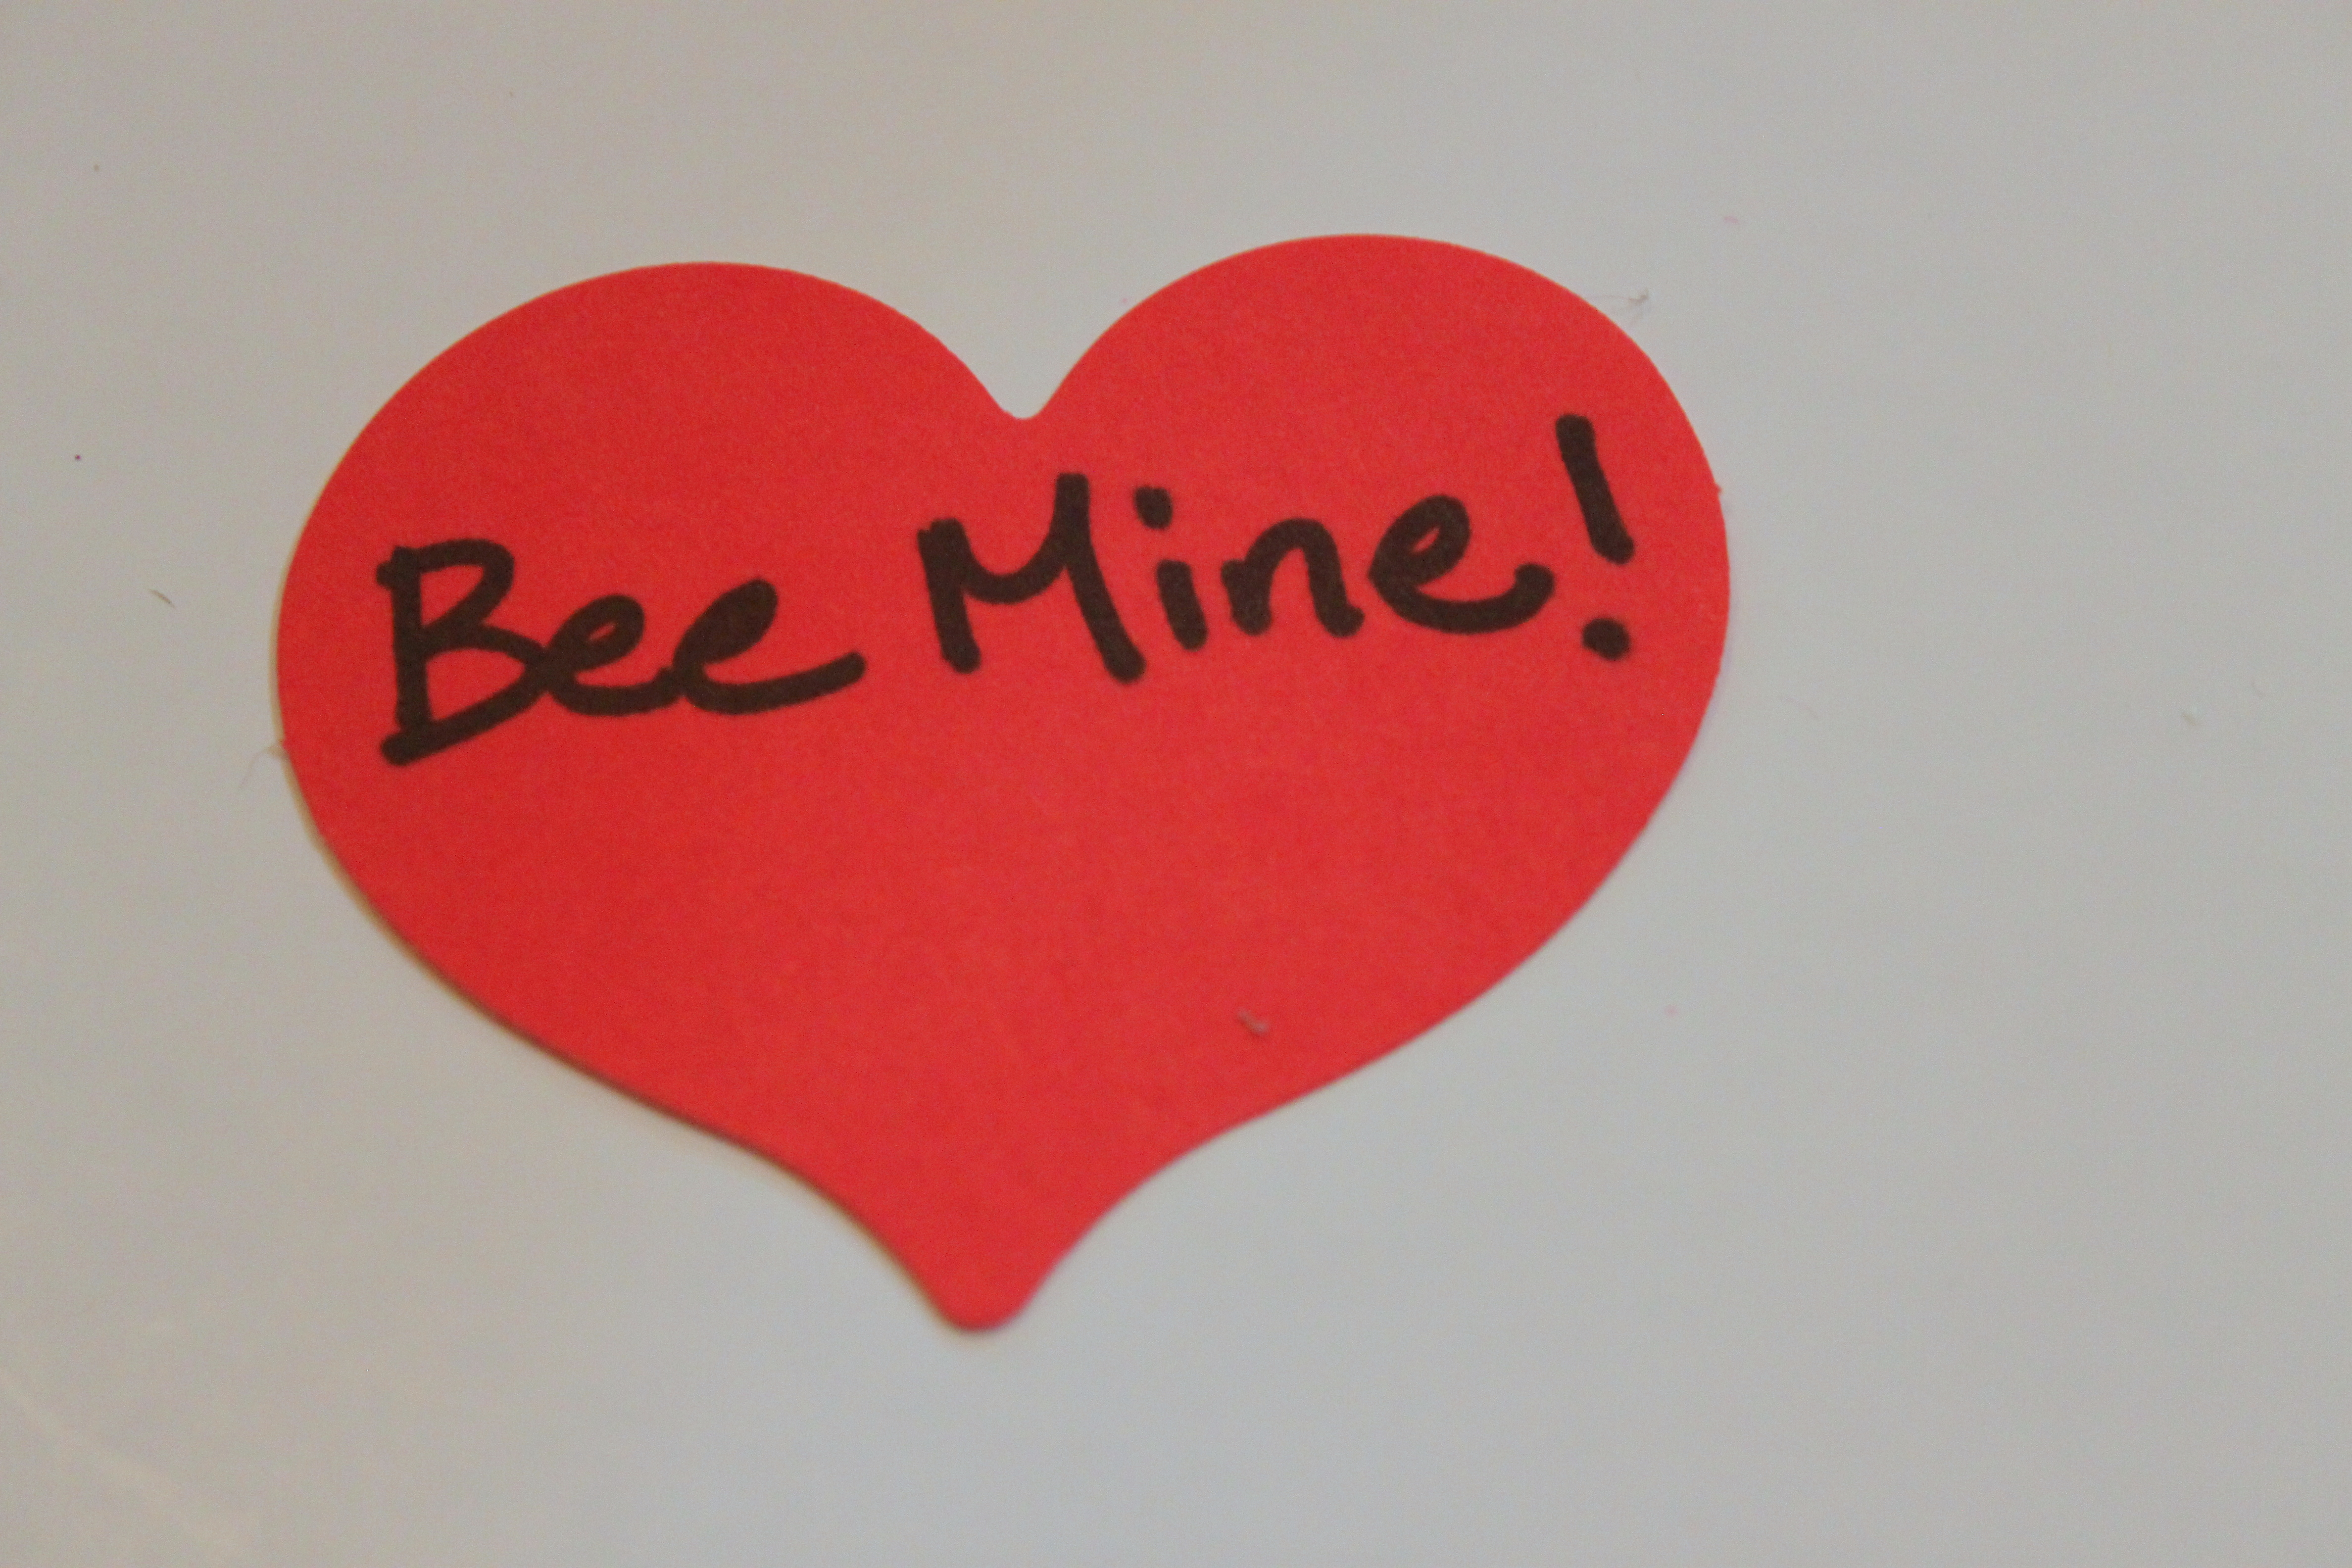
Bee mine! We used some heart cut-out for this, but construction paper would work like a charm as well. Emma personalized these tags for her friends.
Final result!
We used some tape to stick on the heart cut outs--then we were all set! Aren't homemade valentines fantastic?!