Step-by-step tutorial
Step 1
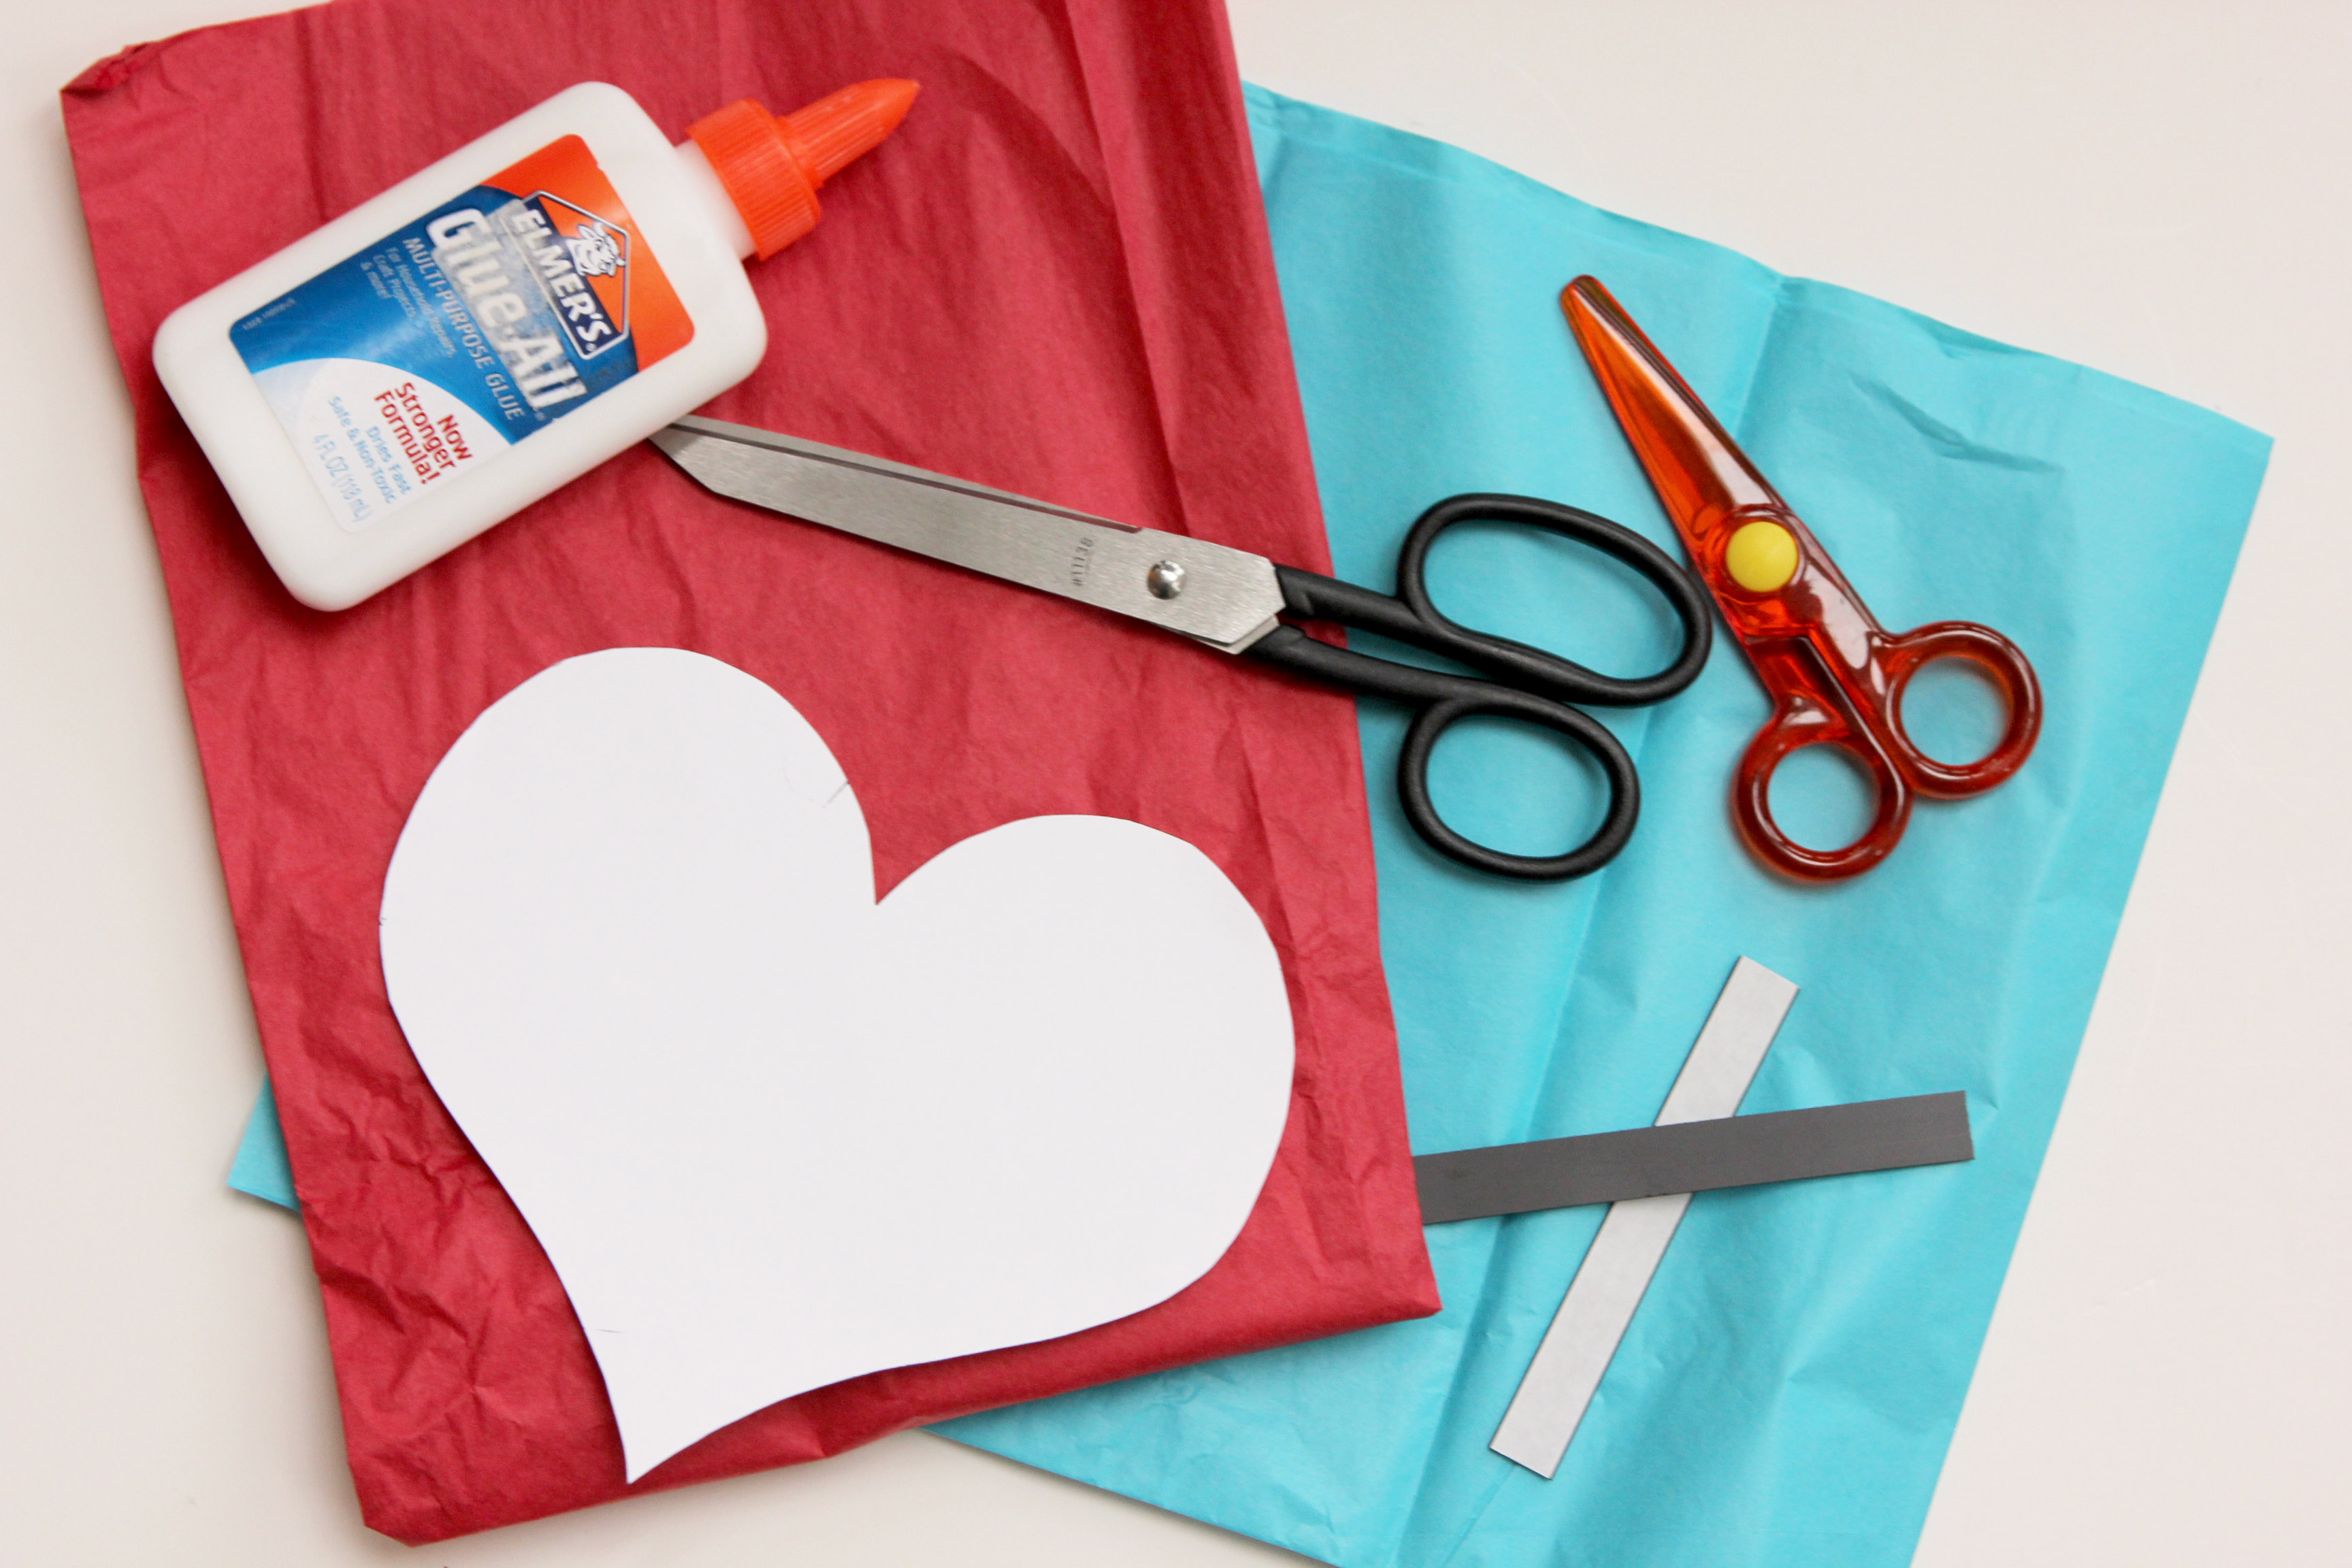
Start by gathering your supplies. We used both kid scissors and adult scissors in this activity, because we both did some cutting.

Step 2
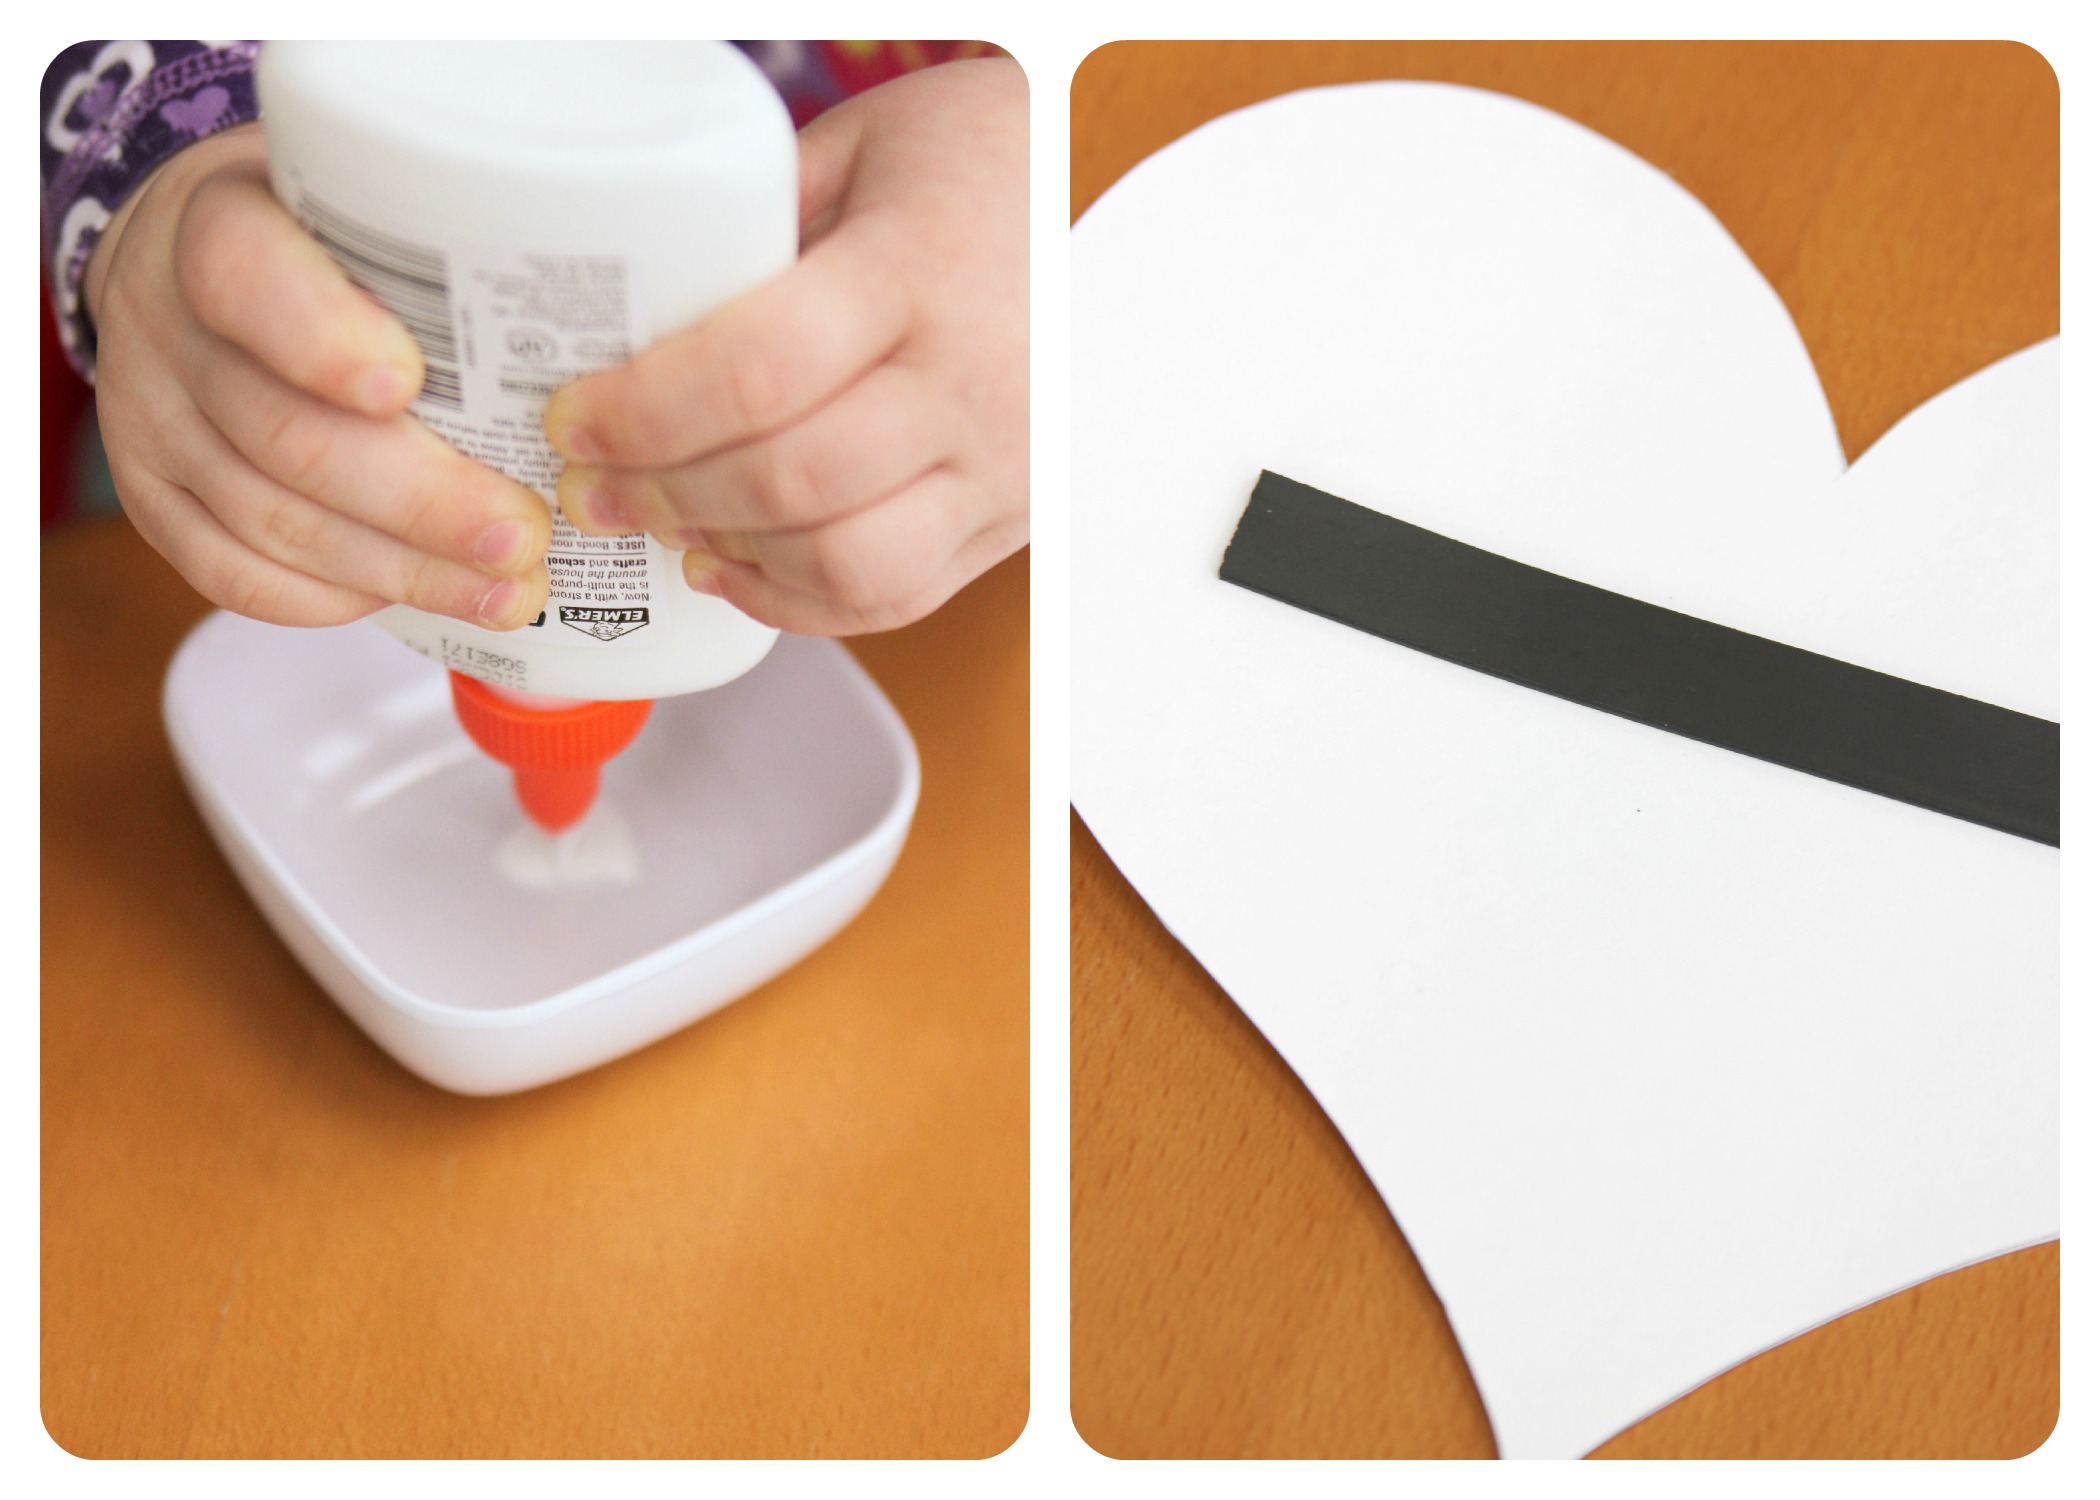
Have your child squirt the glue into a small dish (V LOVES this part). Next, remove the paper from the magnet strip, exposing the sticky back, and place it on the backside of the heart cut out.
Step 3
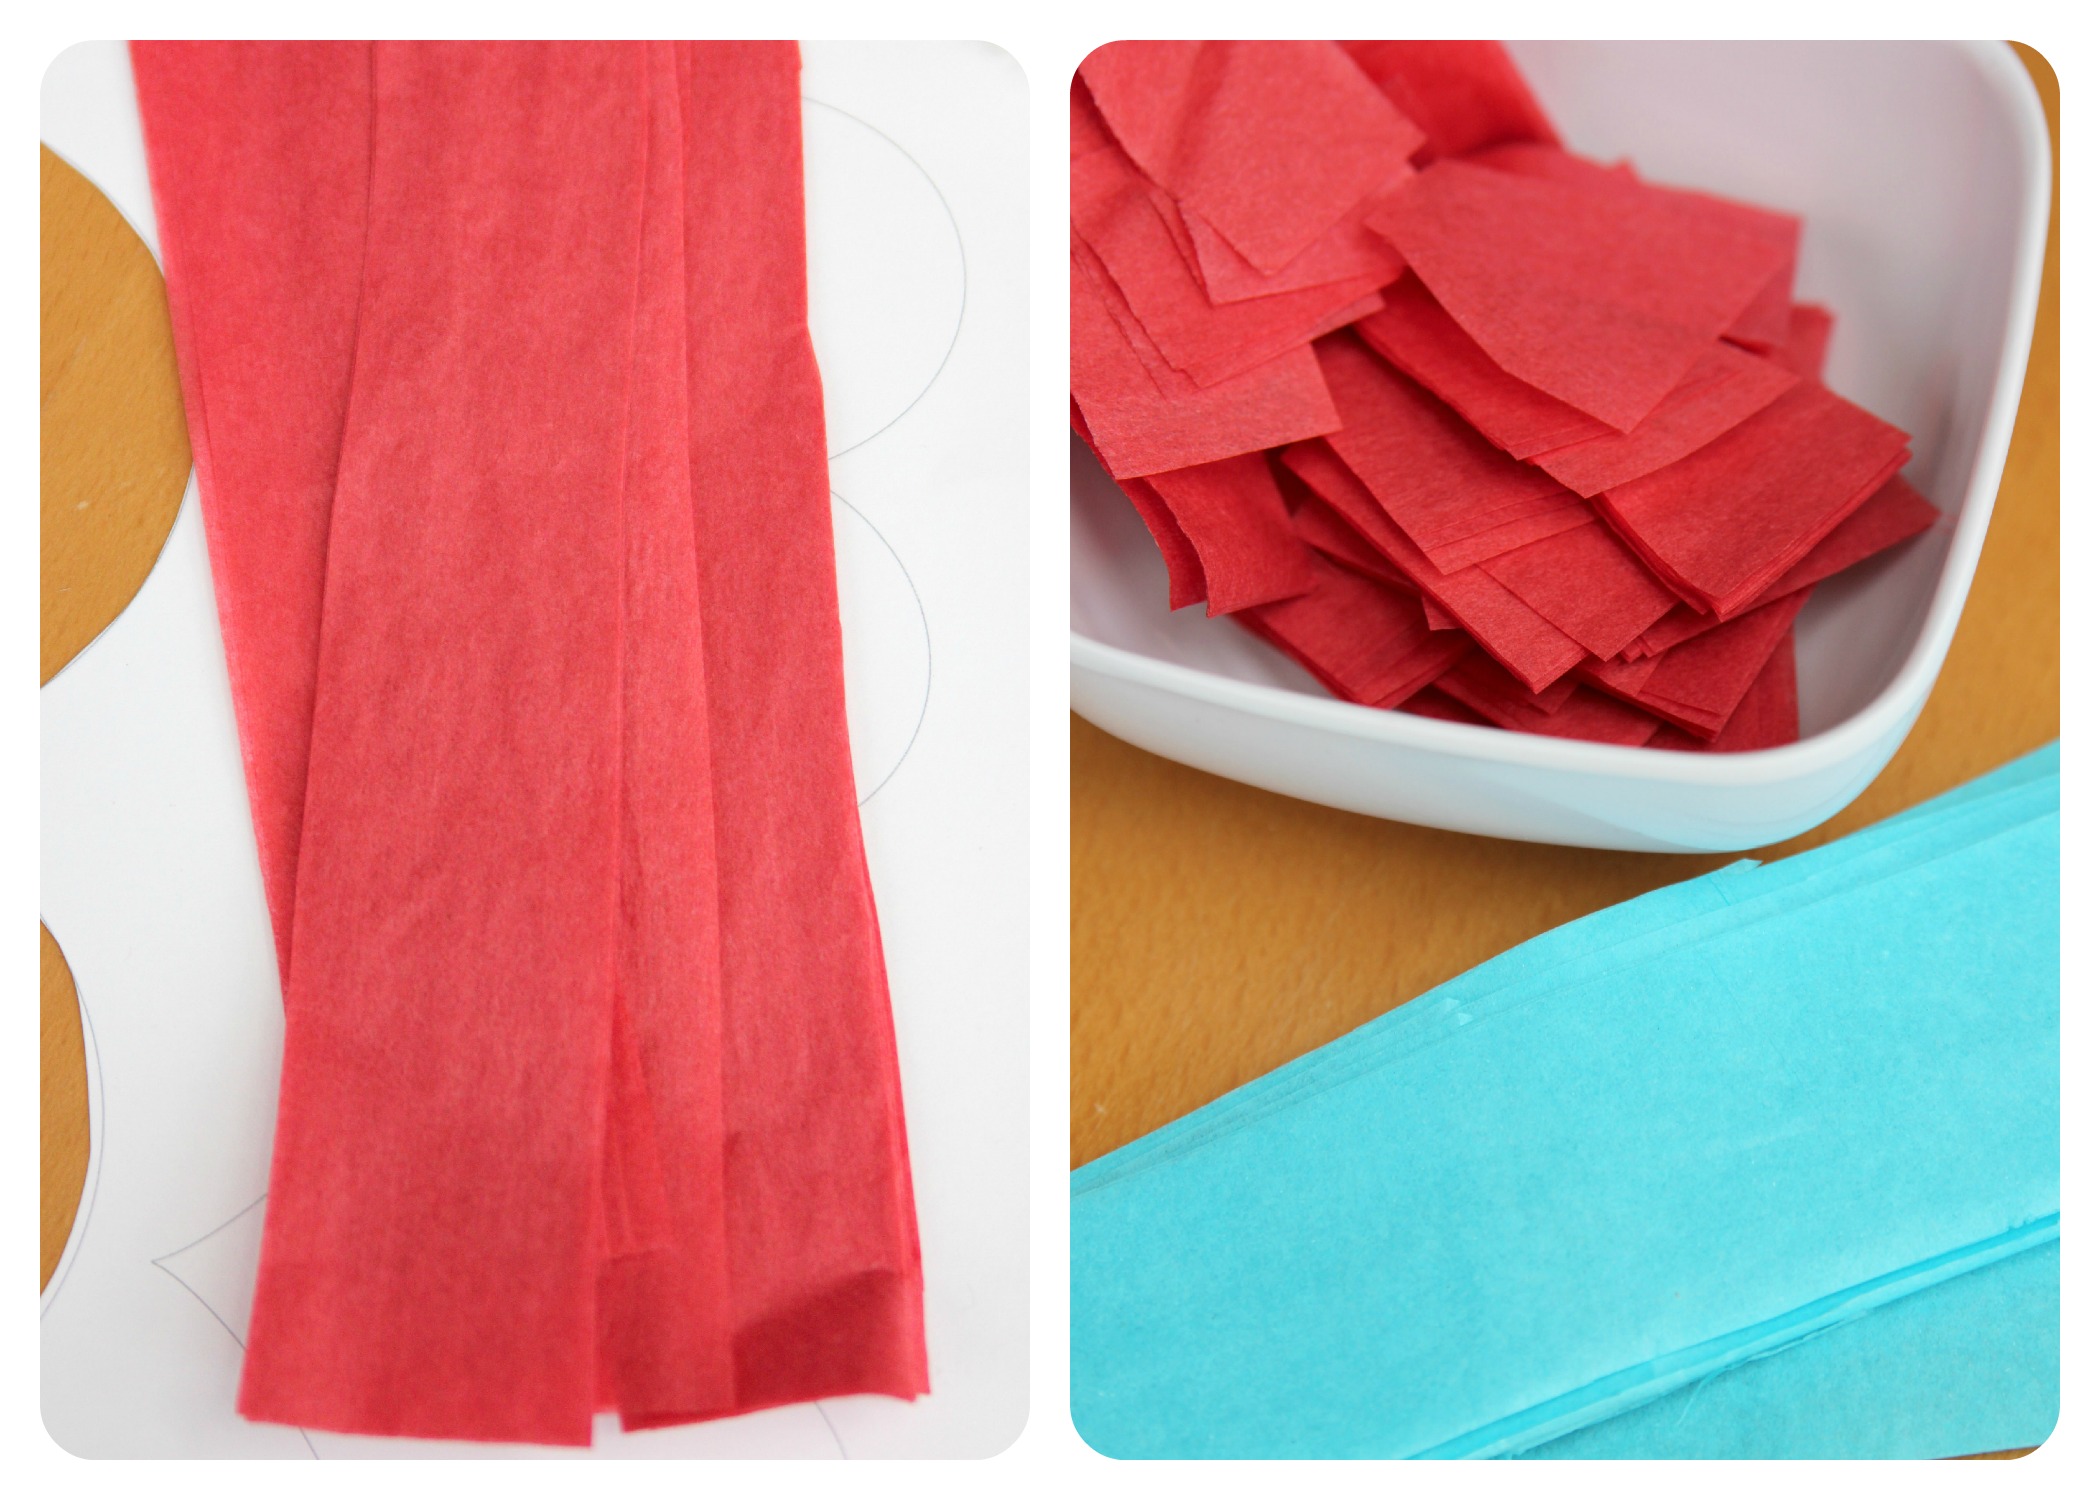
Cut the tissue paper in strips and then cut it again, into smaller squares. Because she is just starting to learn how to use scissors, this part was done by both V and I.
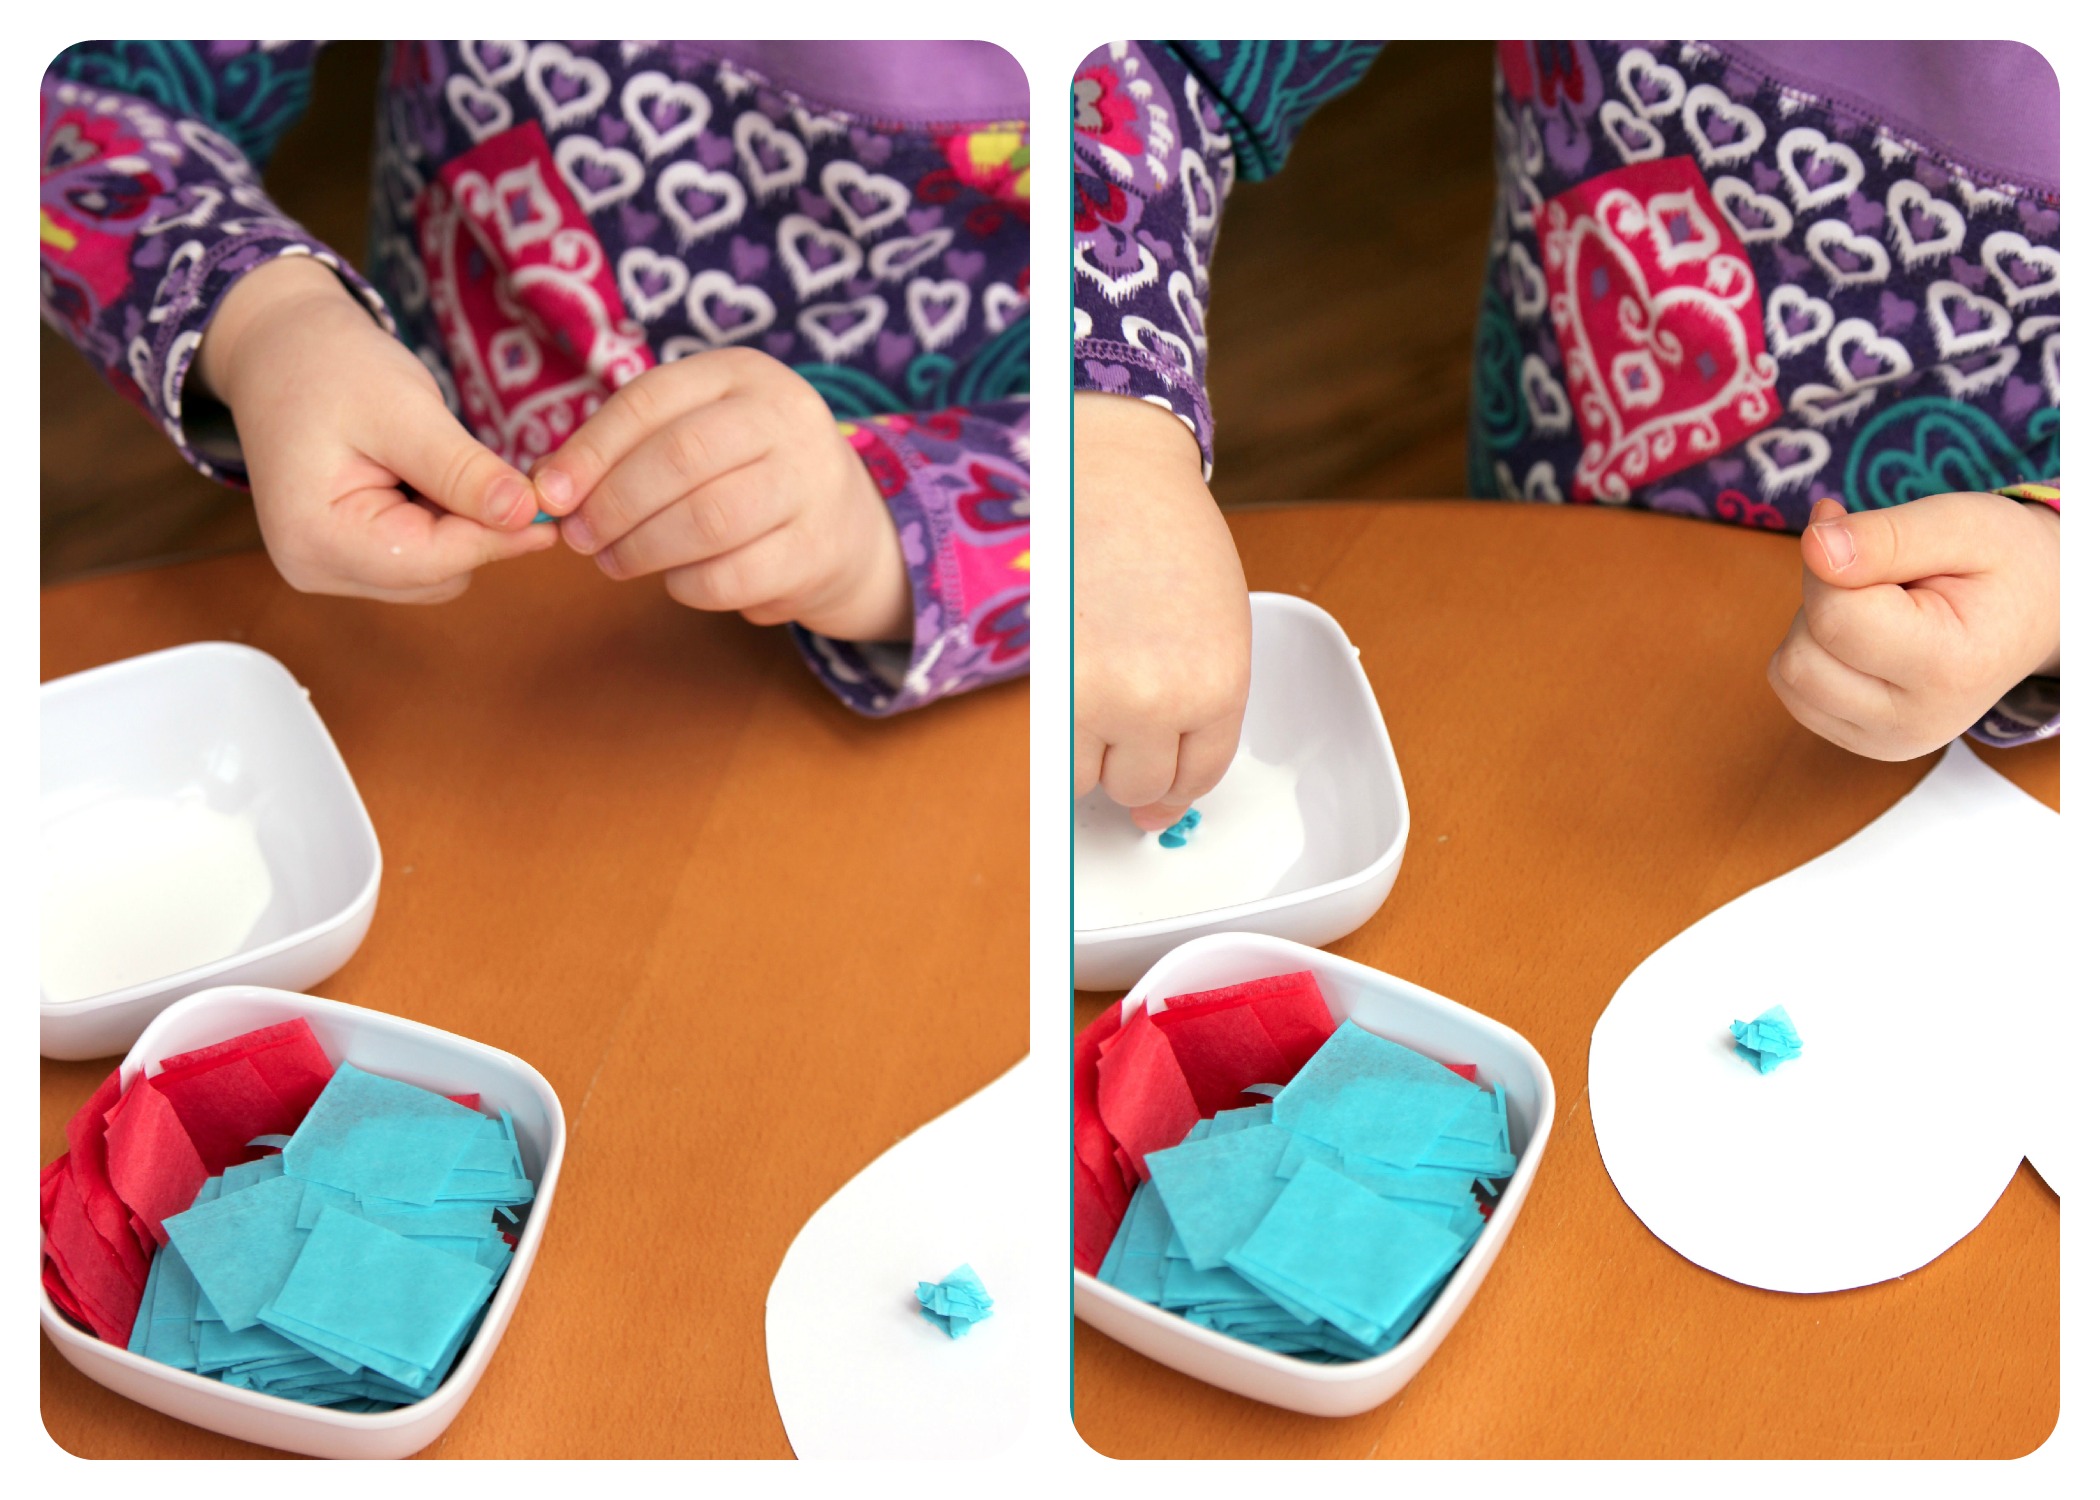
Step 4
Now onto the fun stuff! Start by crumbling up each tissue paper square, dip it in the glue, place it on your heart shape, and then smoosh it down.
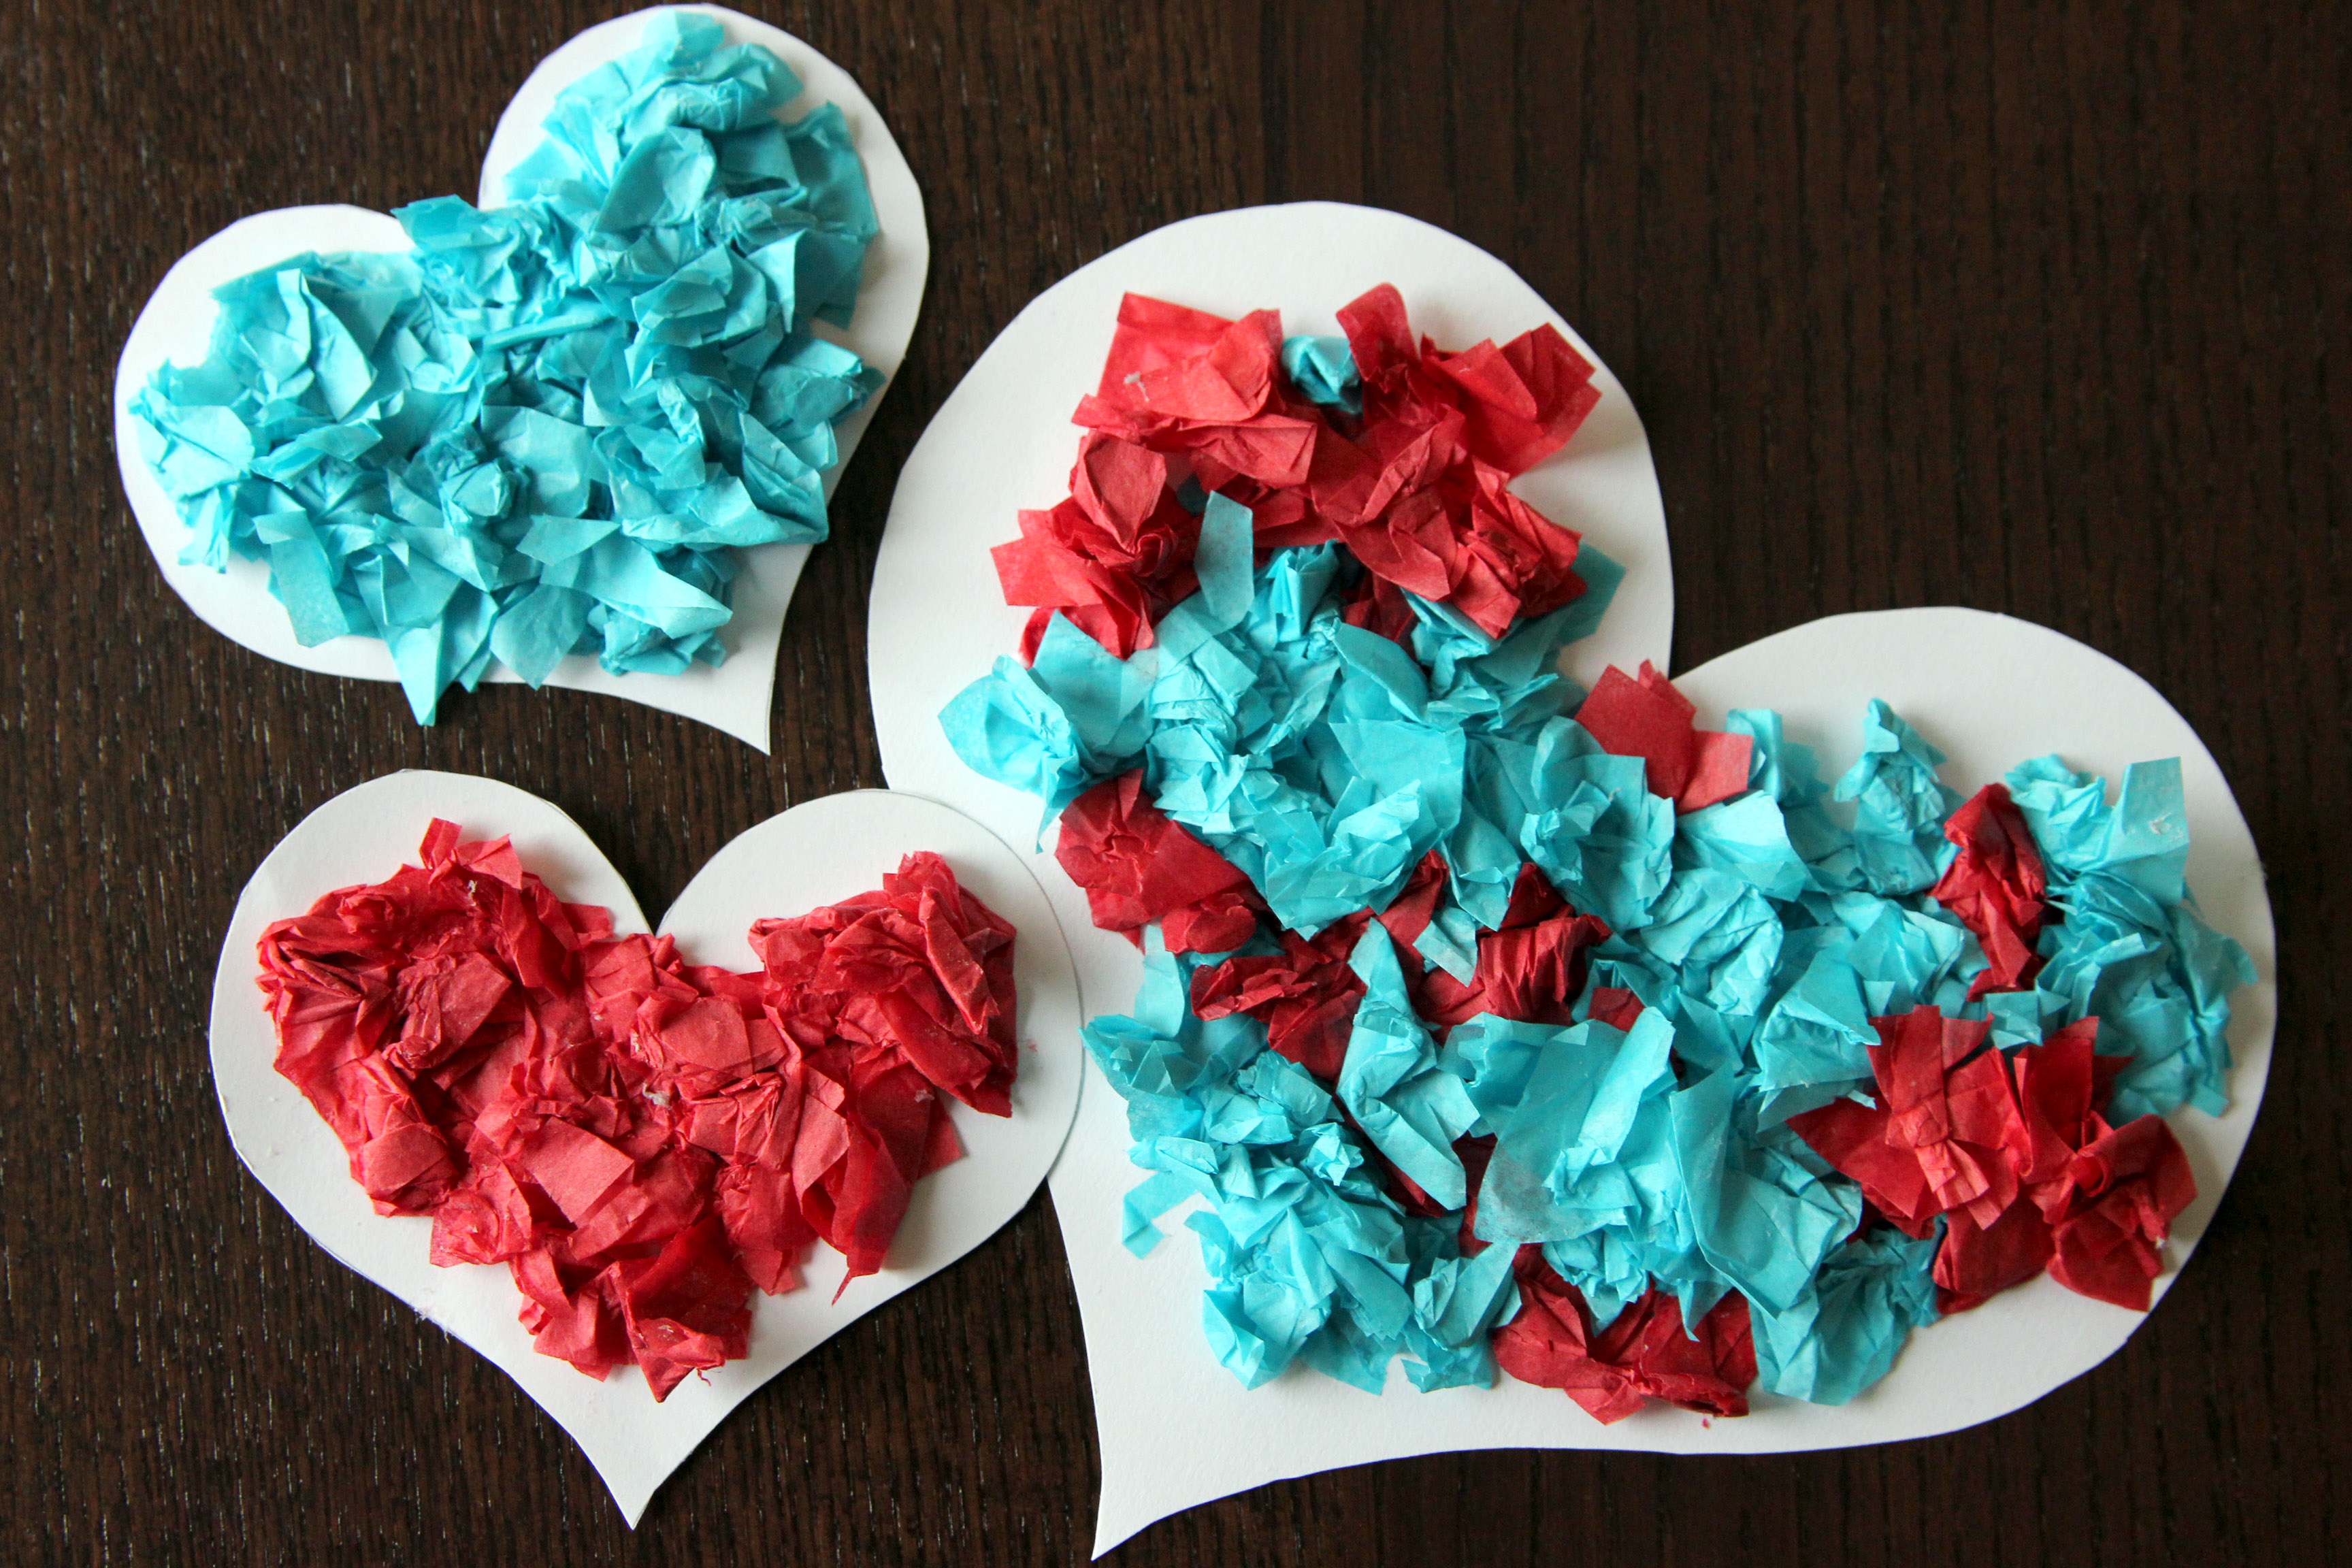
Step 5
Crumble, dip, place, smoosh, and repeat until the heart is covered in color!

Done!
As you are repeating these above steps you can also fill in the extra glue spots by placing plain tissue crumbles to fill in the holes. Once completed, allow to dry for one hour. Admire your creation.


