Step-by-step tutorial
Step 1
This craft takes a little bit of grownup-only work with the x-acto knife. I usually do this before I introduce my kids to the project, but I did have them draw the door on the feeder so I could cut it out just the way they wanted it.

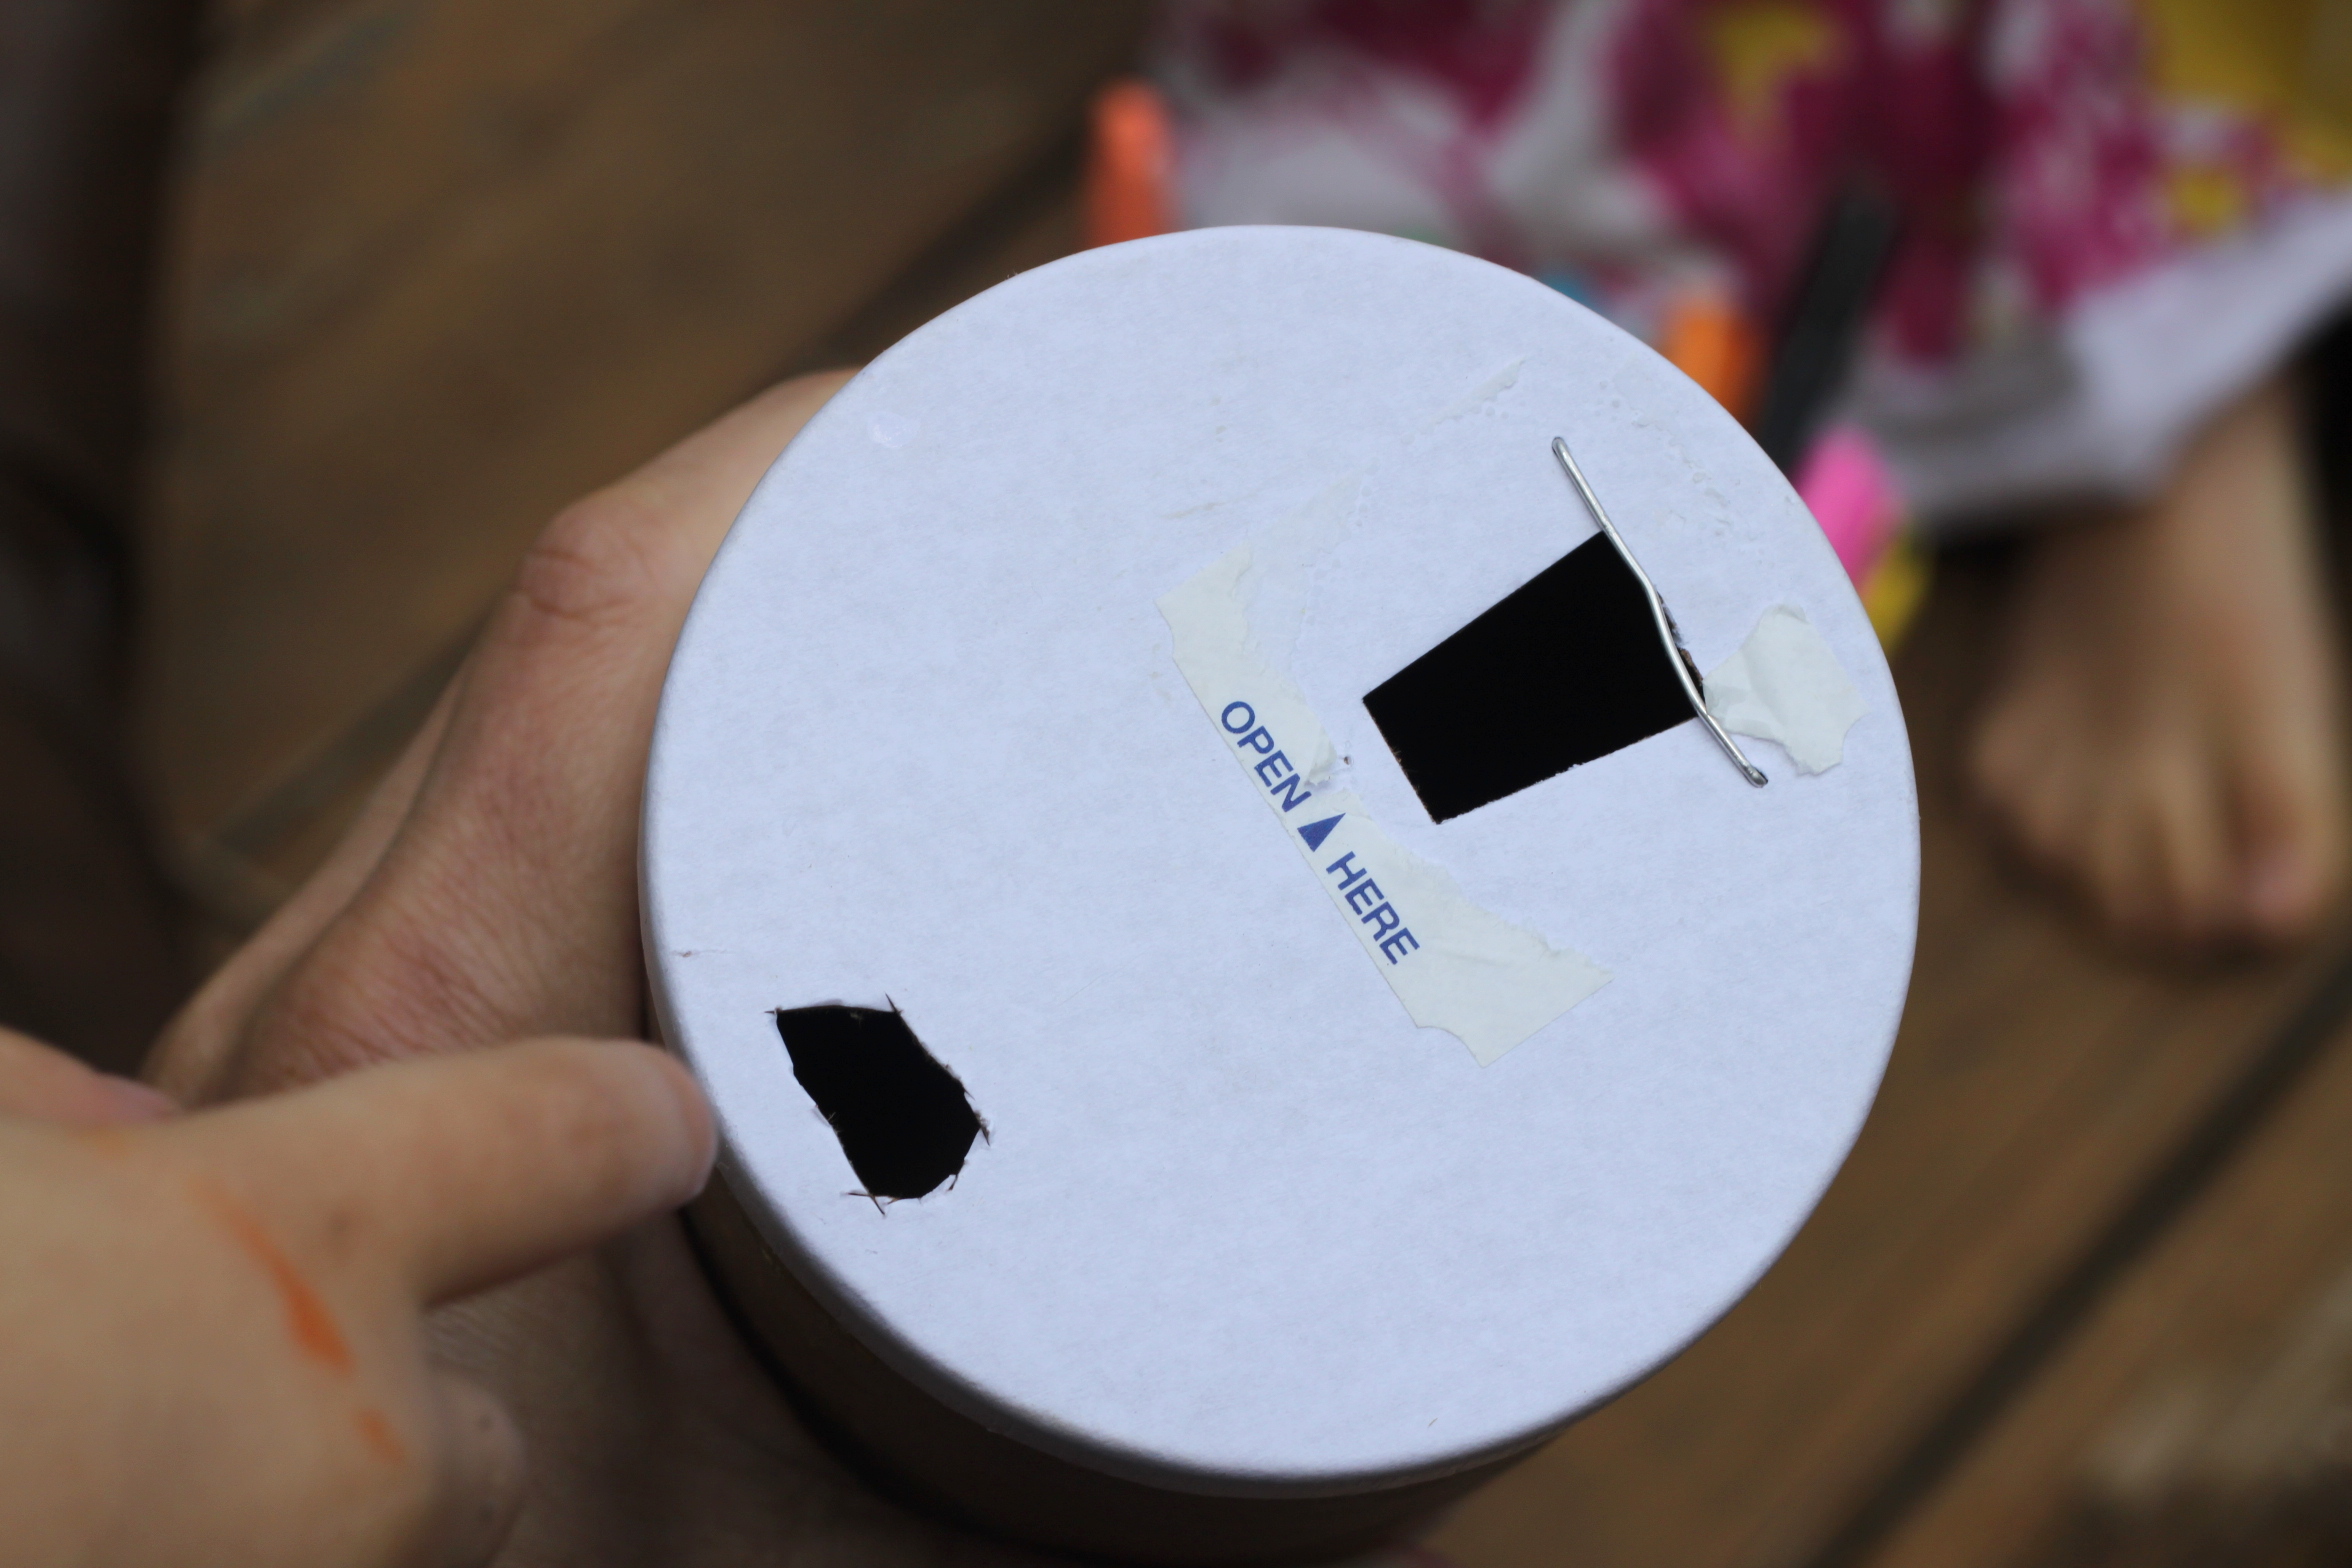
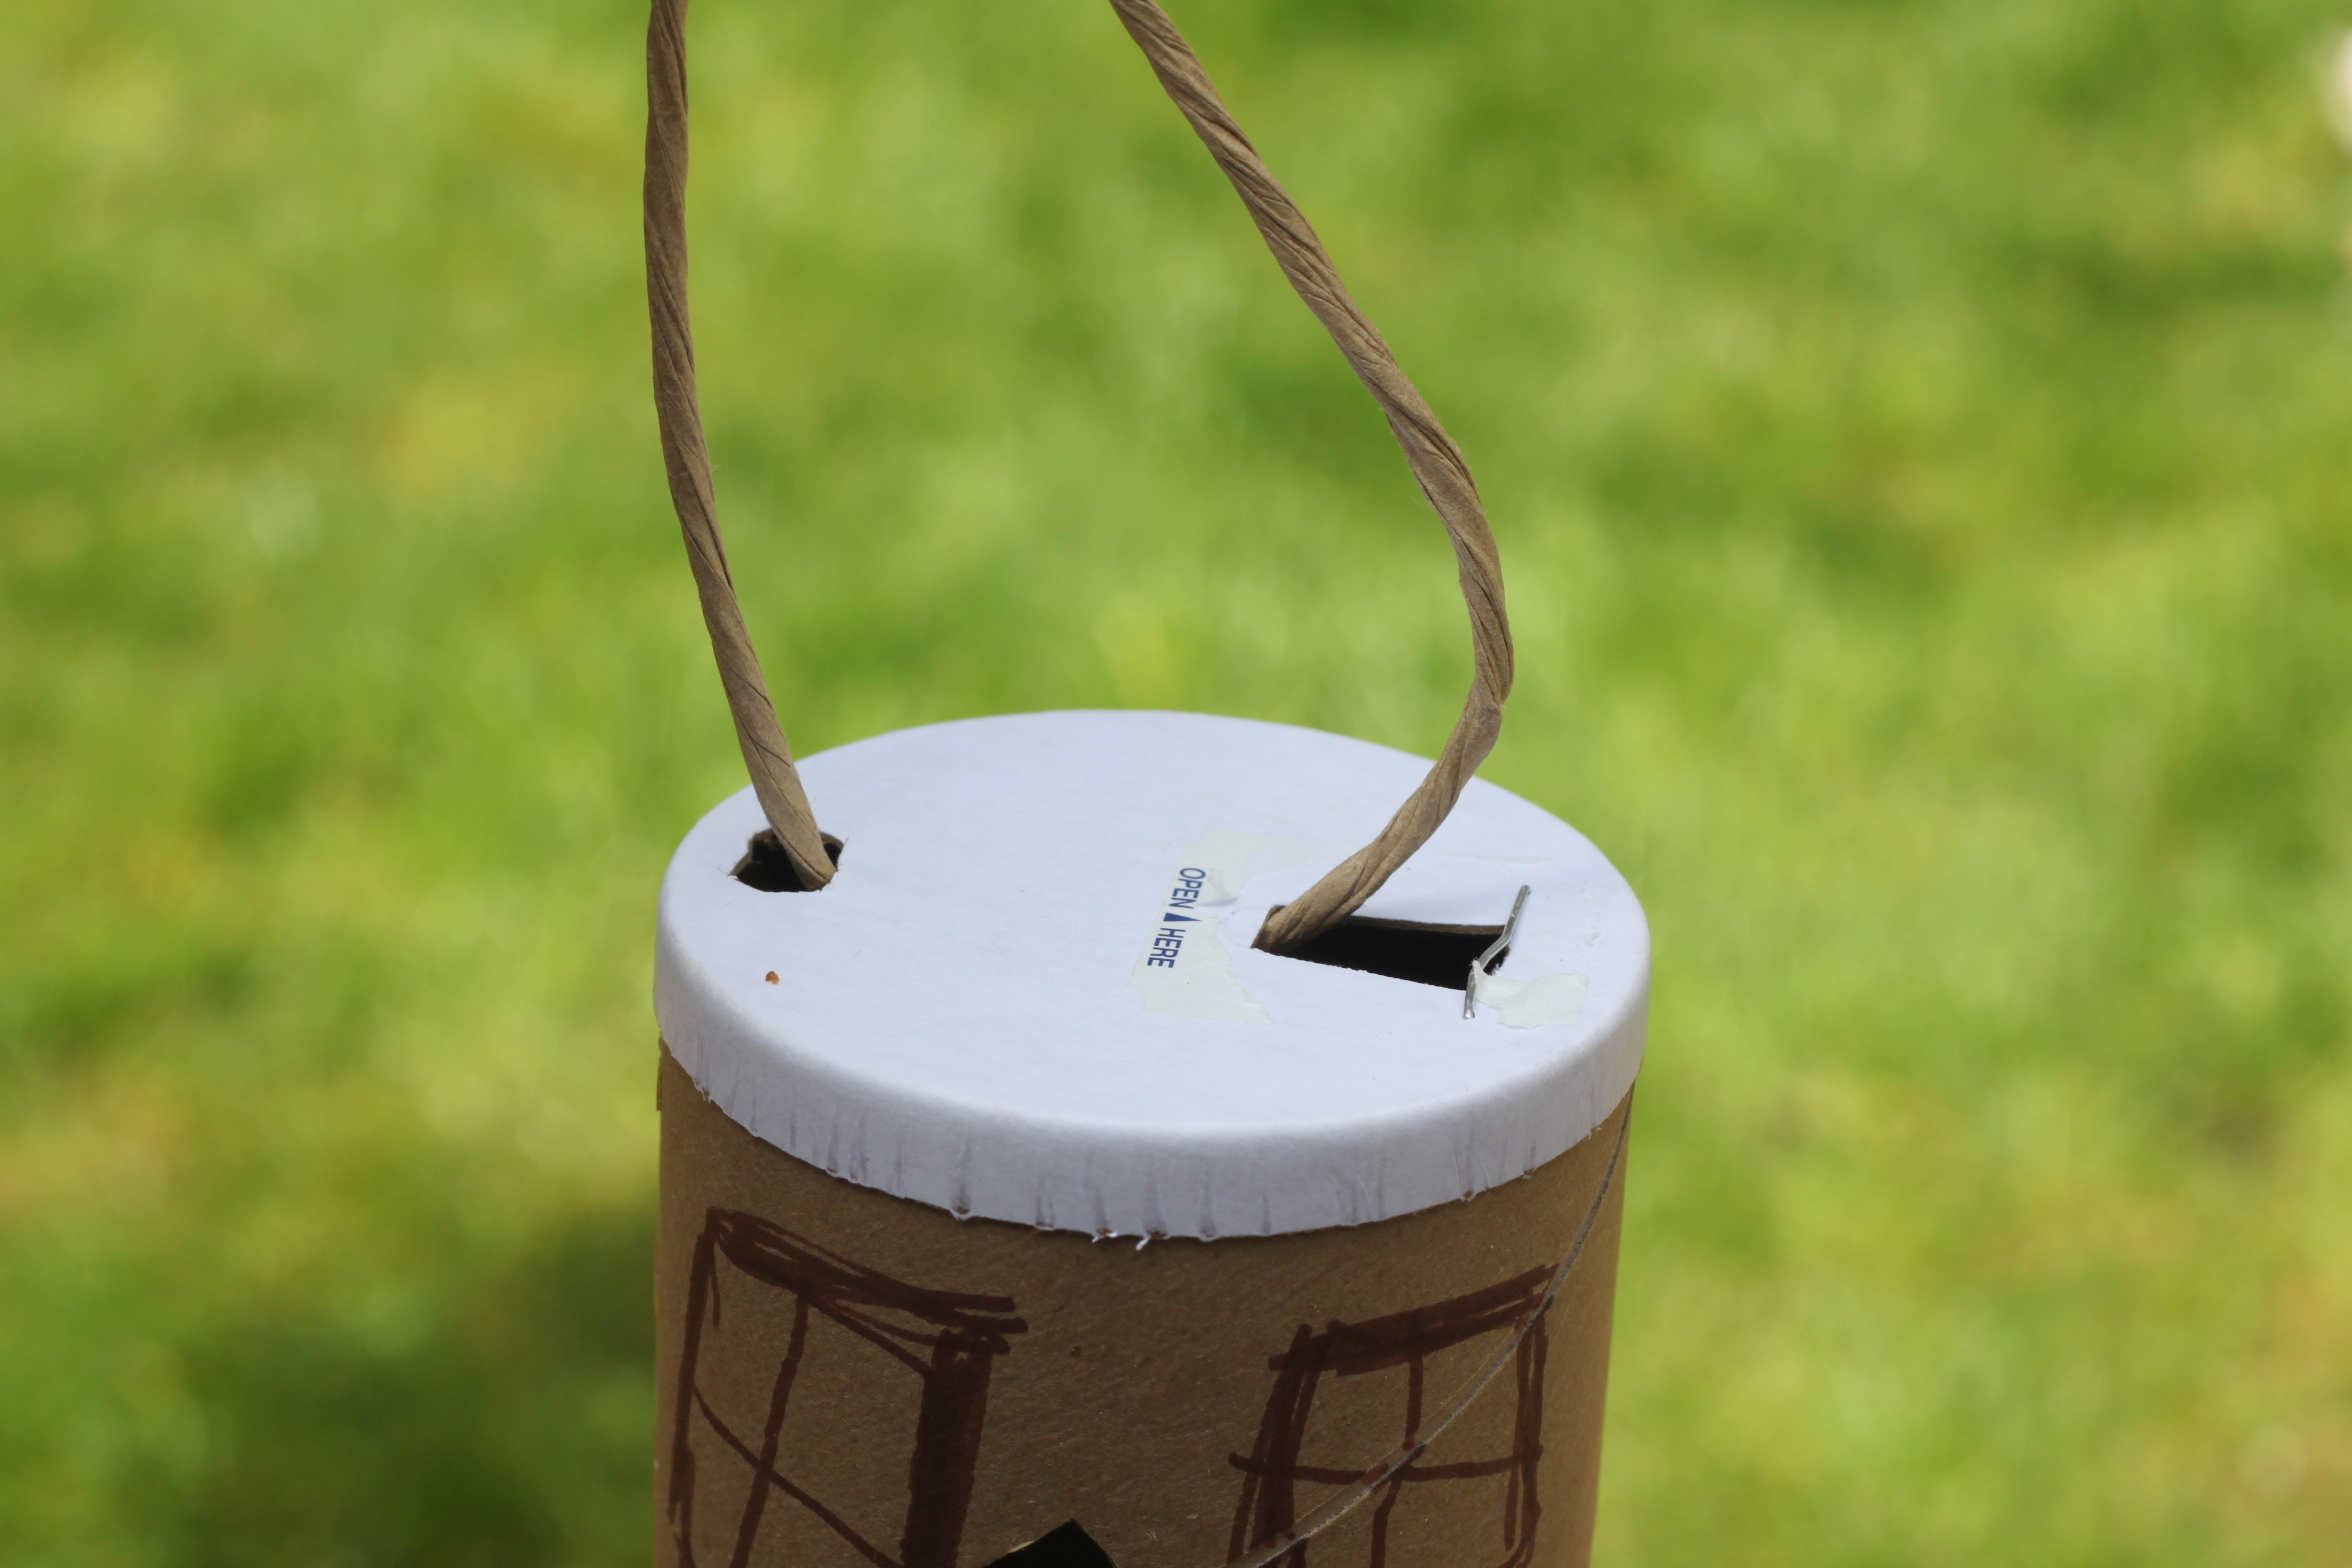
Step 2
I removed the spout on top of the container and cut an additional hole across from it. (This is where you'll string the wire through to hang your feeder.)
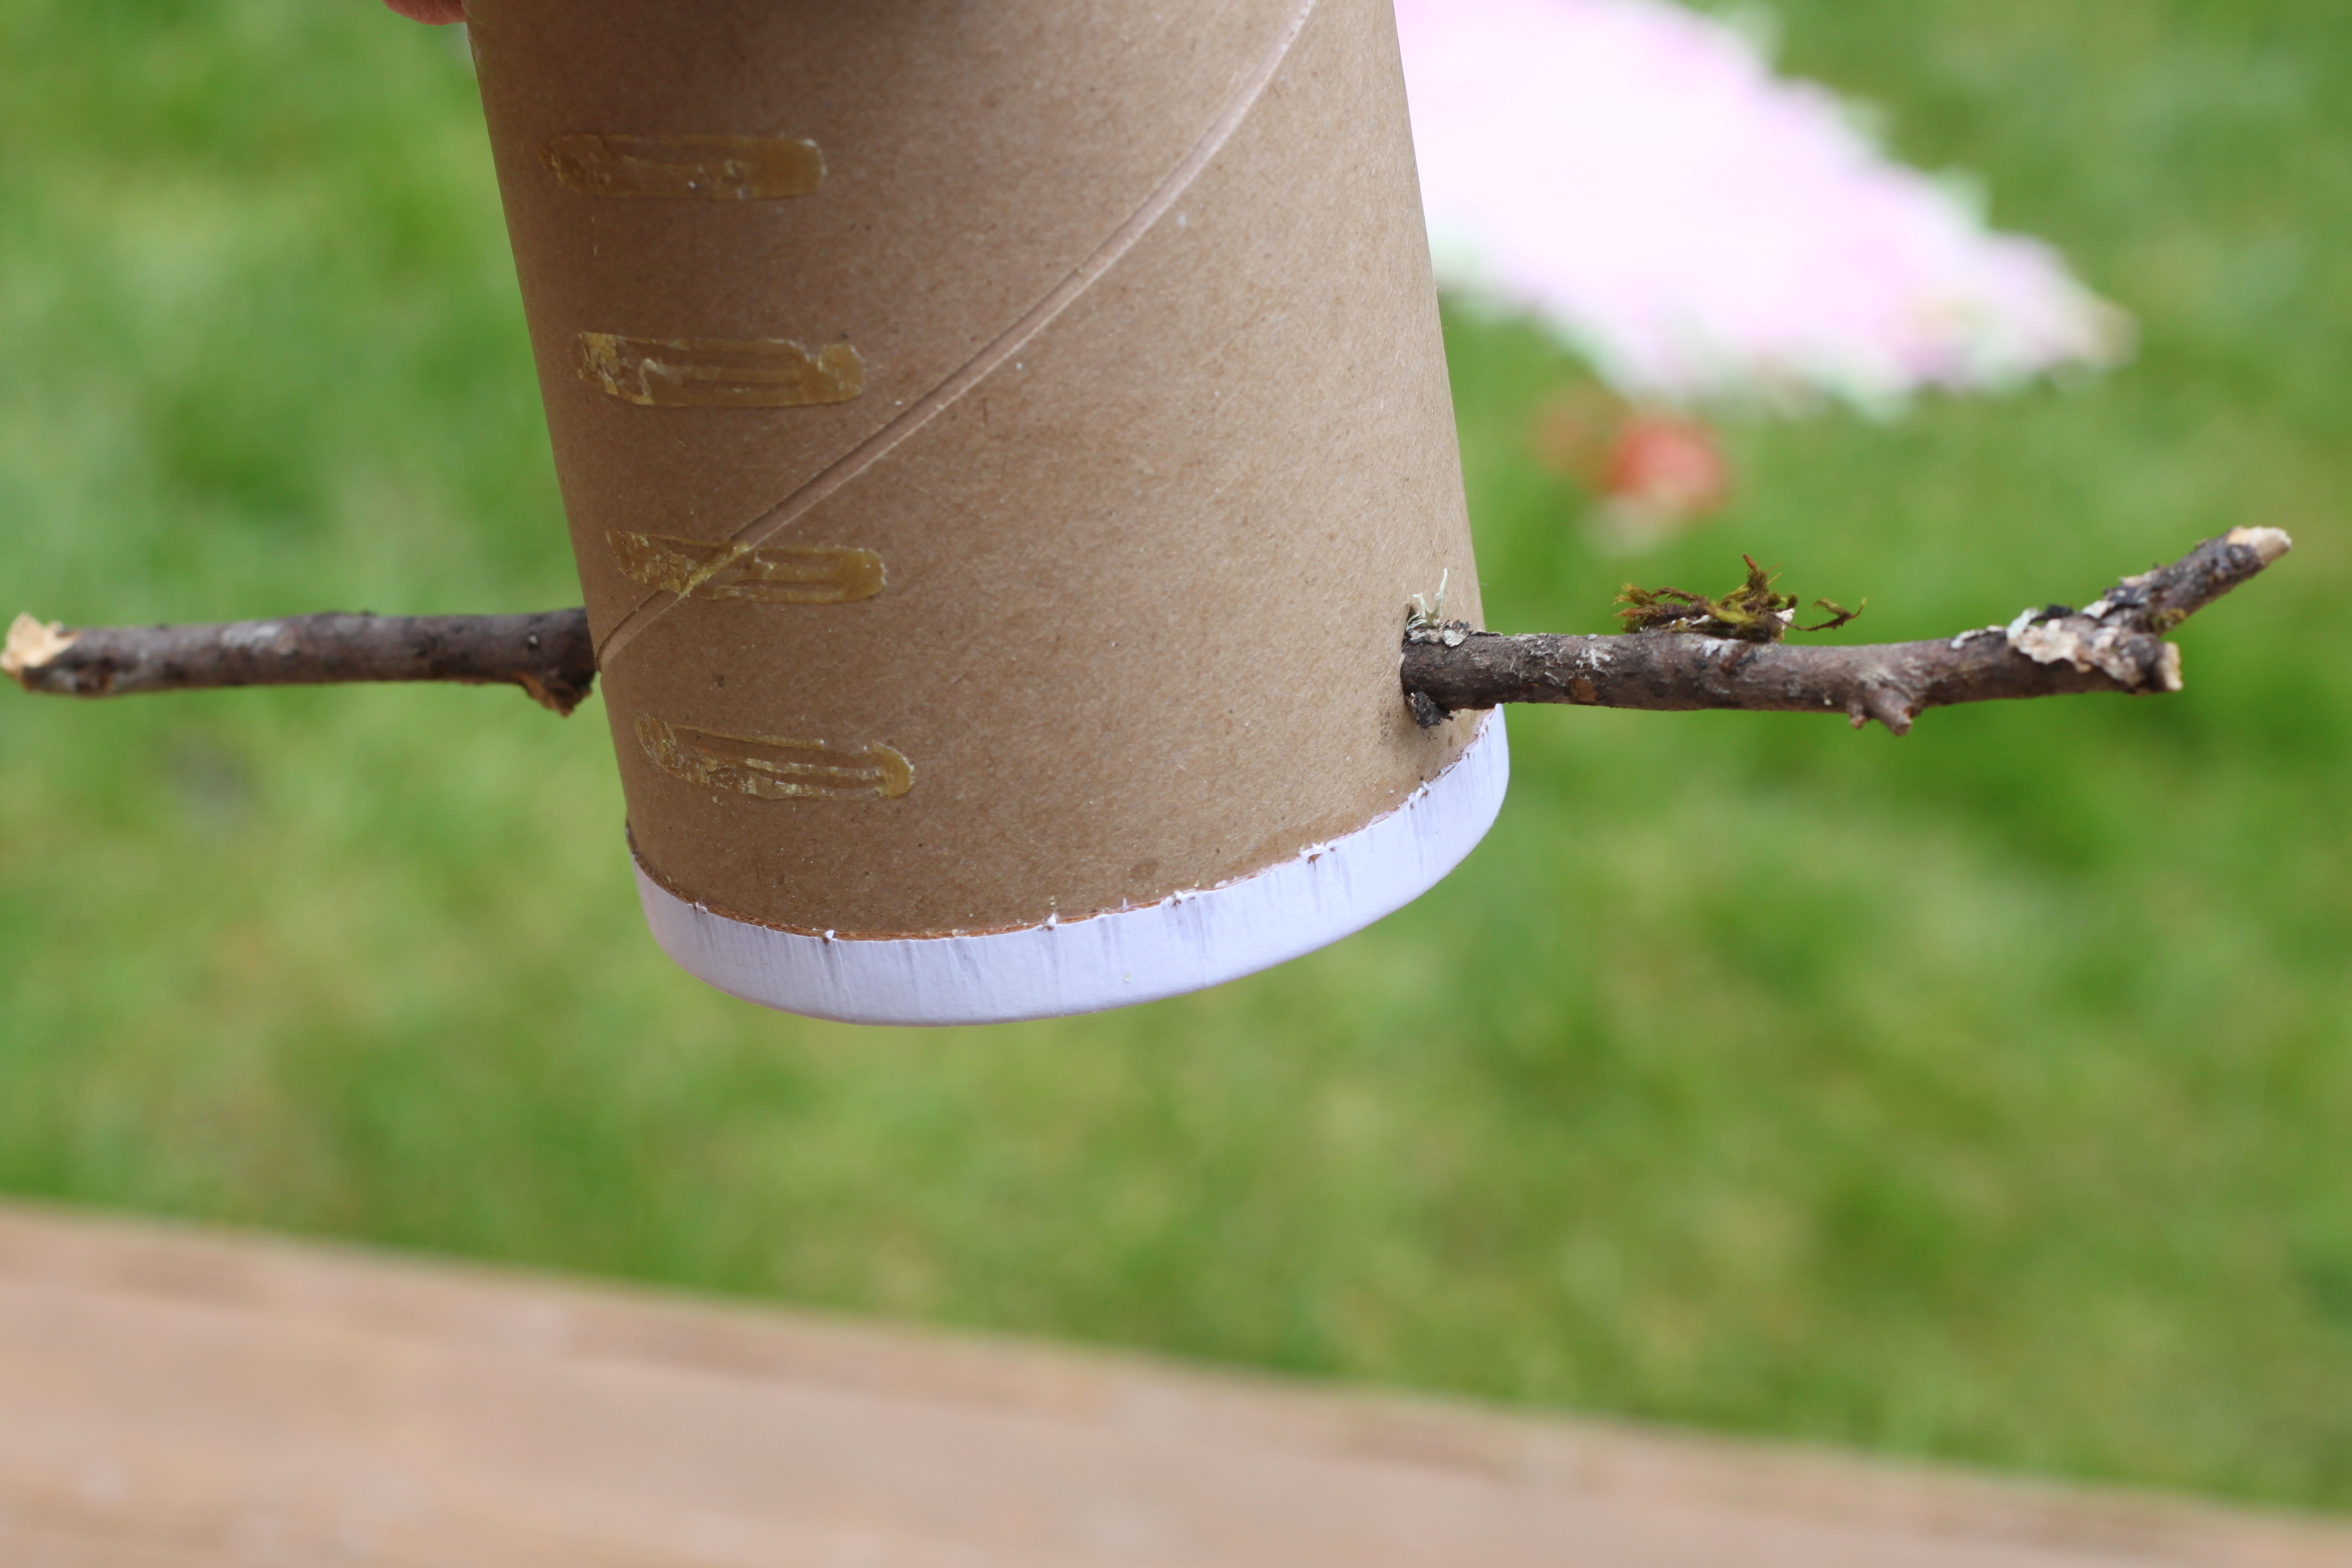
Step 3
Next, I cut two holes on the bottom to fit our little branch. My daughter easily fit her branch right through.
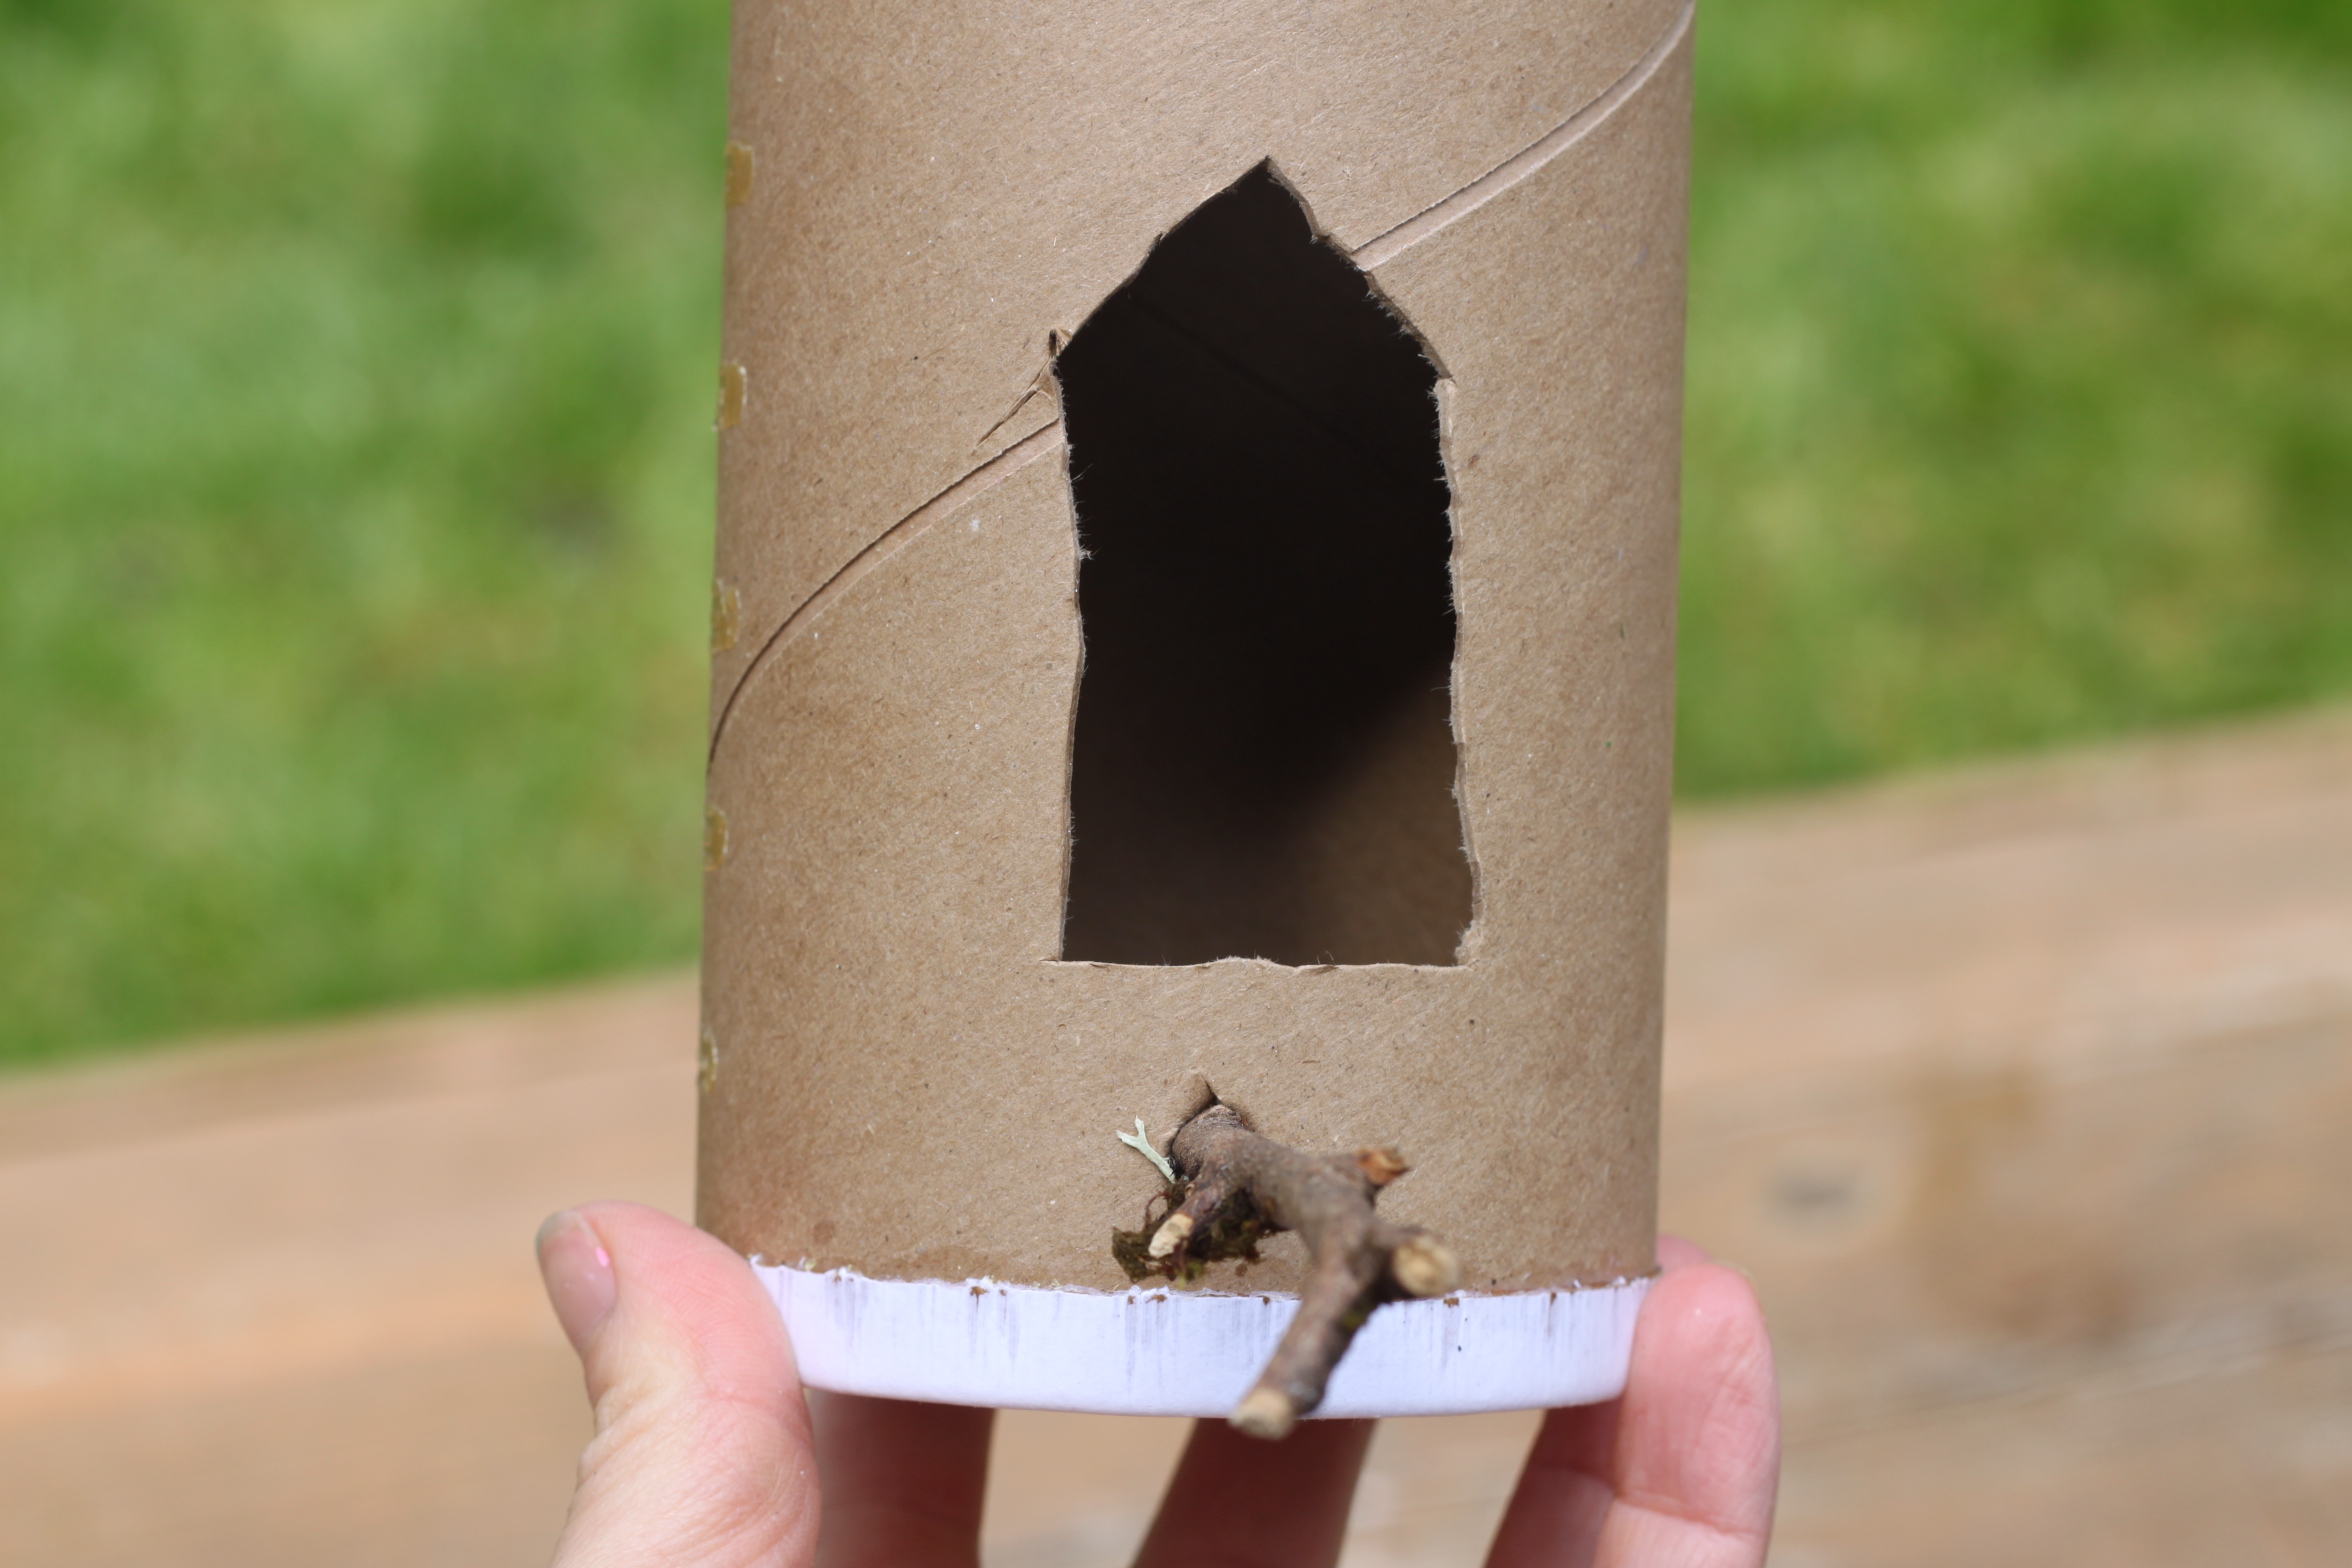
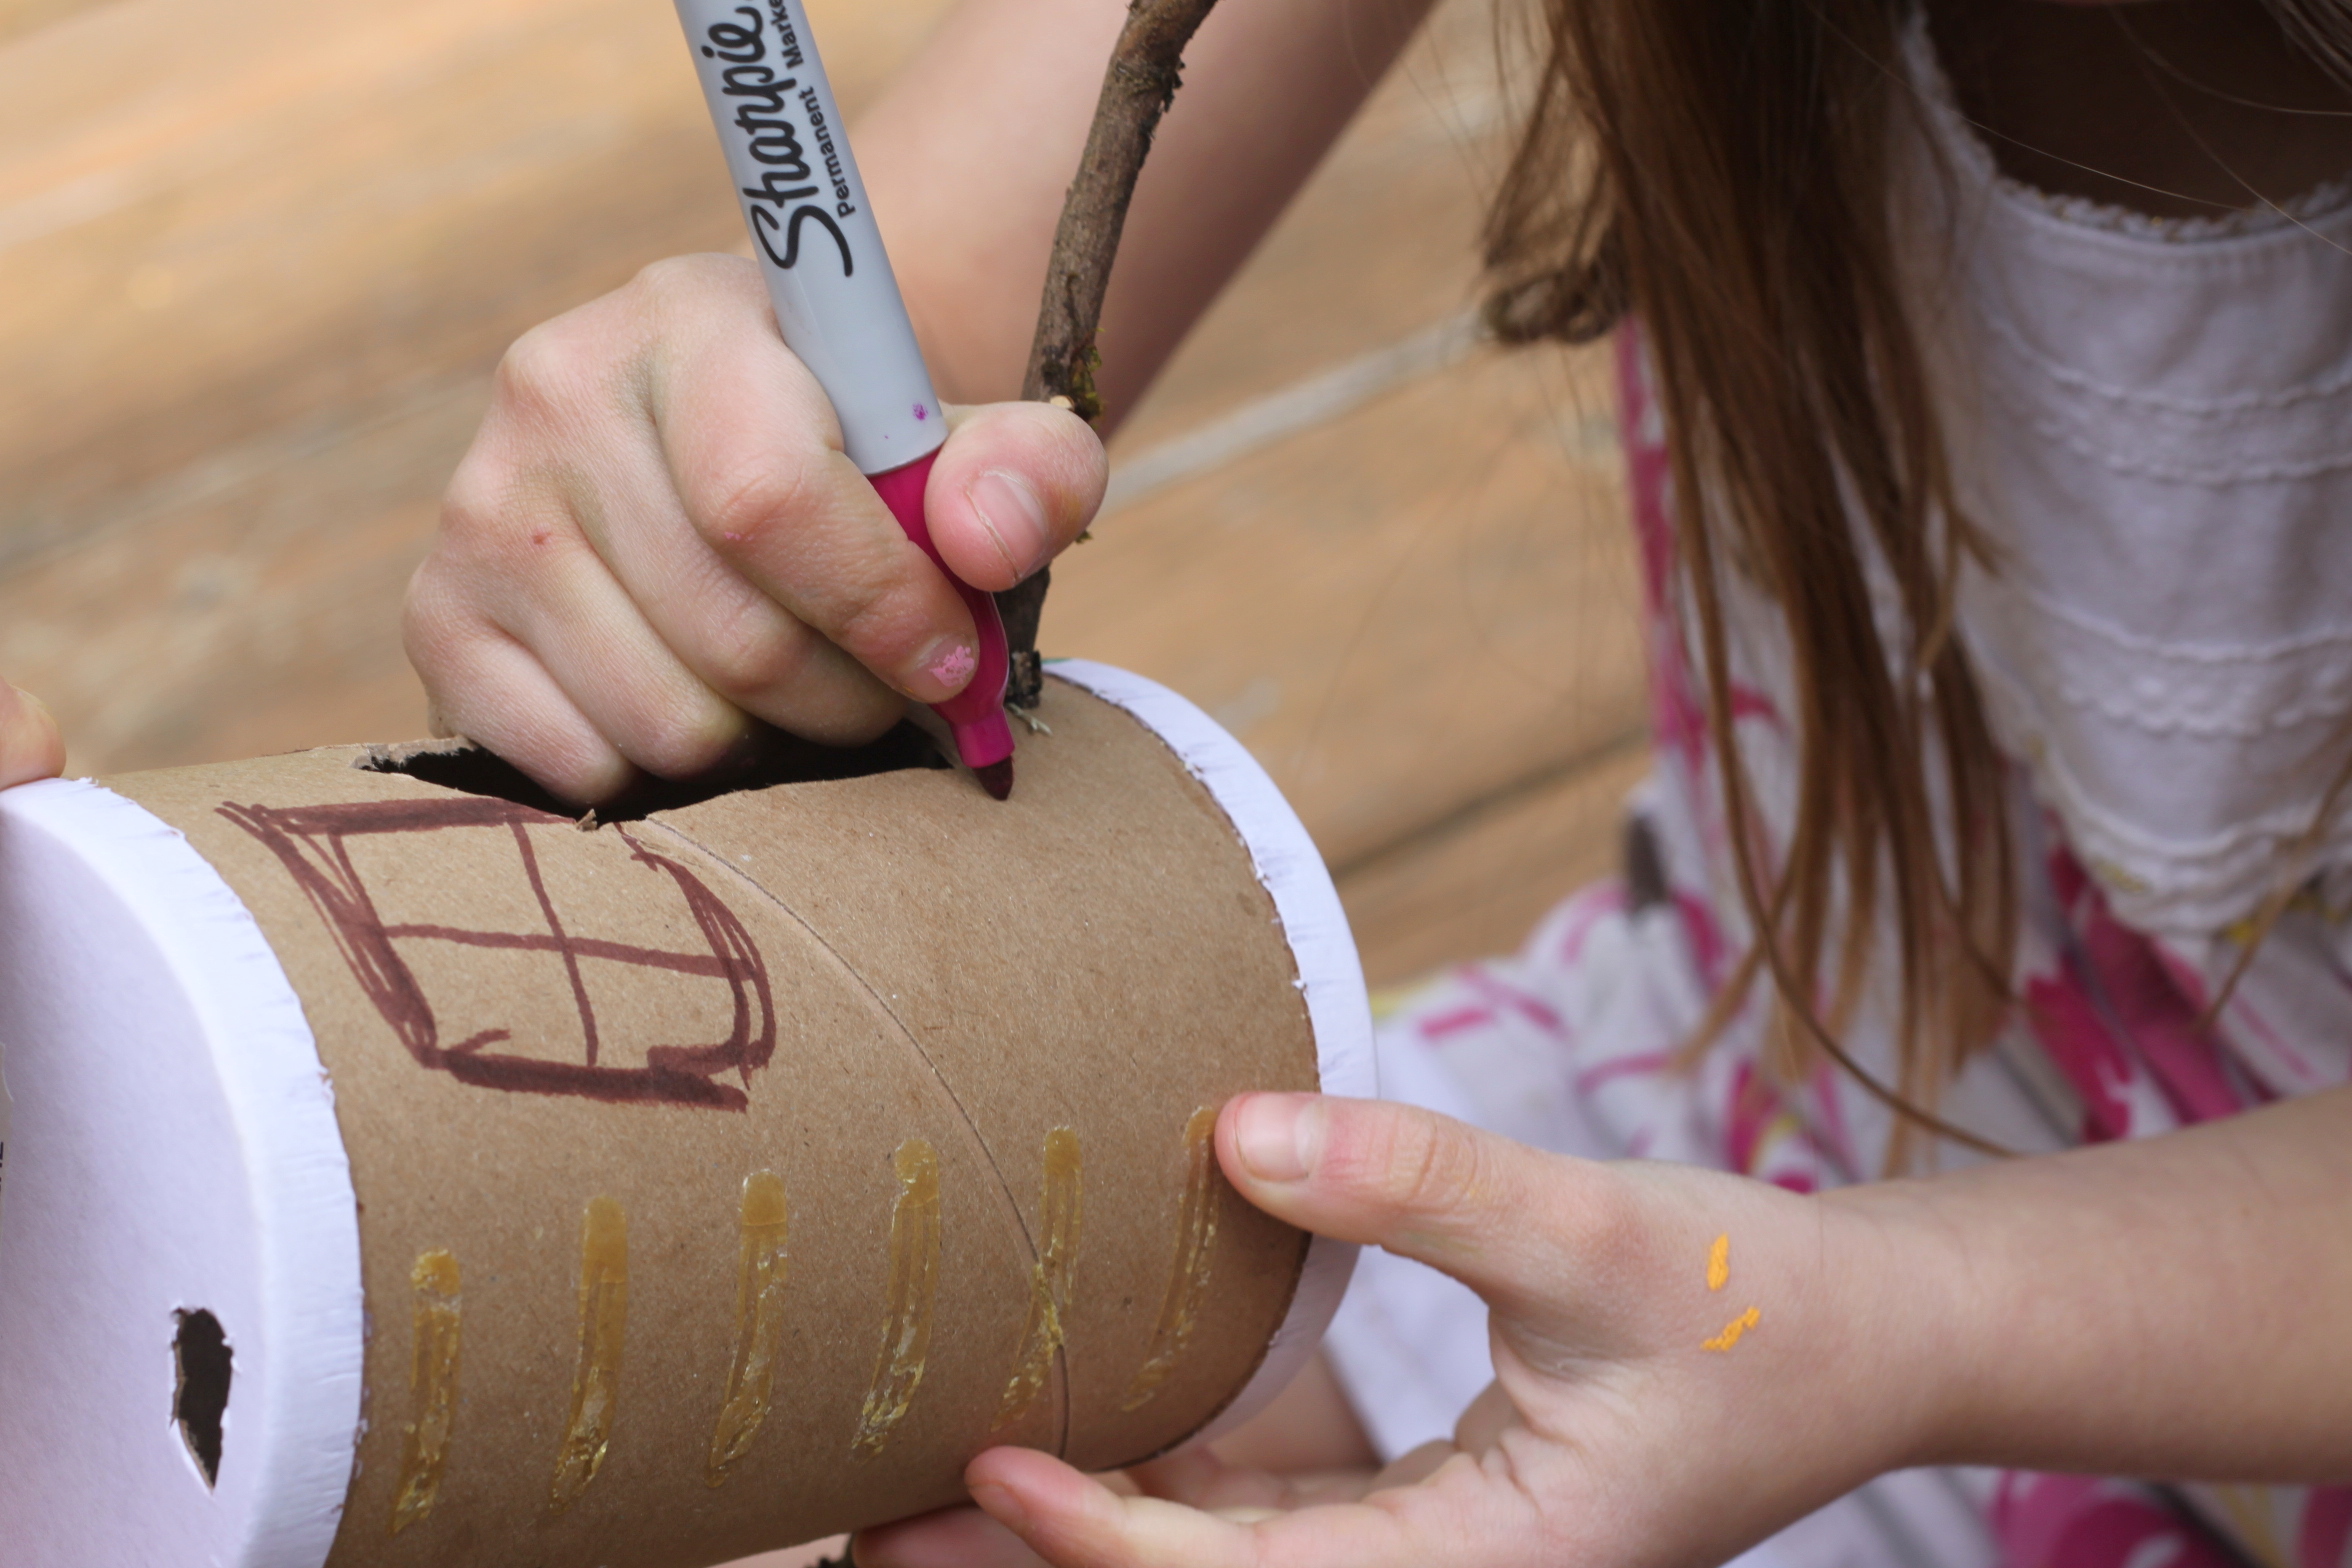
Step 4
I cut out her little door. (You could also cut out windows.) My daughter wanted her windows in marker.
Step 5
She added some special touches. Every bird house needs a few flowers.
Step 6
Floral wire worked well to hang our feeder with. Sometimes when we use twine the sneaky squirrels chew through the twine and steal the entire feeder! True story.
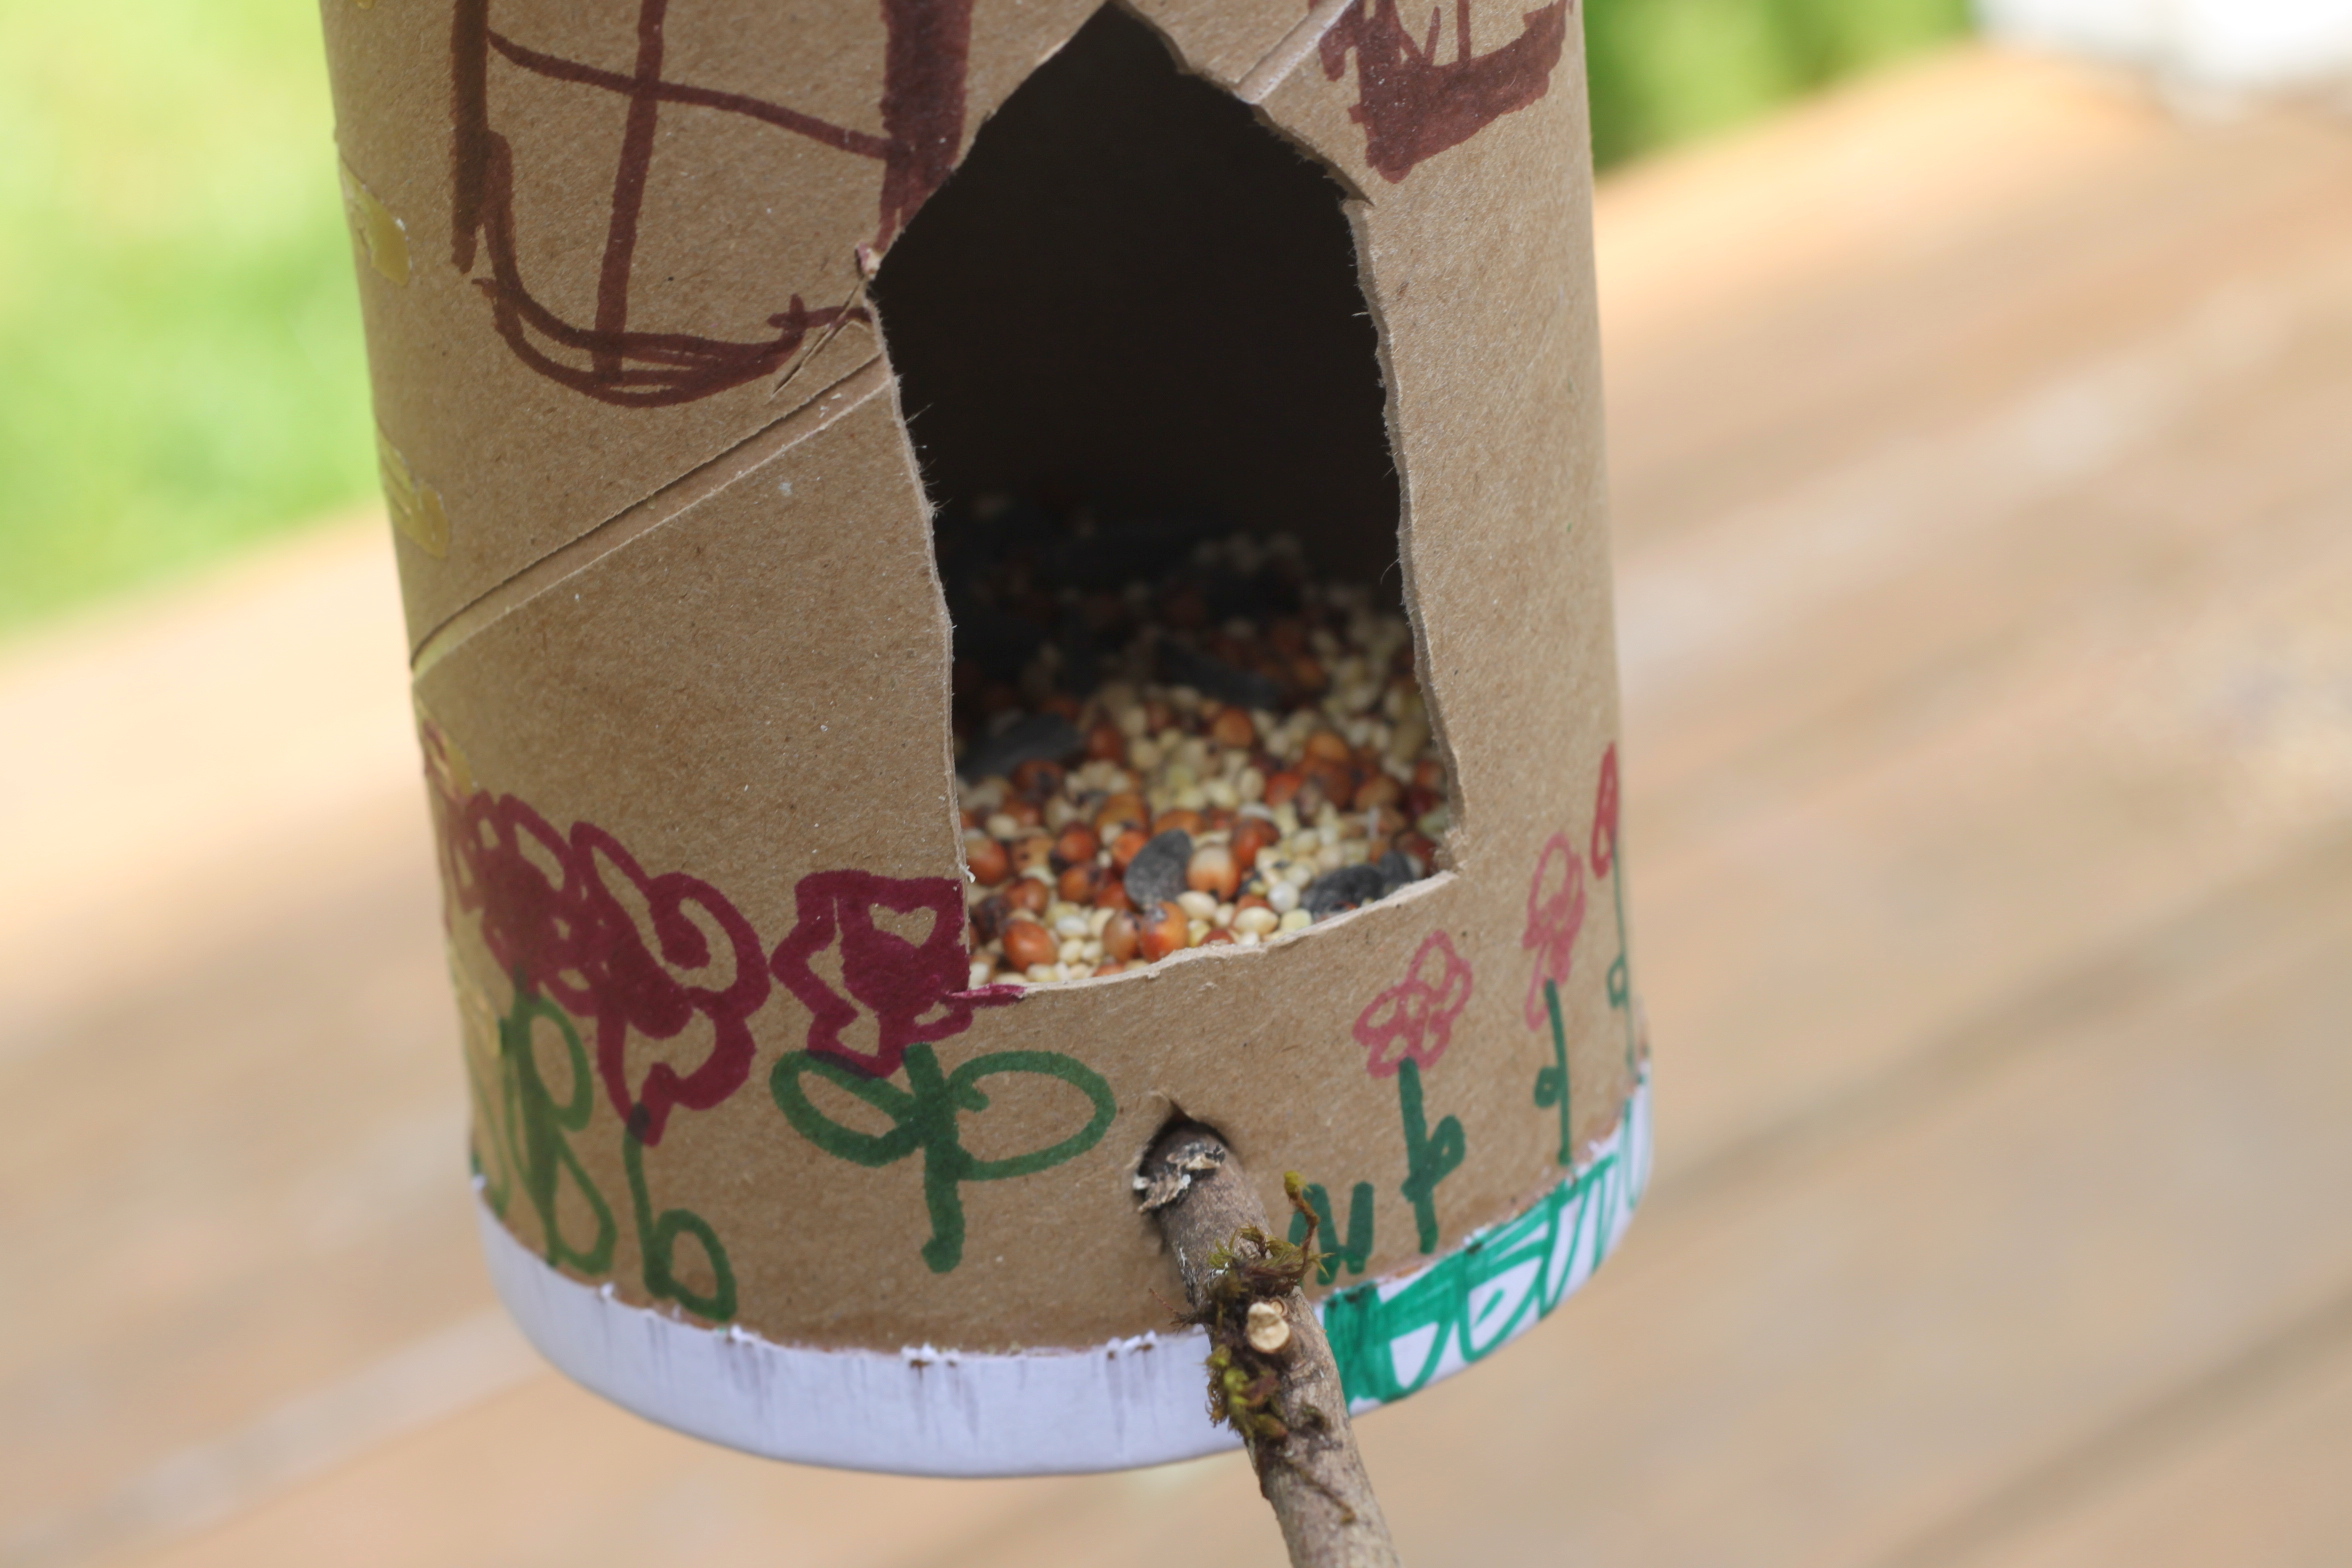
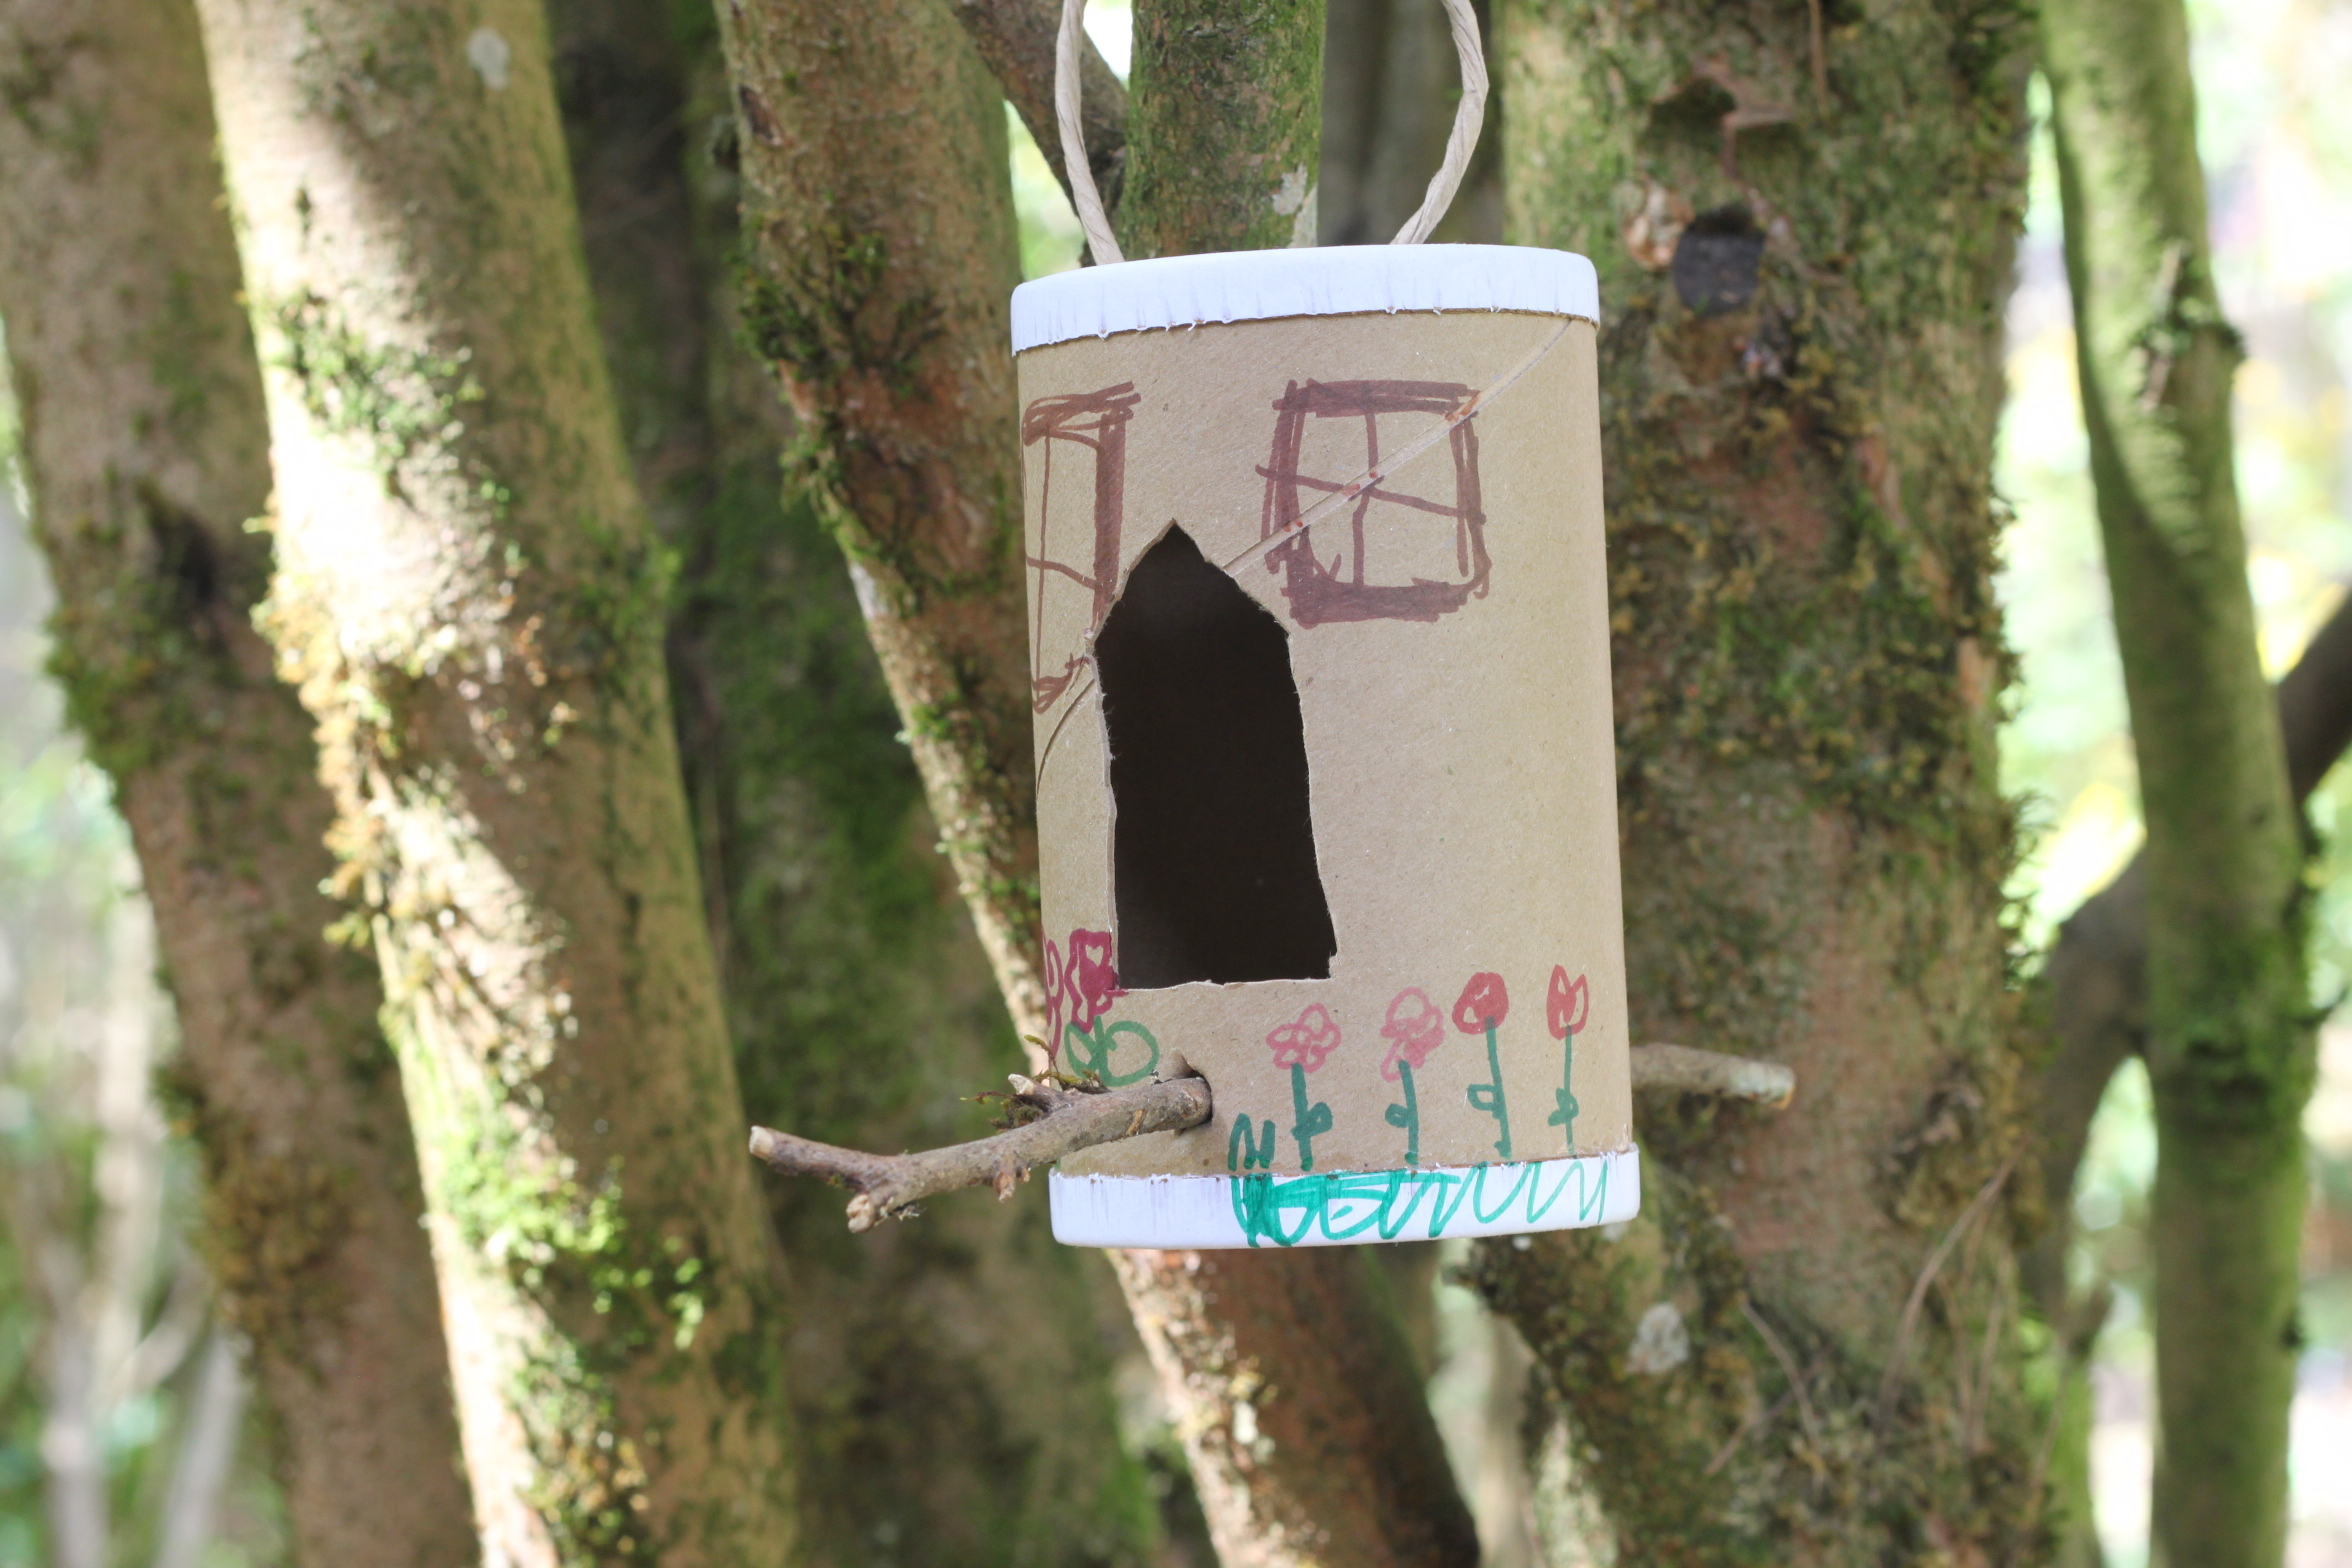
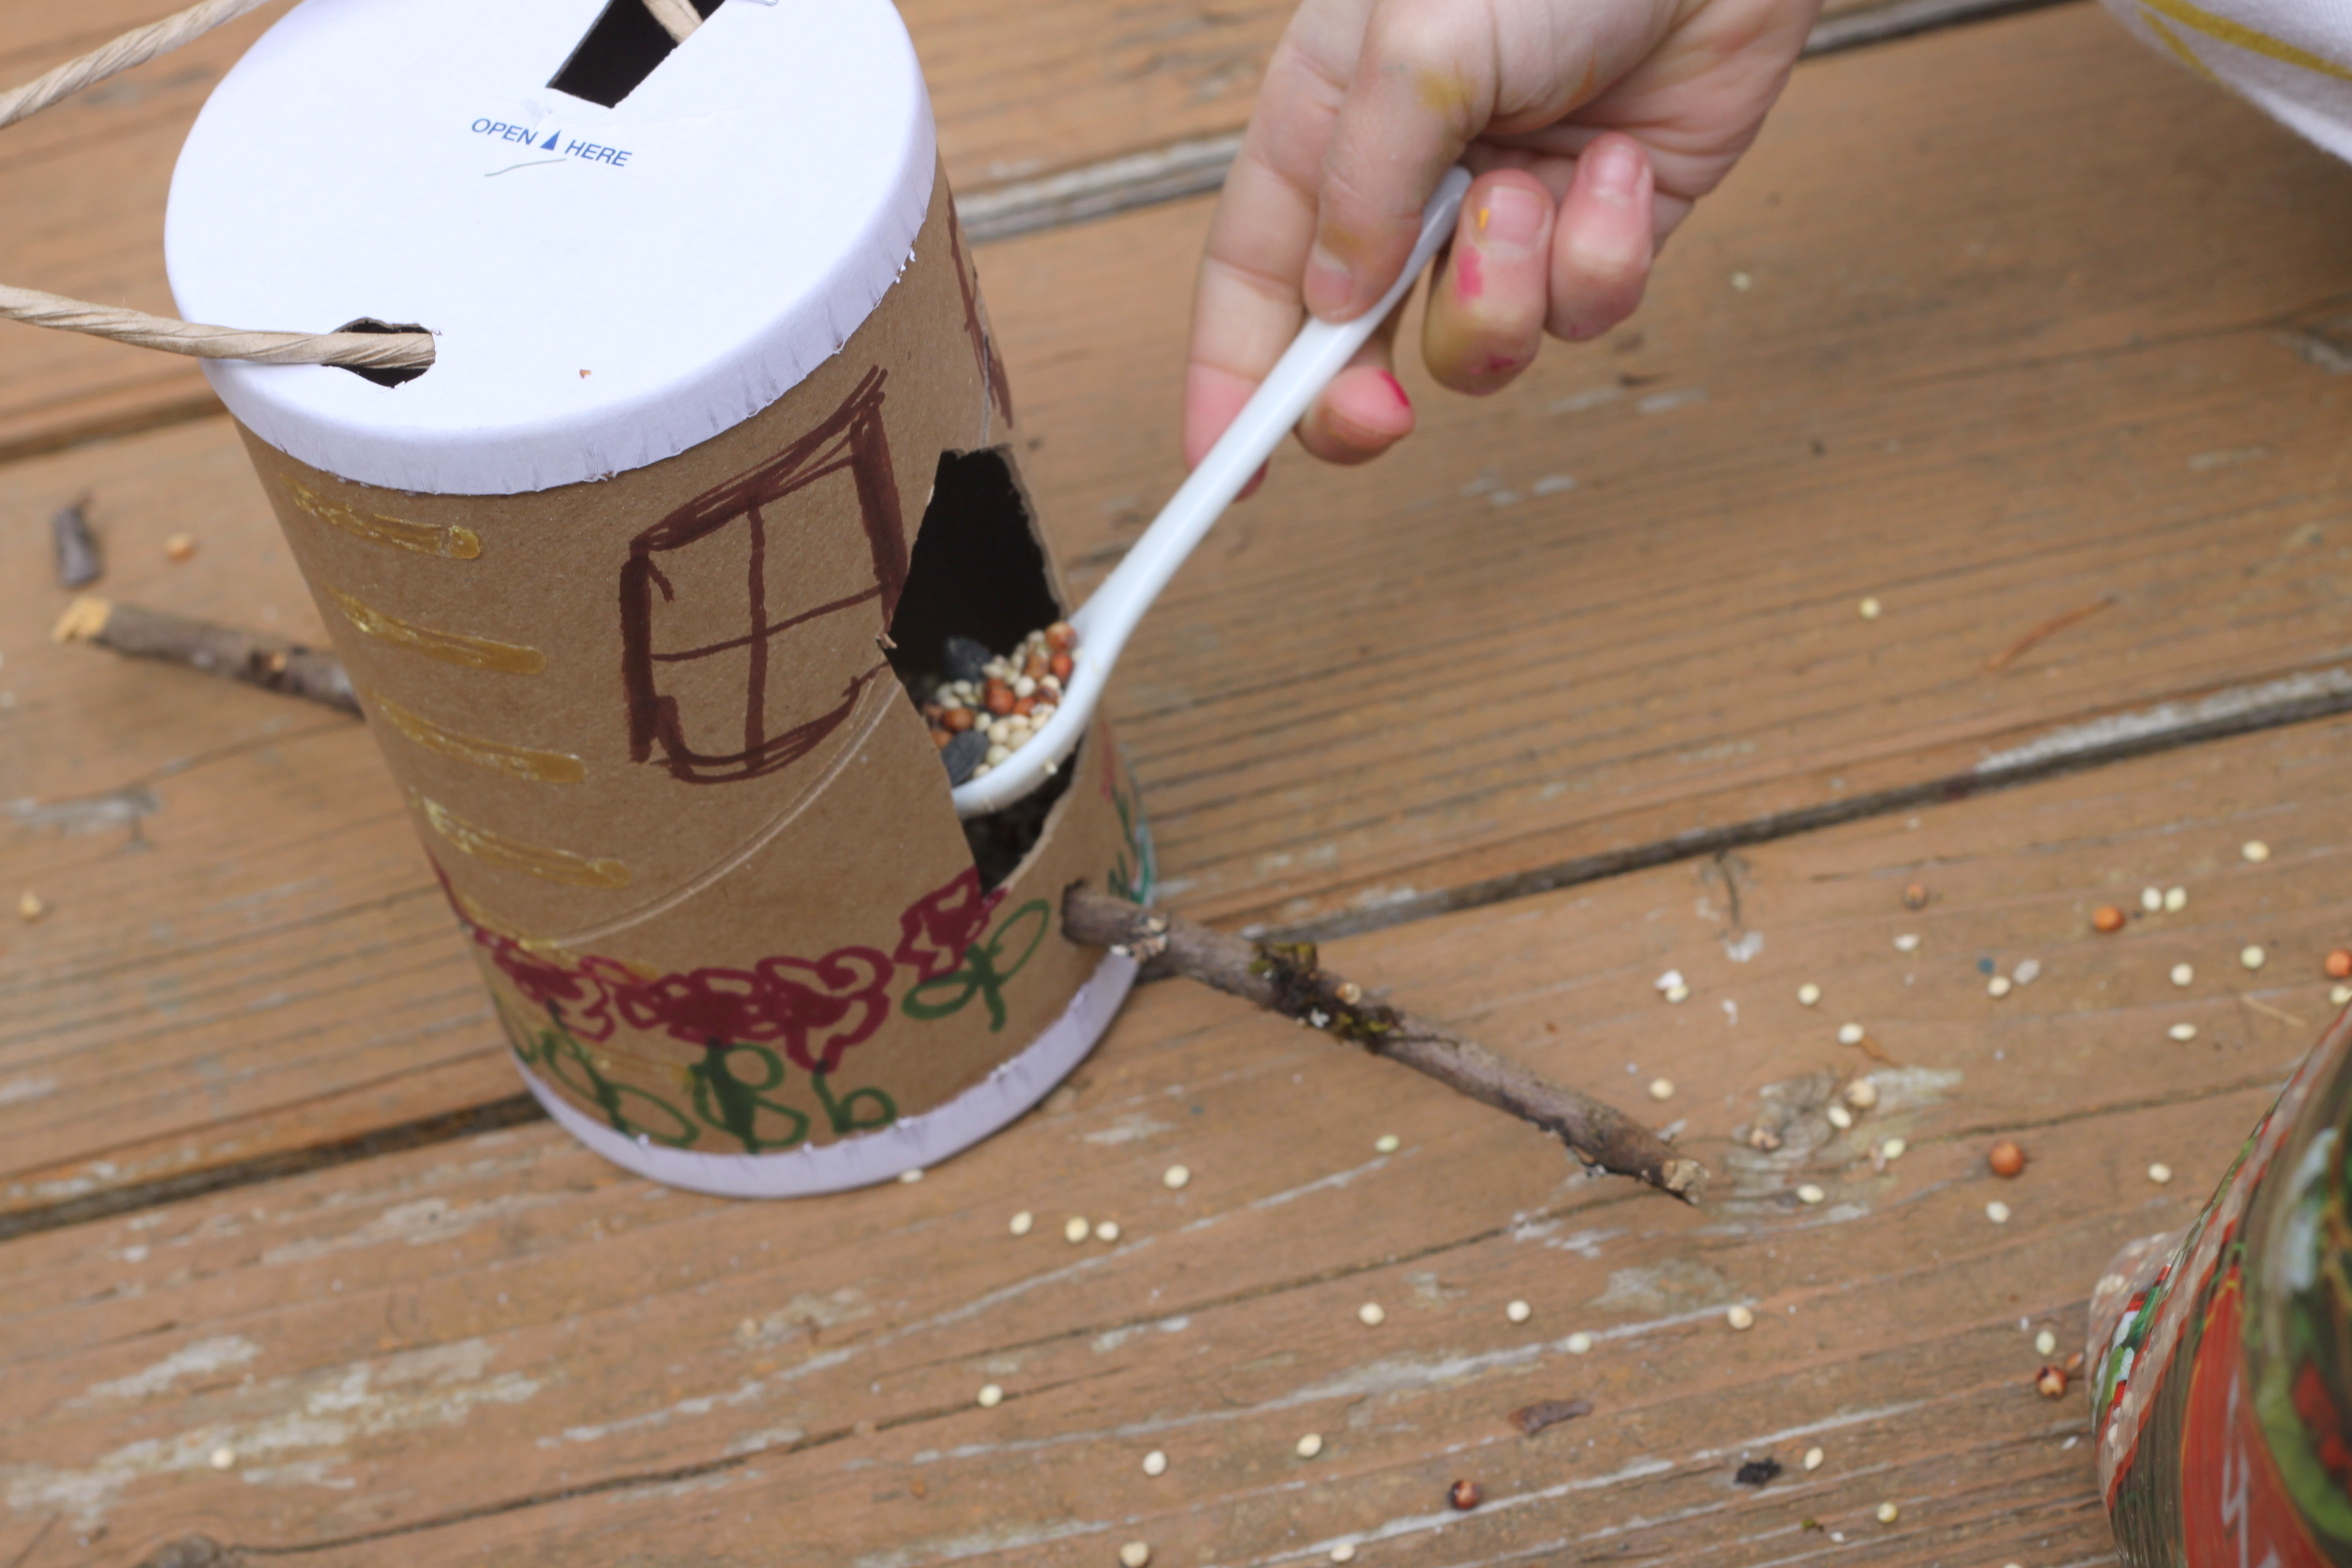
Step 7
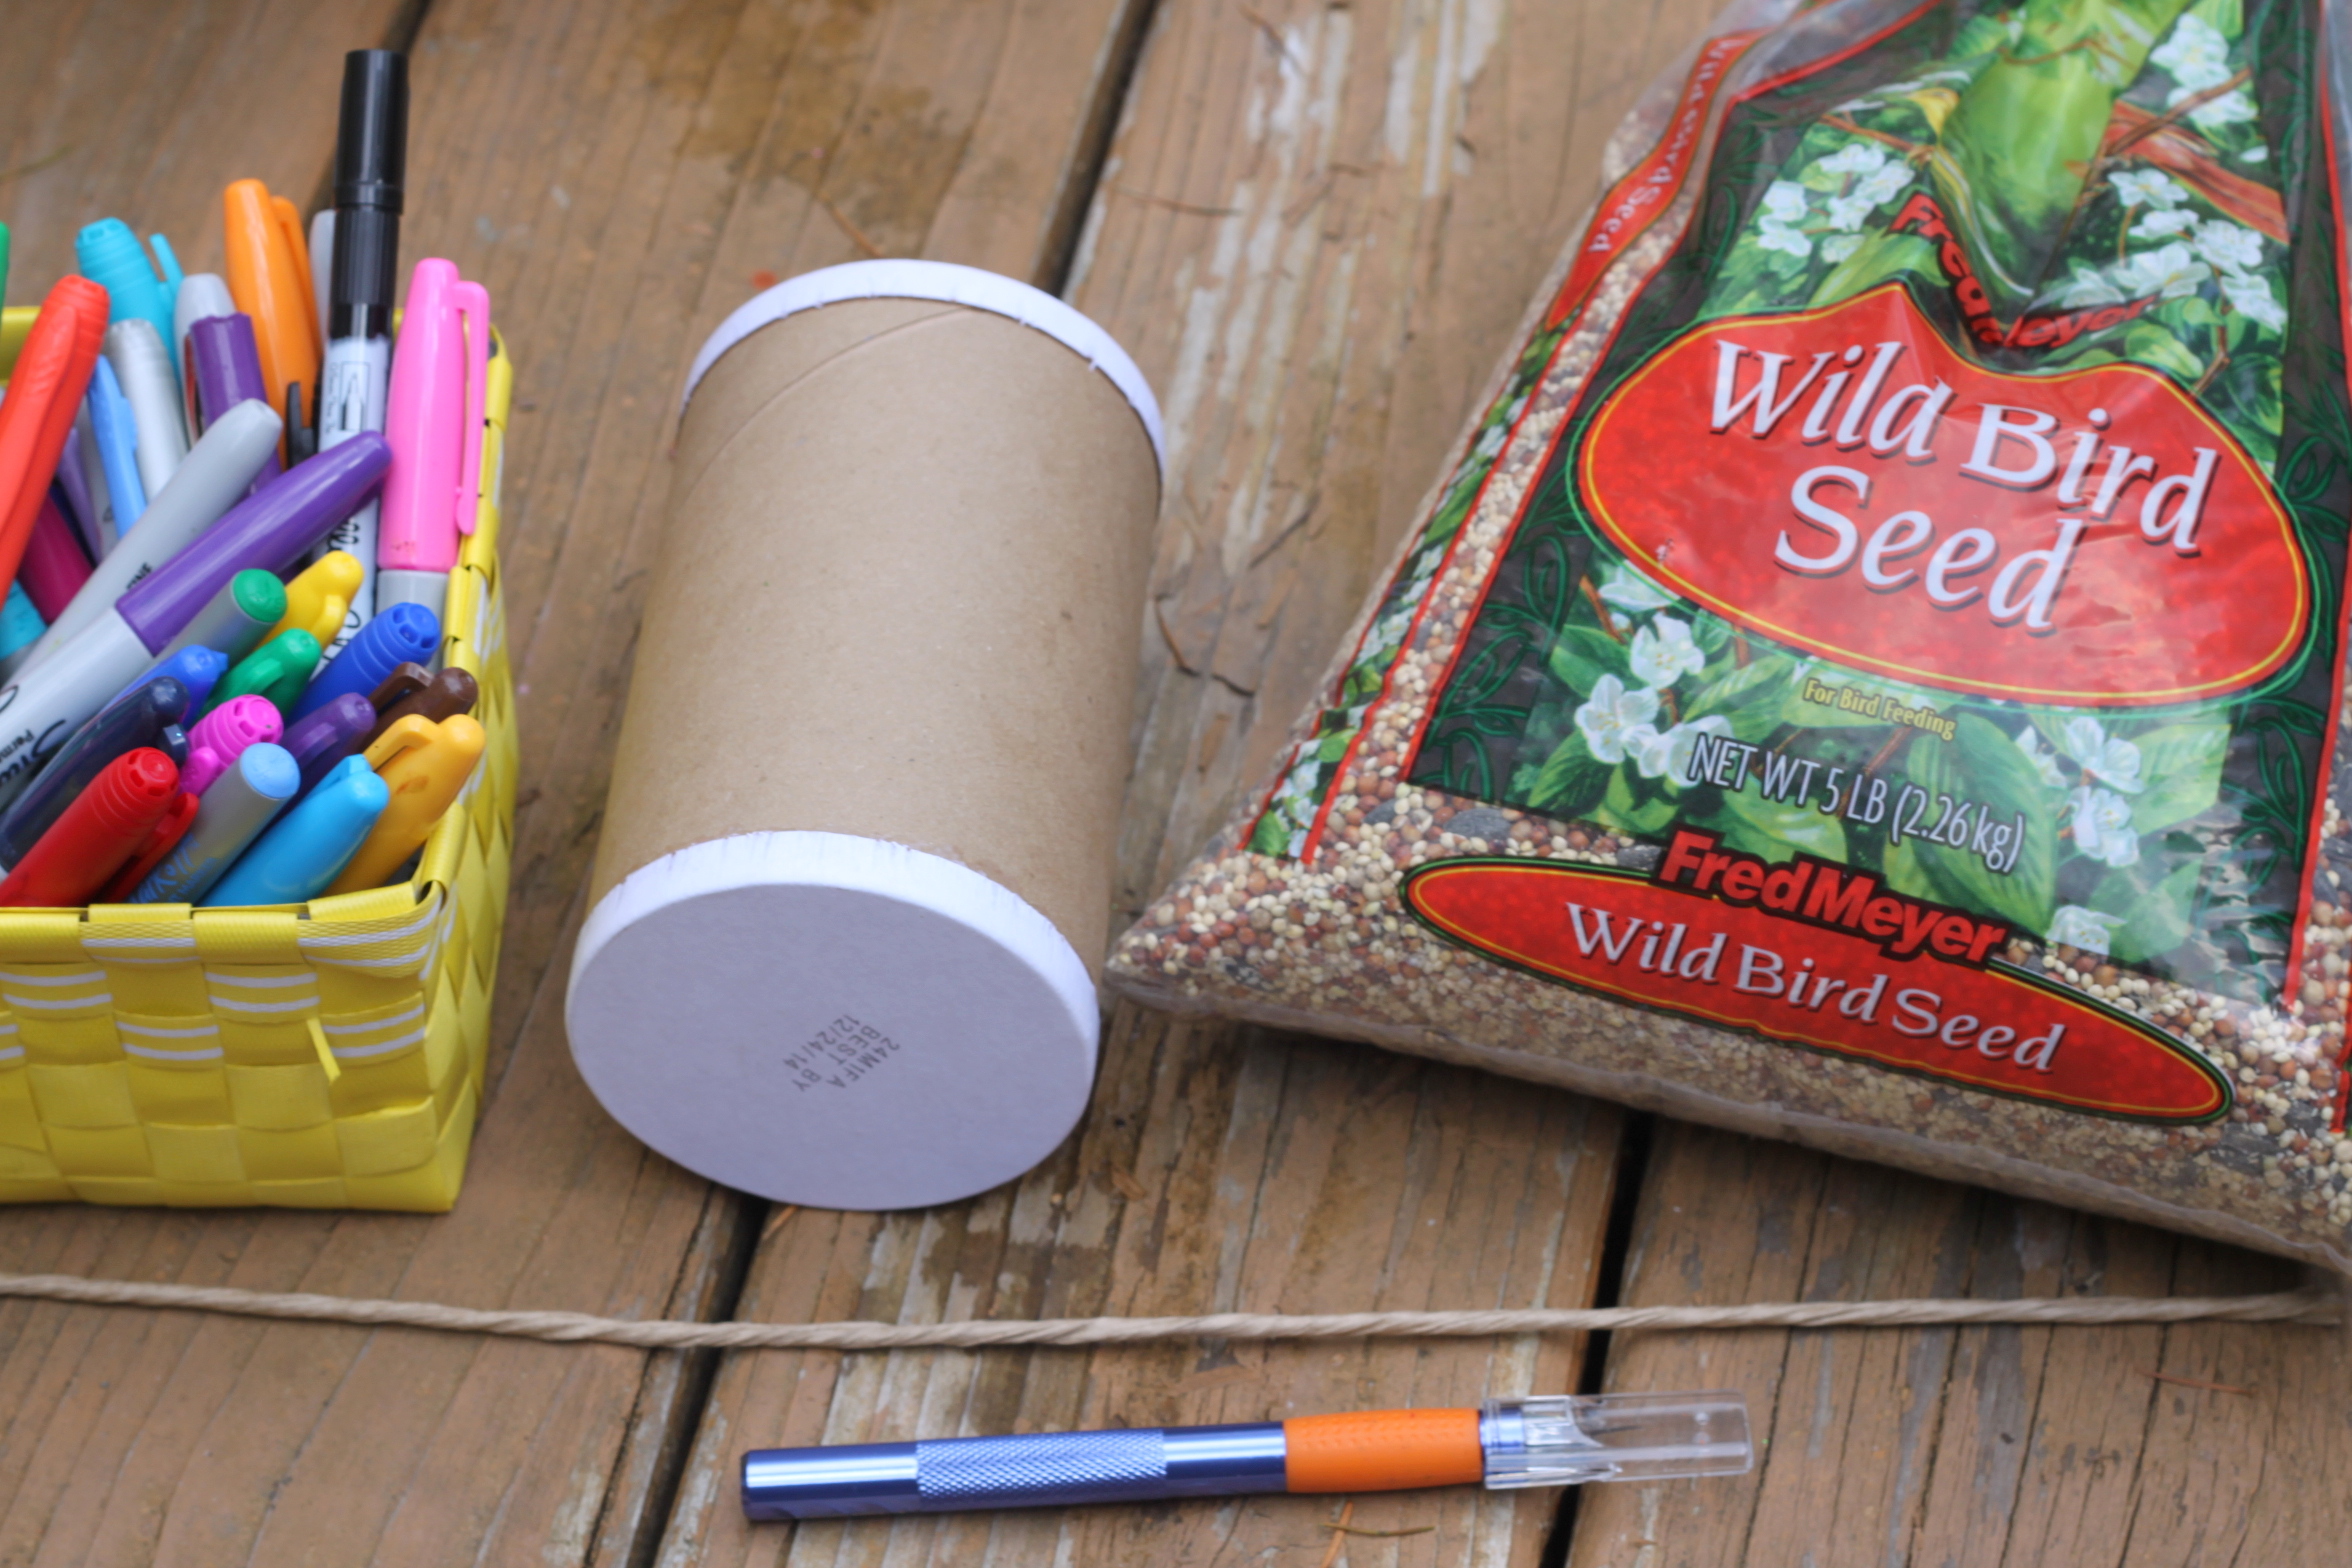
The final step was to add the birdseed and our feeder was ready to be hung in our tree right outside a window. This way we can see our little bird friends when they stop by!
Final result!
This worked perfectly! A bird came by within an hour after hanging. My daughter was so proud. Note: this house is probably best for summertime since it won't stand up to any wet weather.