Step-by-step tutorial
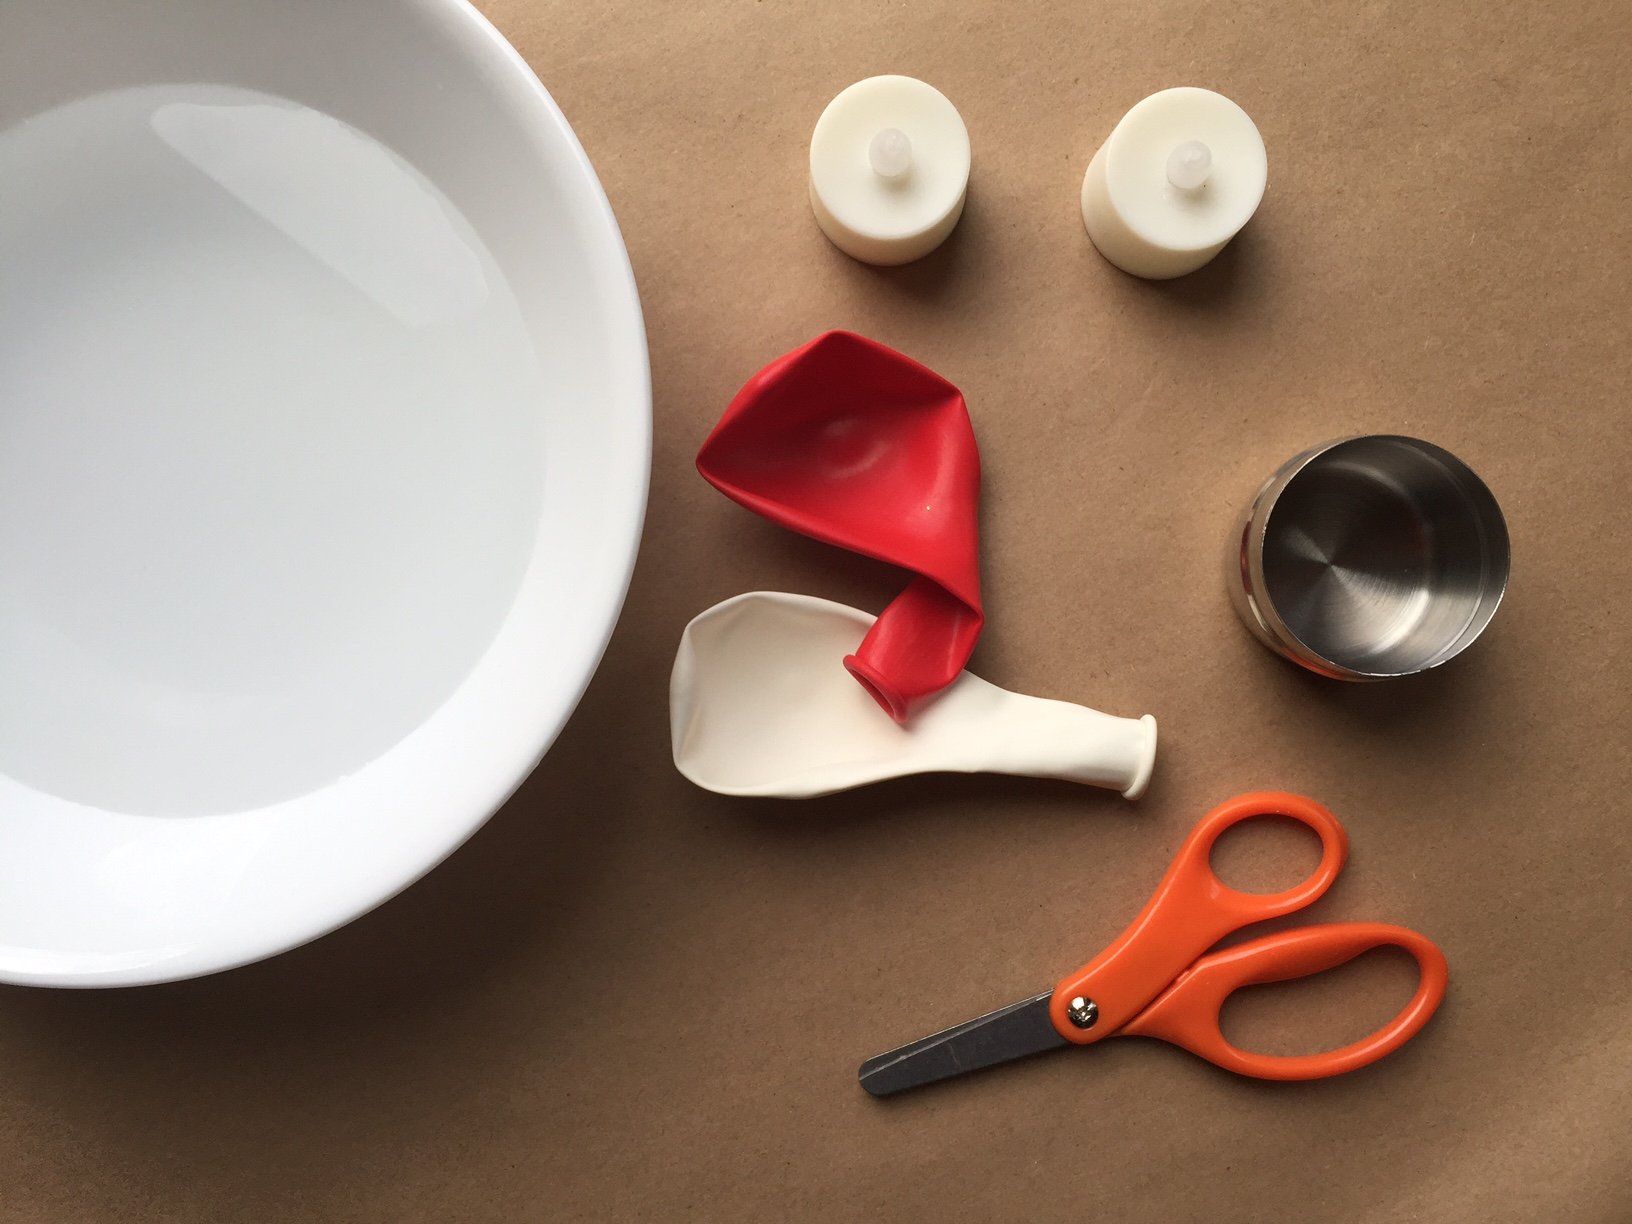
Step 1
Gather all of your materials!

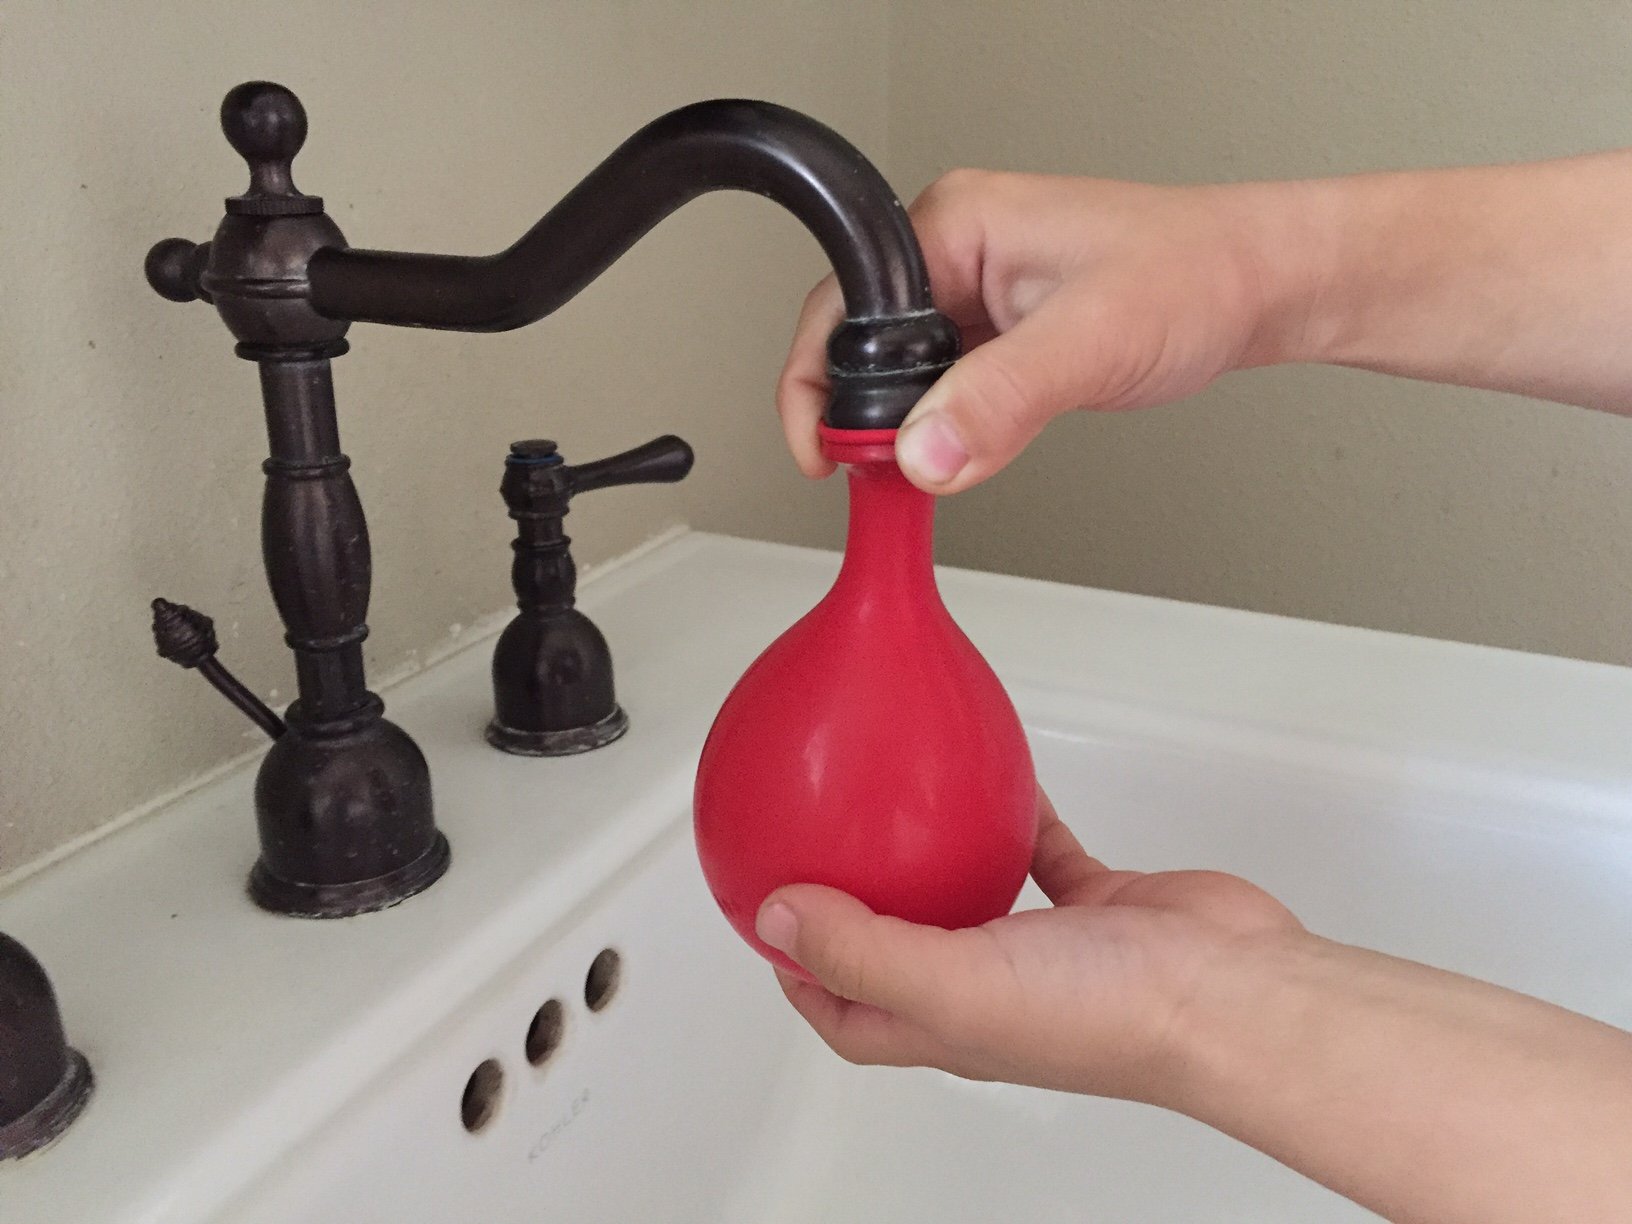
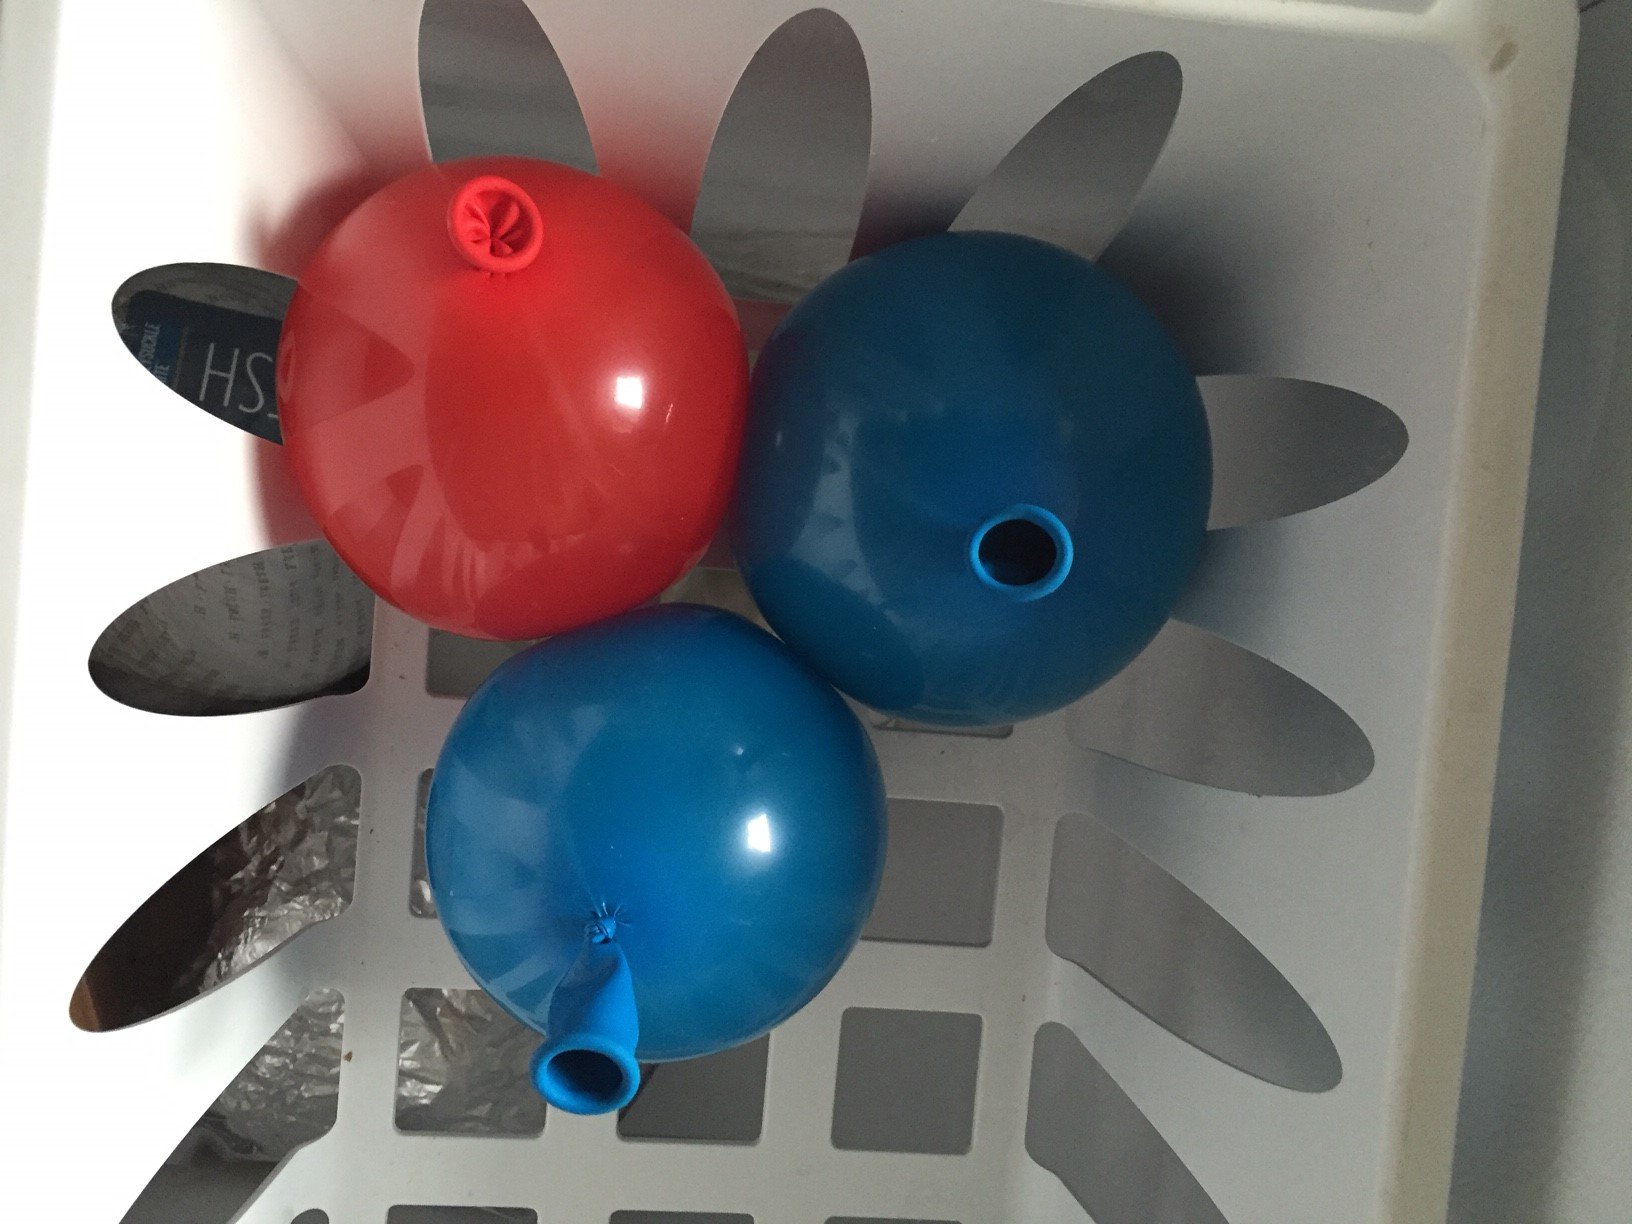
Step 2
First, we filled up our balloons with water and tied them off. Careful on this step, as we did get a little wet when one slick balloon squirmed its way out of our hands!
Step 3
Then, we placed our balloons in the freezer overnight for 24 hours. This step requires a bit of patience. It takes a while for the water to freeze all the way through.
Step 4
After waiting, take the balloon out and trim the knot off. Then you should be able to slide your ball of ice out of the balloon. If not, make another little cut at the mouth of the opening.

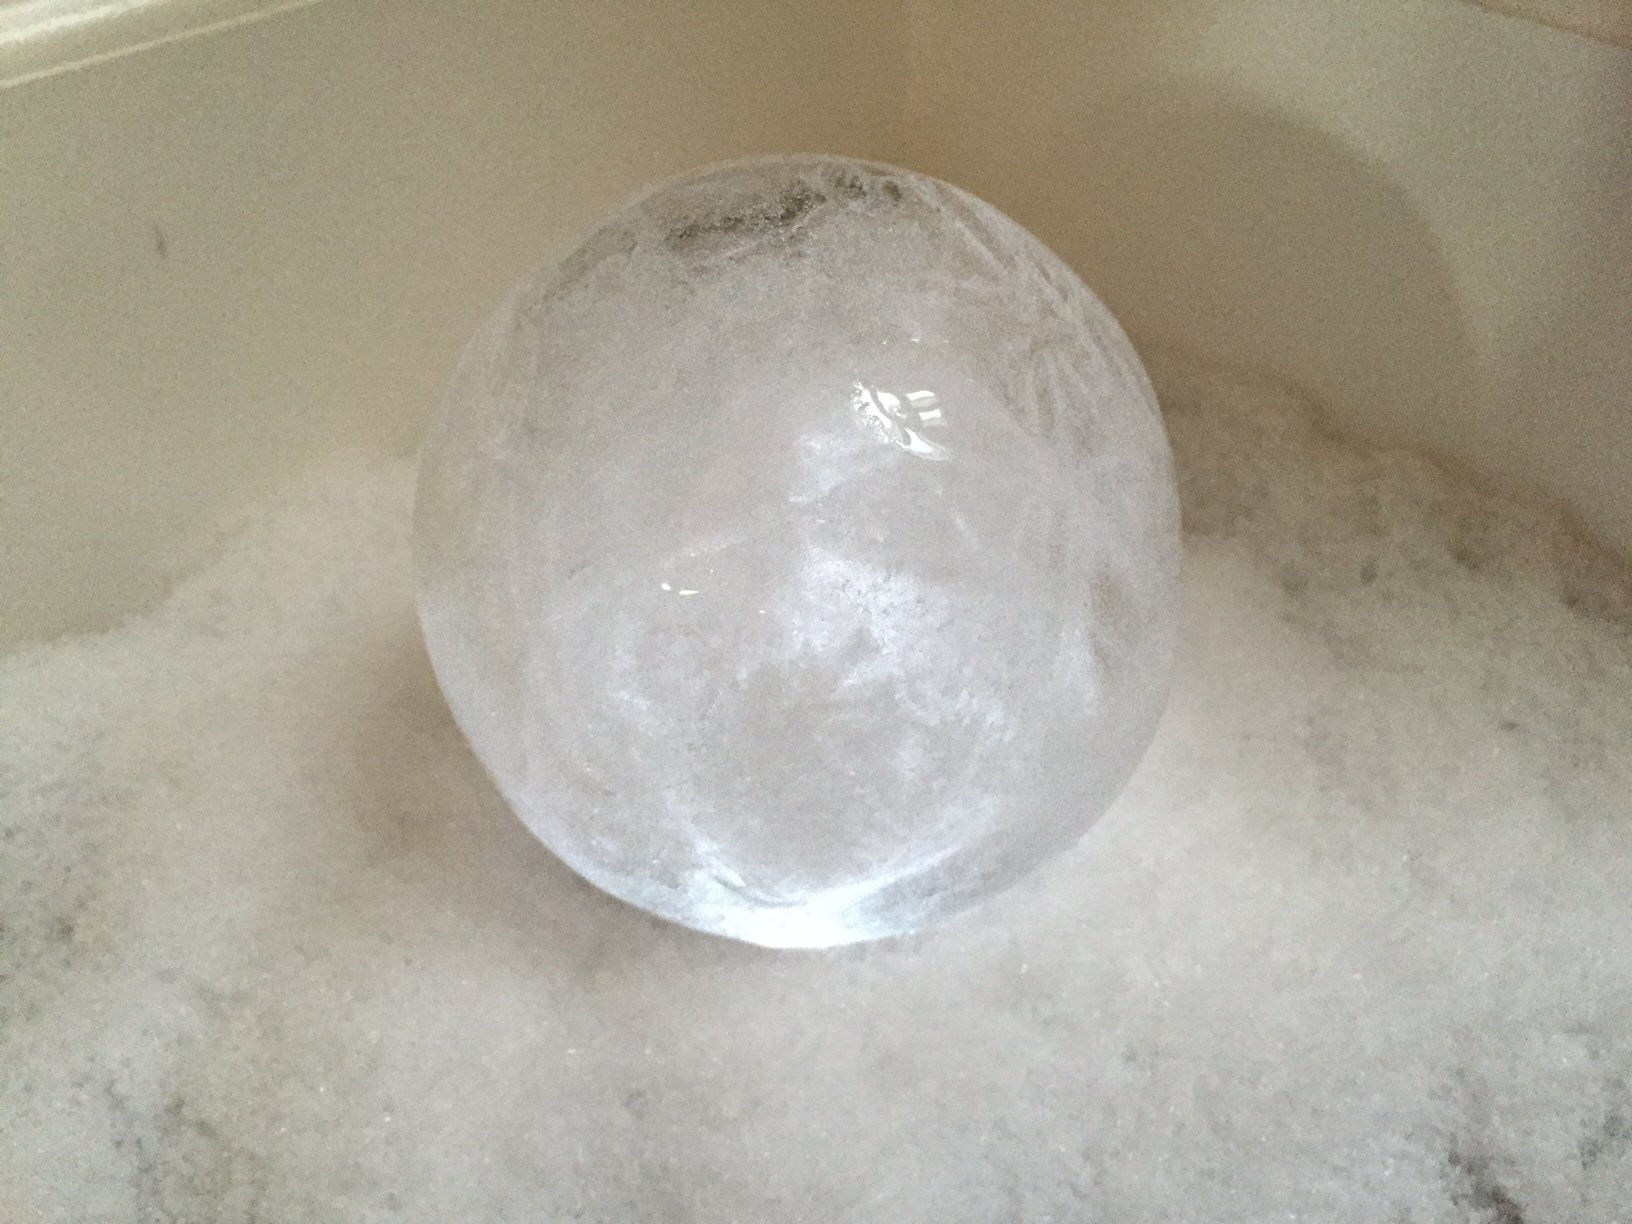
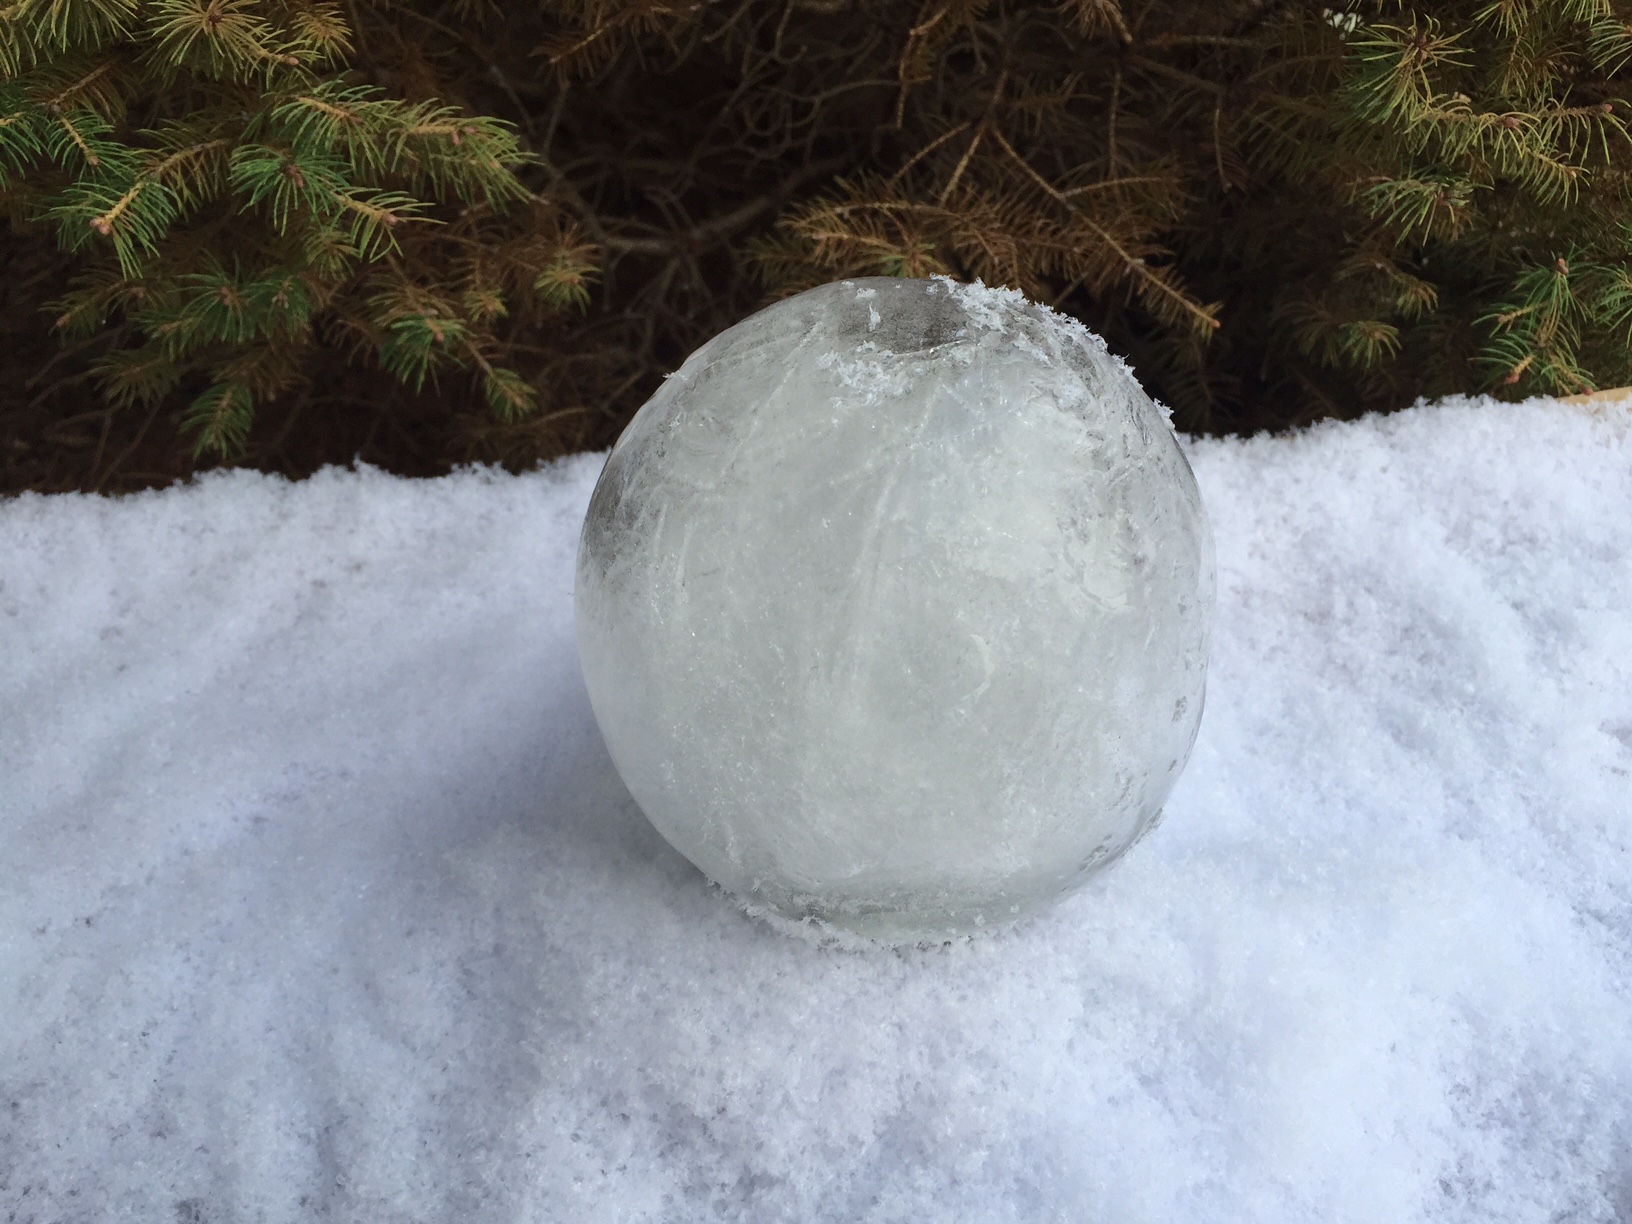
Step 5
Ta-dah! You have your ball of ice. This alone was slippery cold fun for the kids.
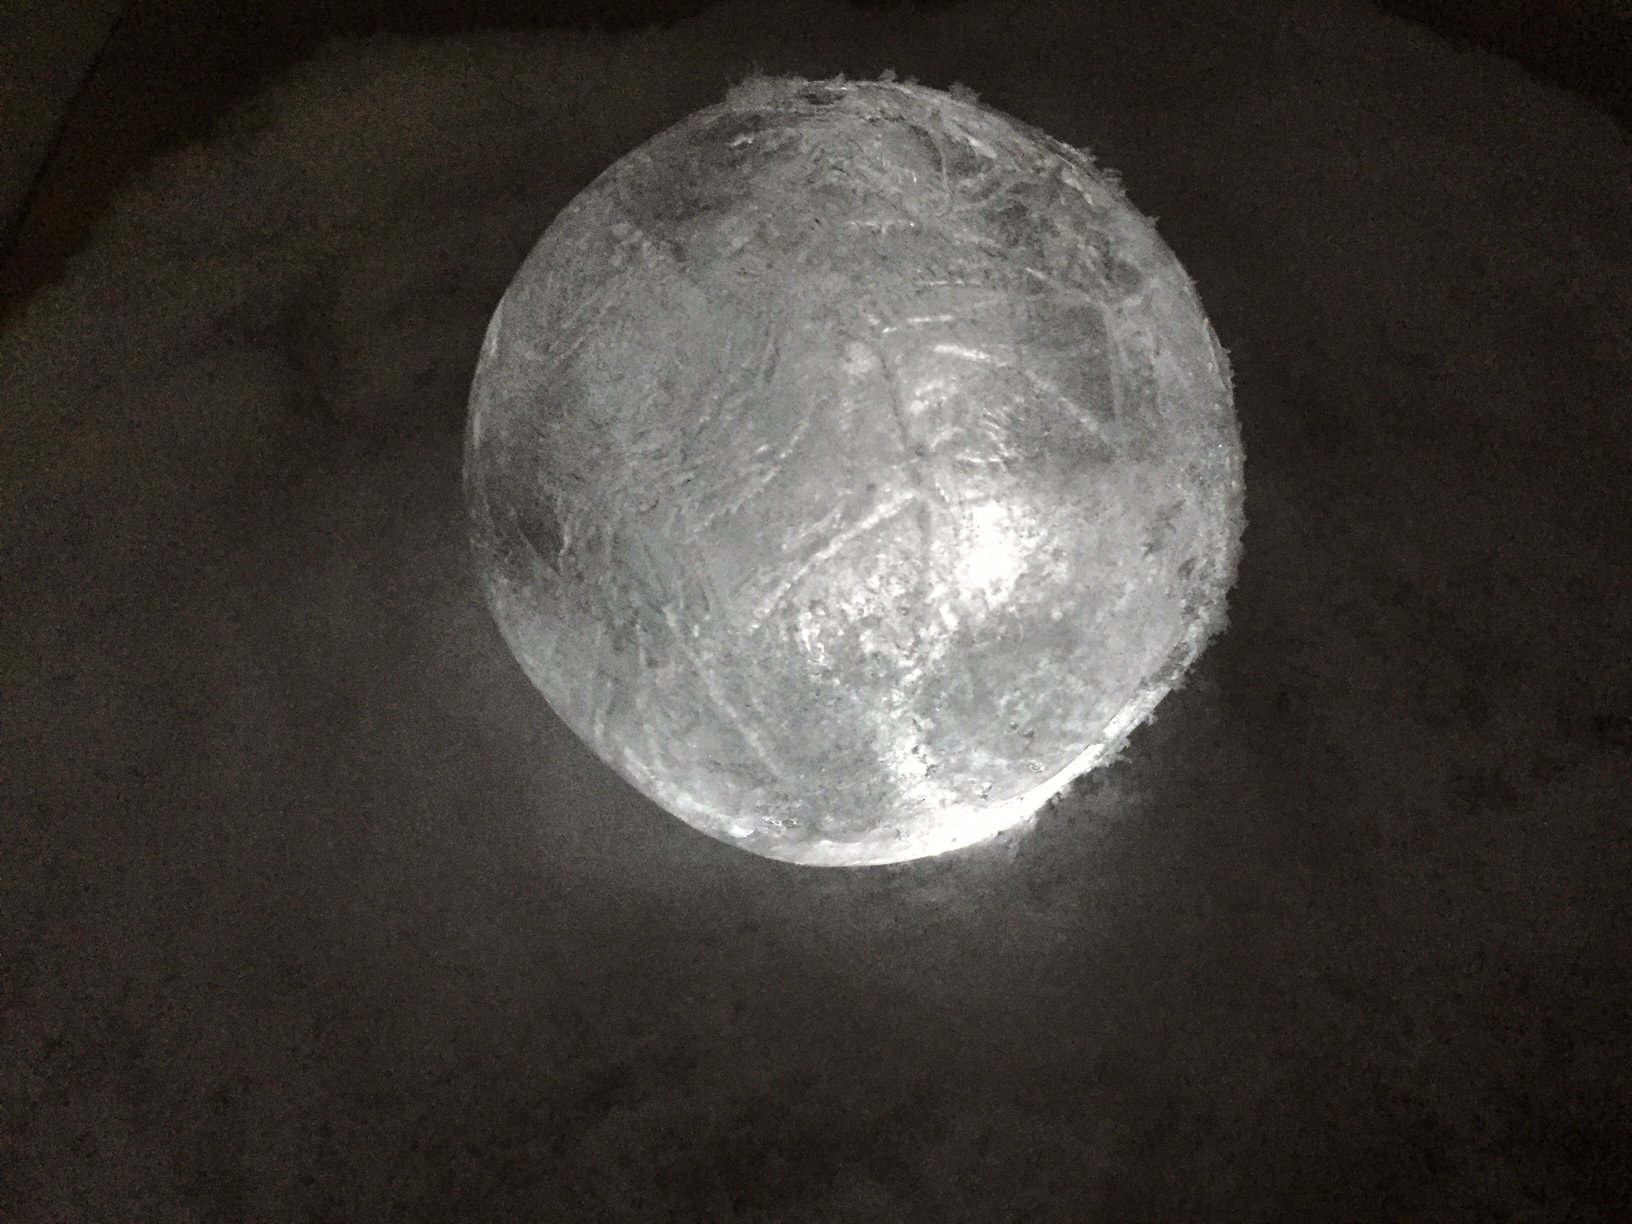
Done!
To make our globe of ice glow, we set our tea light into the small container and covered it with a clear lid. Then brought that along with the ice outside. Place the container on the ground / in the snow. When you put your ball of ice on top of it, it glows! Next time (- and there will be a next time!), we want to try to add watercolor or food coloring our balls of ice to add some variety and color to the mix.