Step-by-step tutorial
Step 1
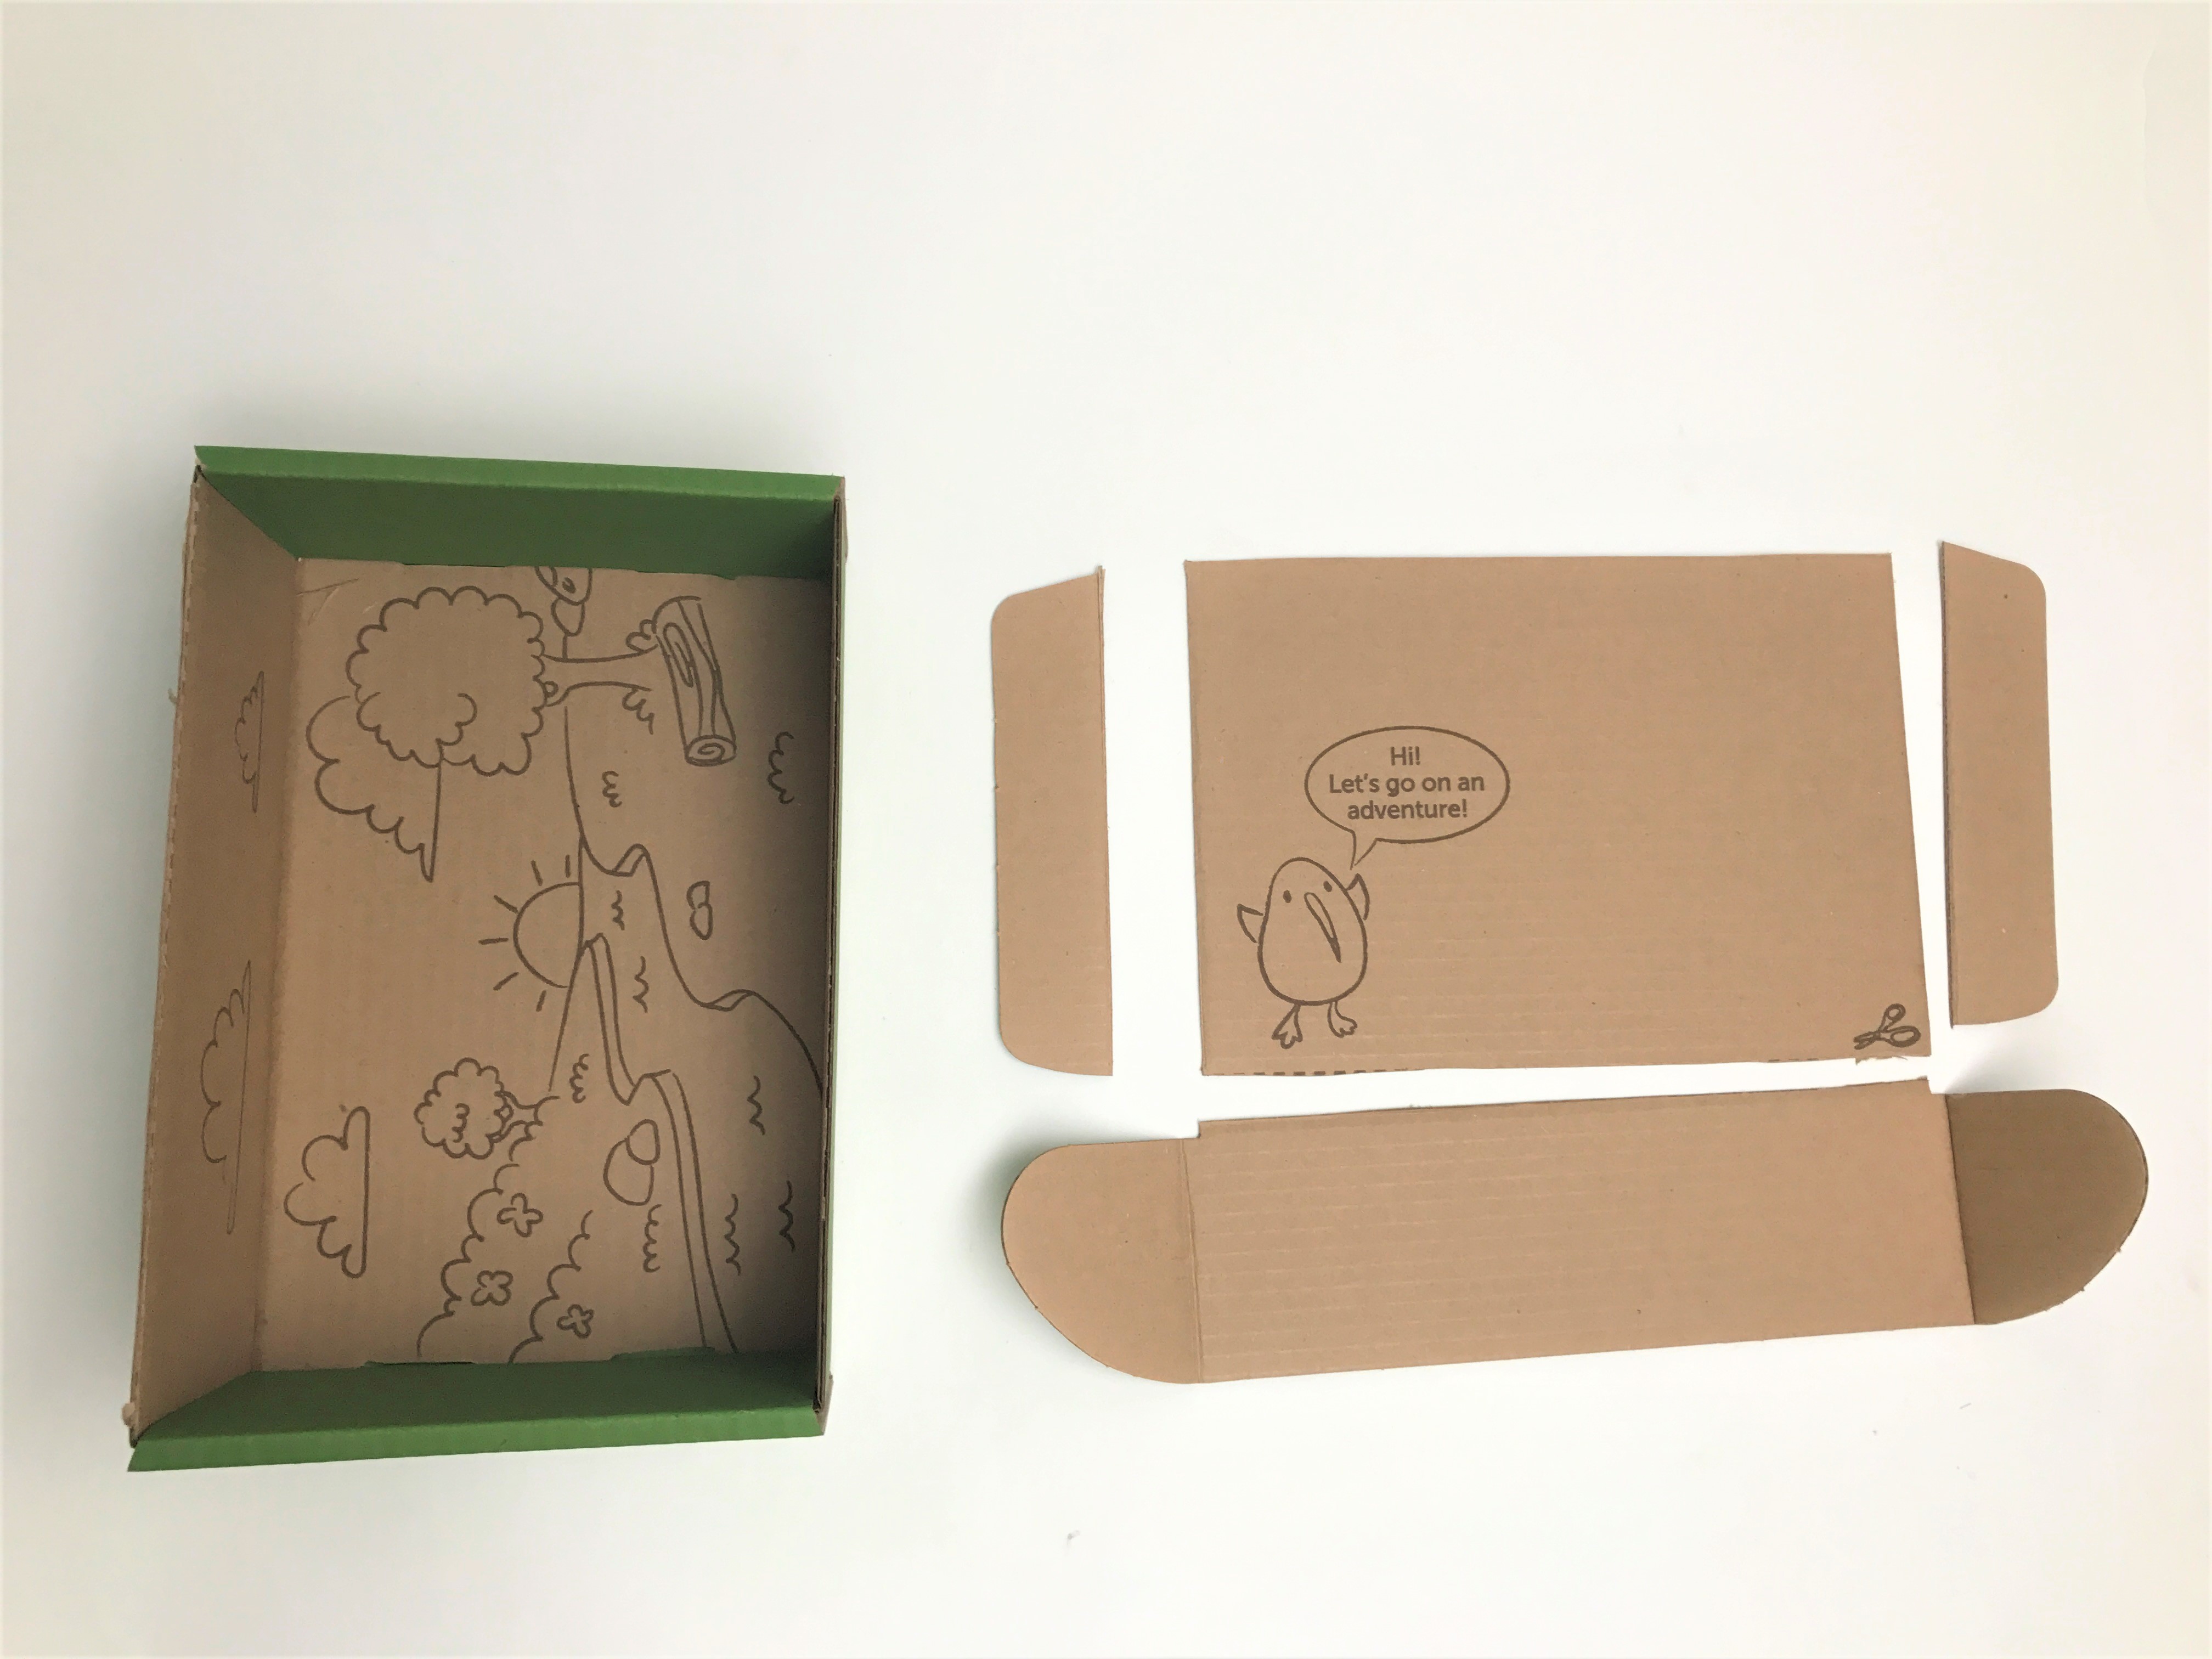
Take an empty KiwiCo box and cut off the top lid. Then cut the tabs off of the cover so you are left with the rectangular main lid. This rectangle will act as a platform in your crate. Trim the edges until the rectangle fits into your crate.

Step 2
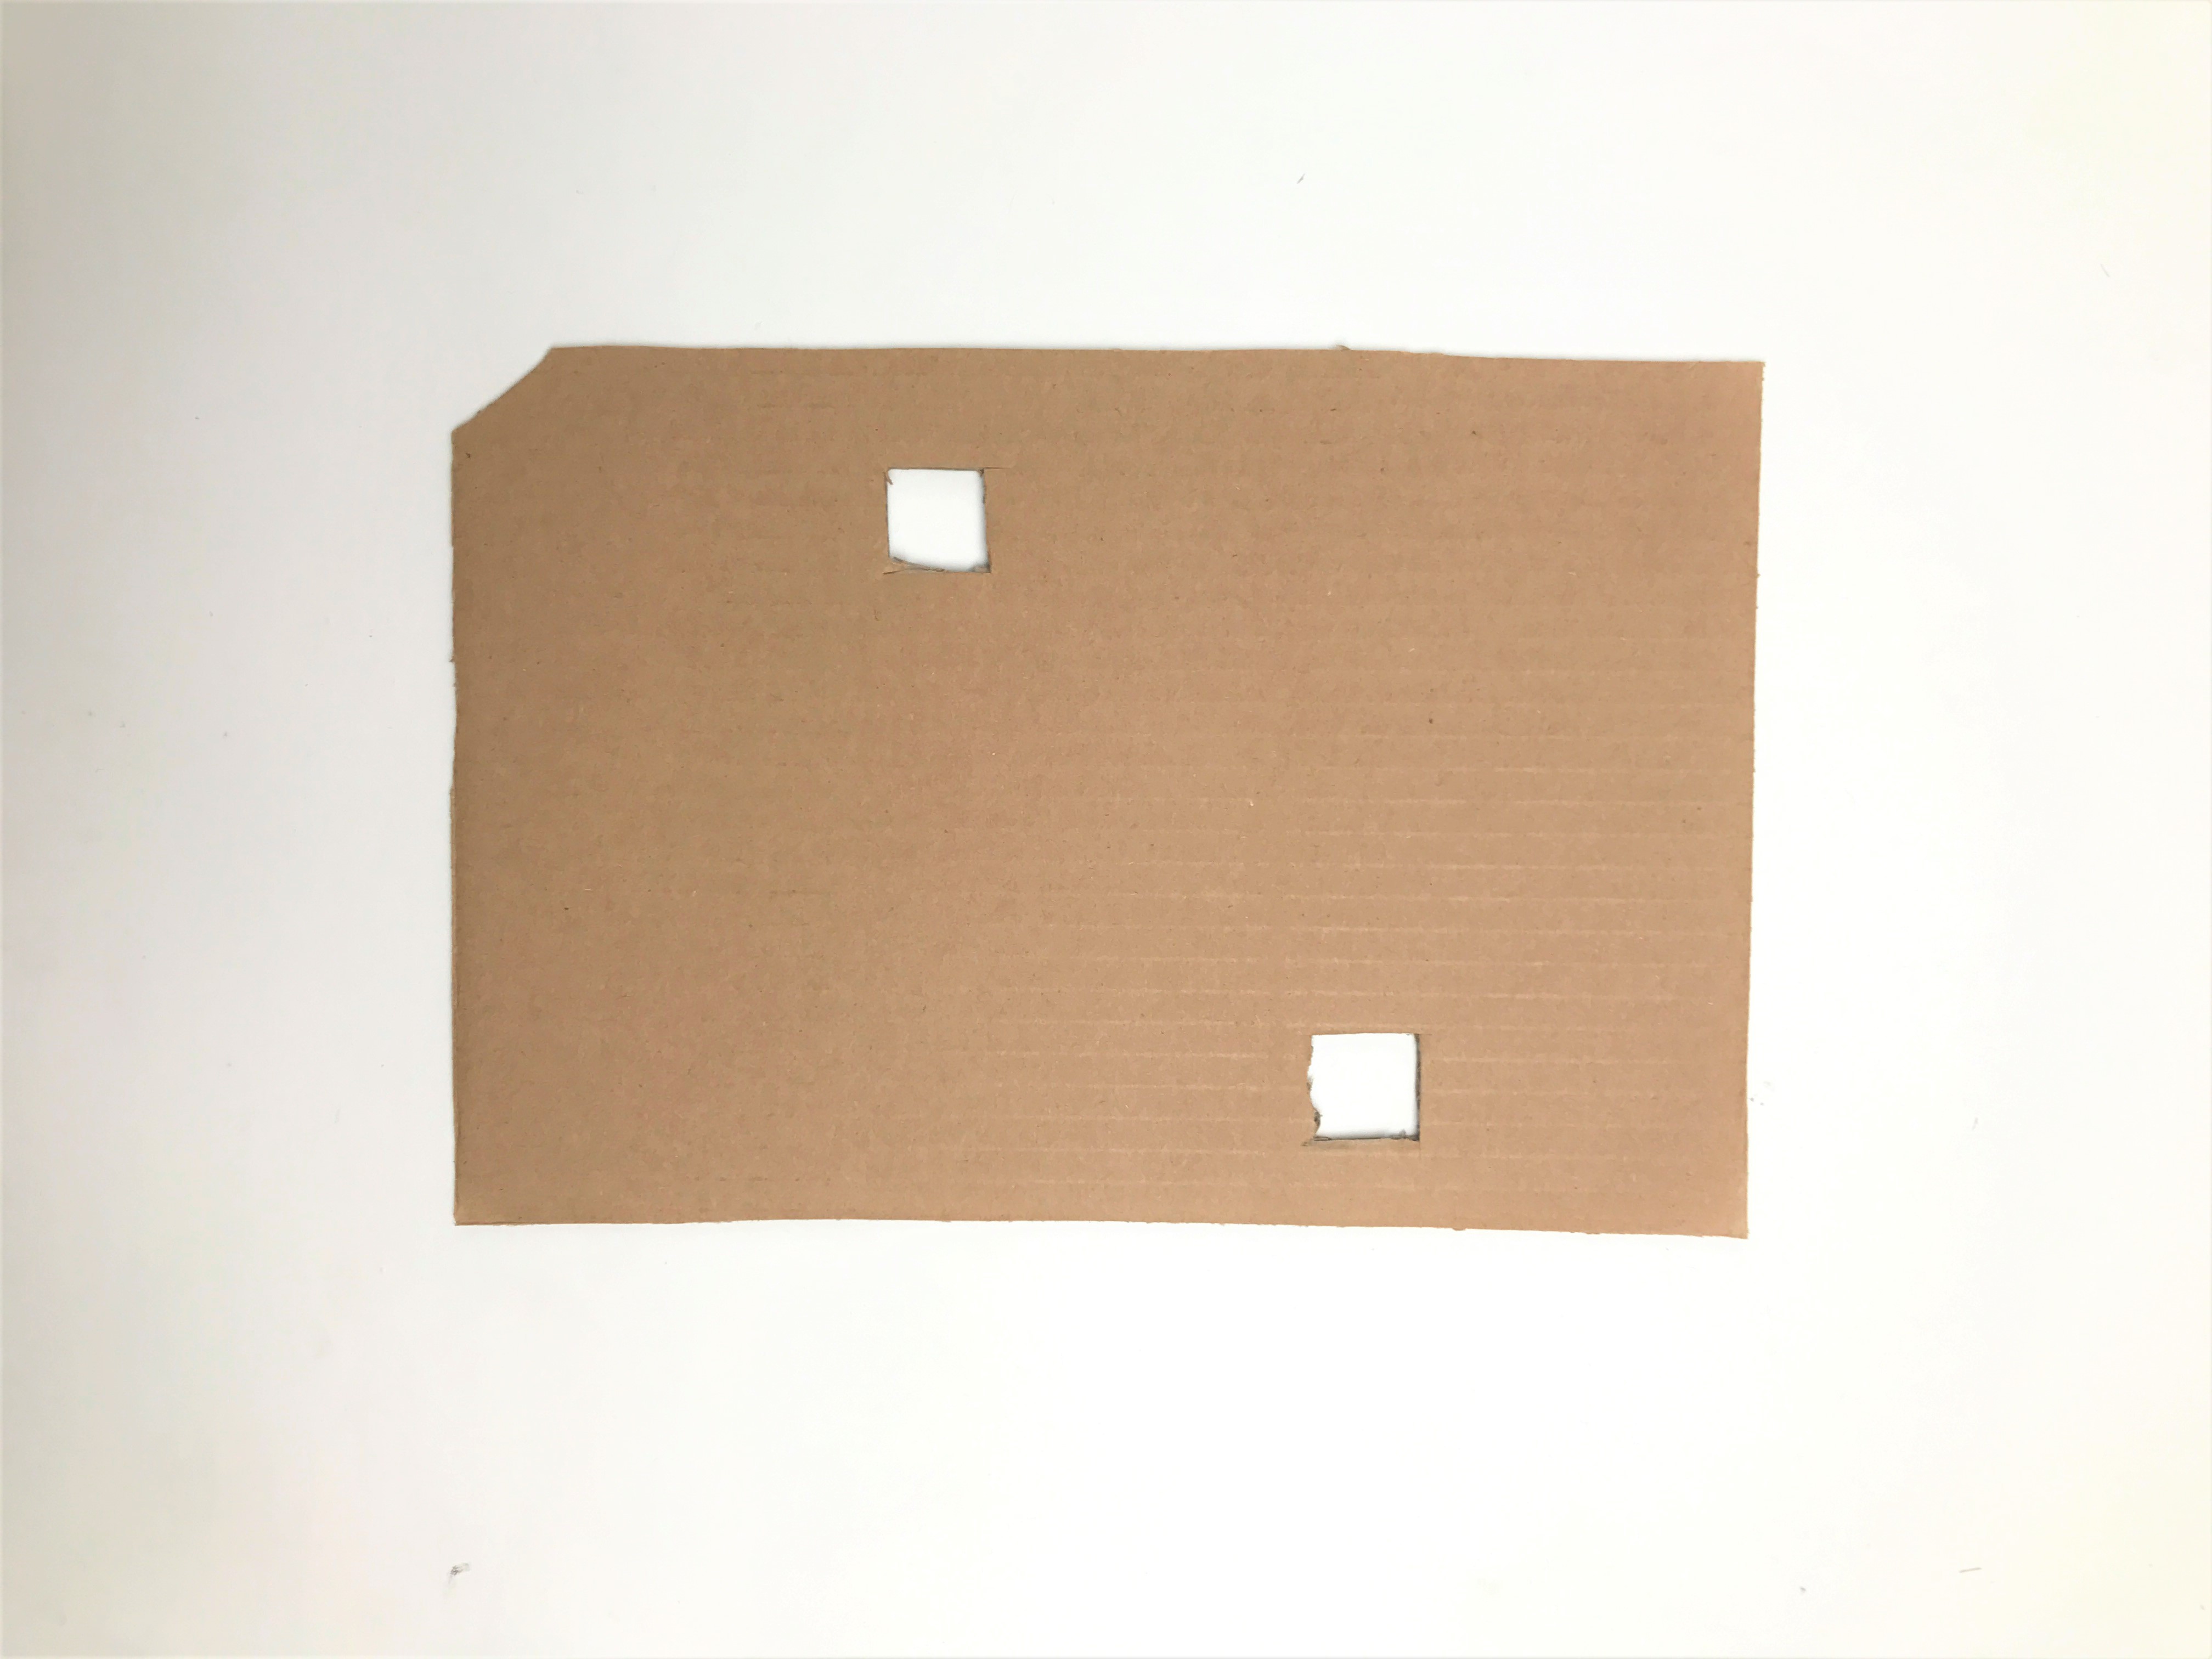
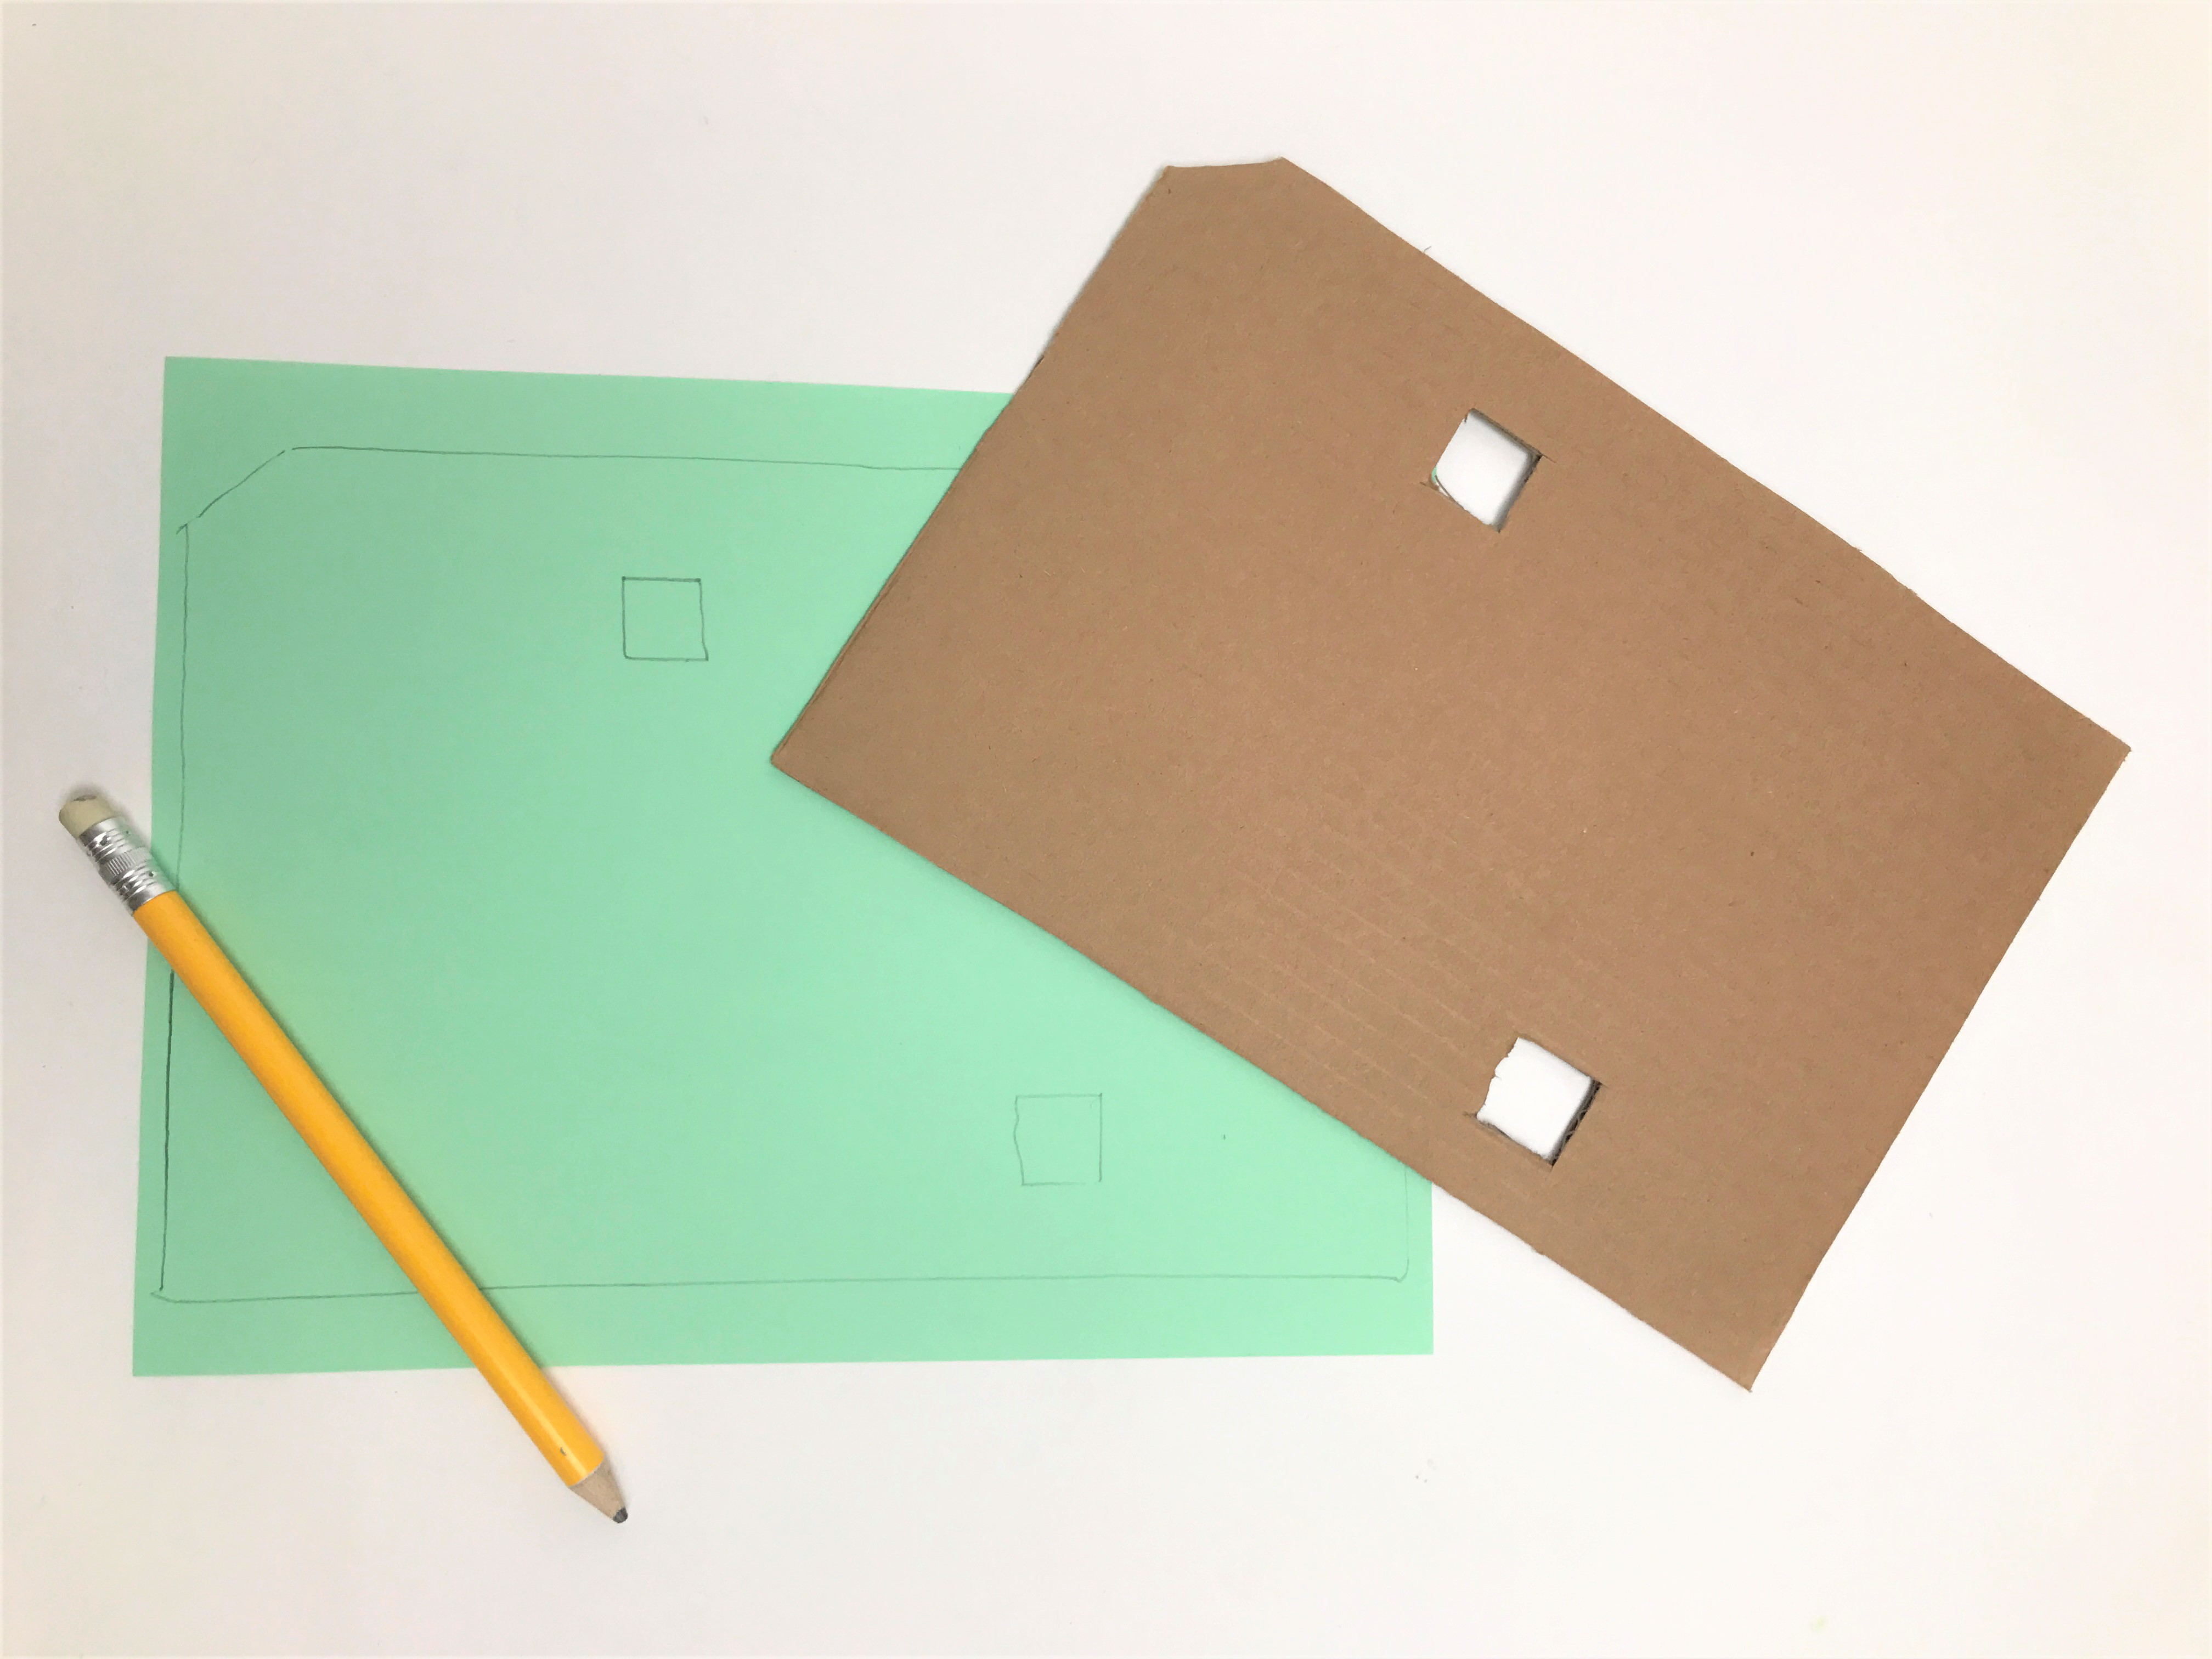
With an adult's assistance, use a craft knife to cut two 1-inch x 1-inch squares out of the middle of the rectangular piece. Then cut off a small piece of the corner of the rectangle.
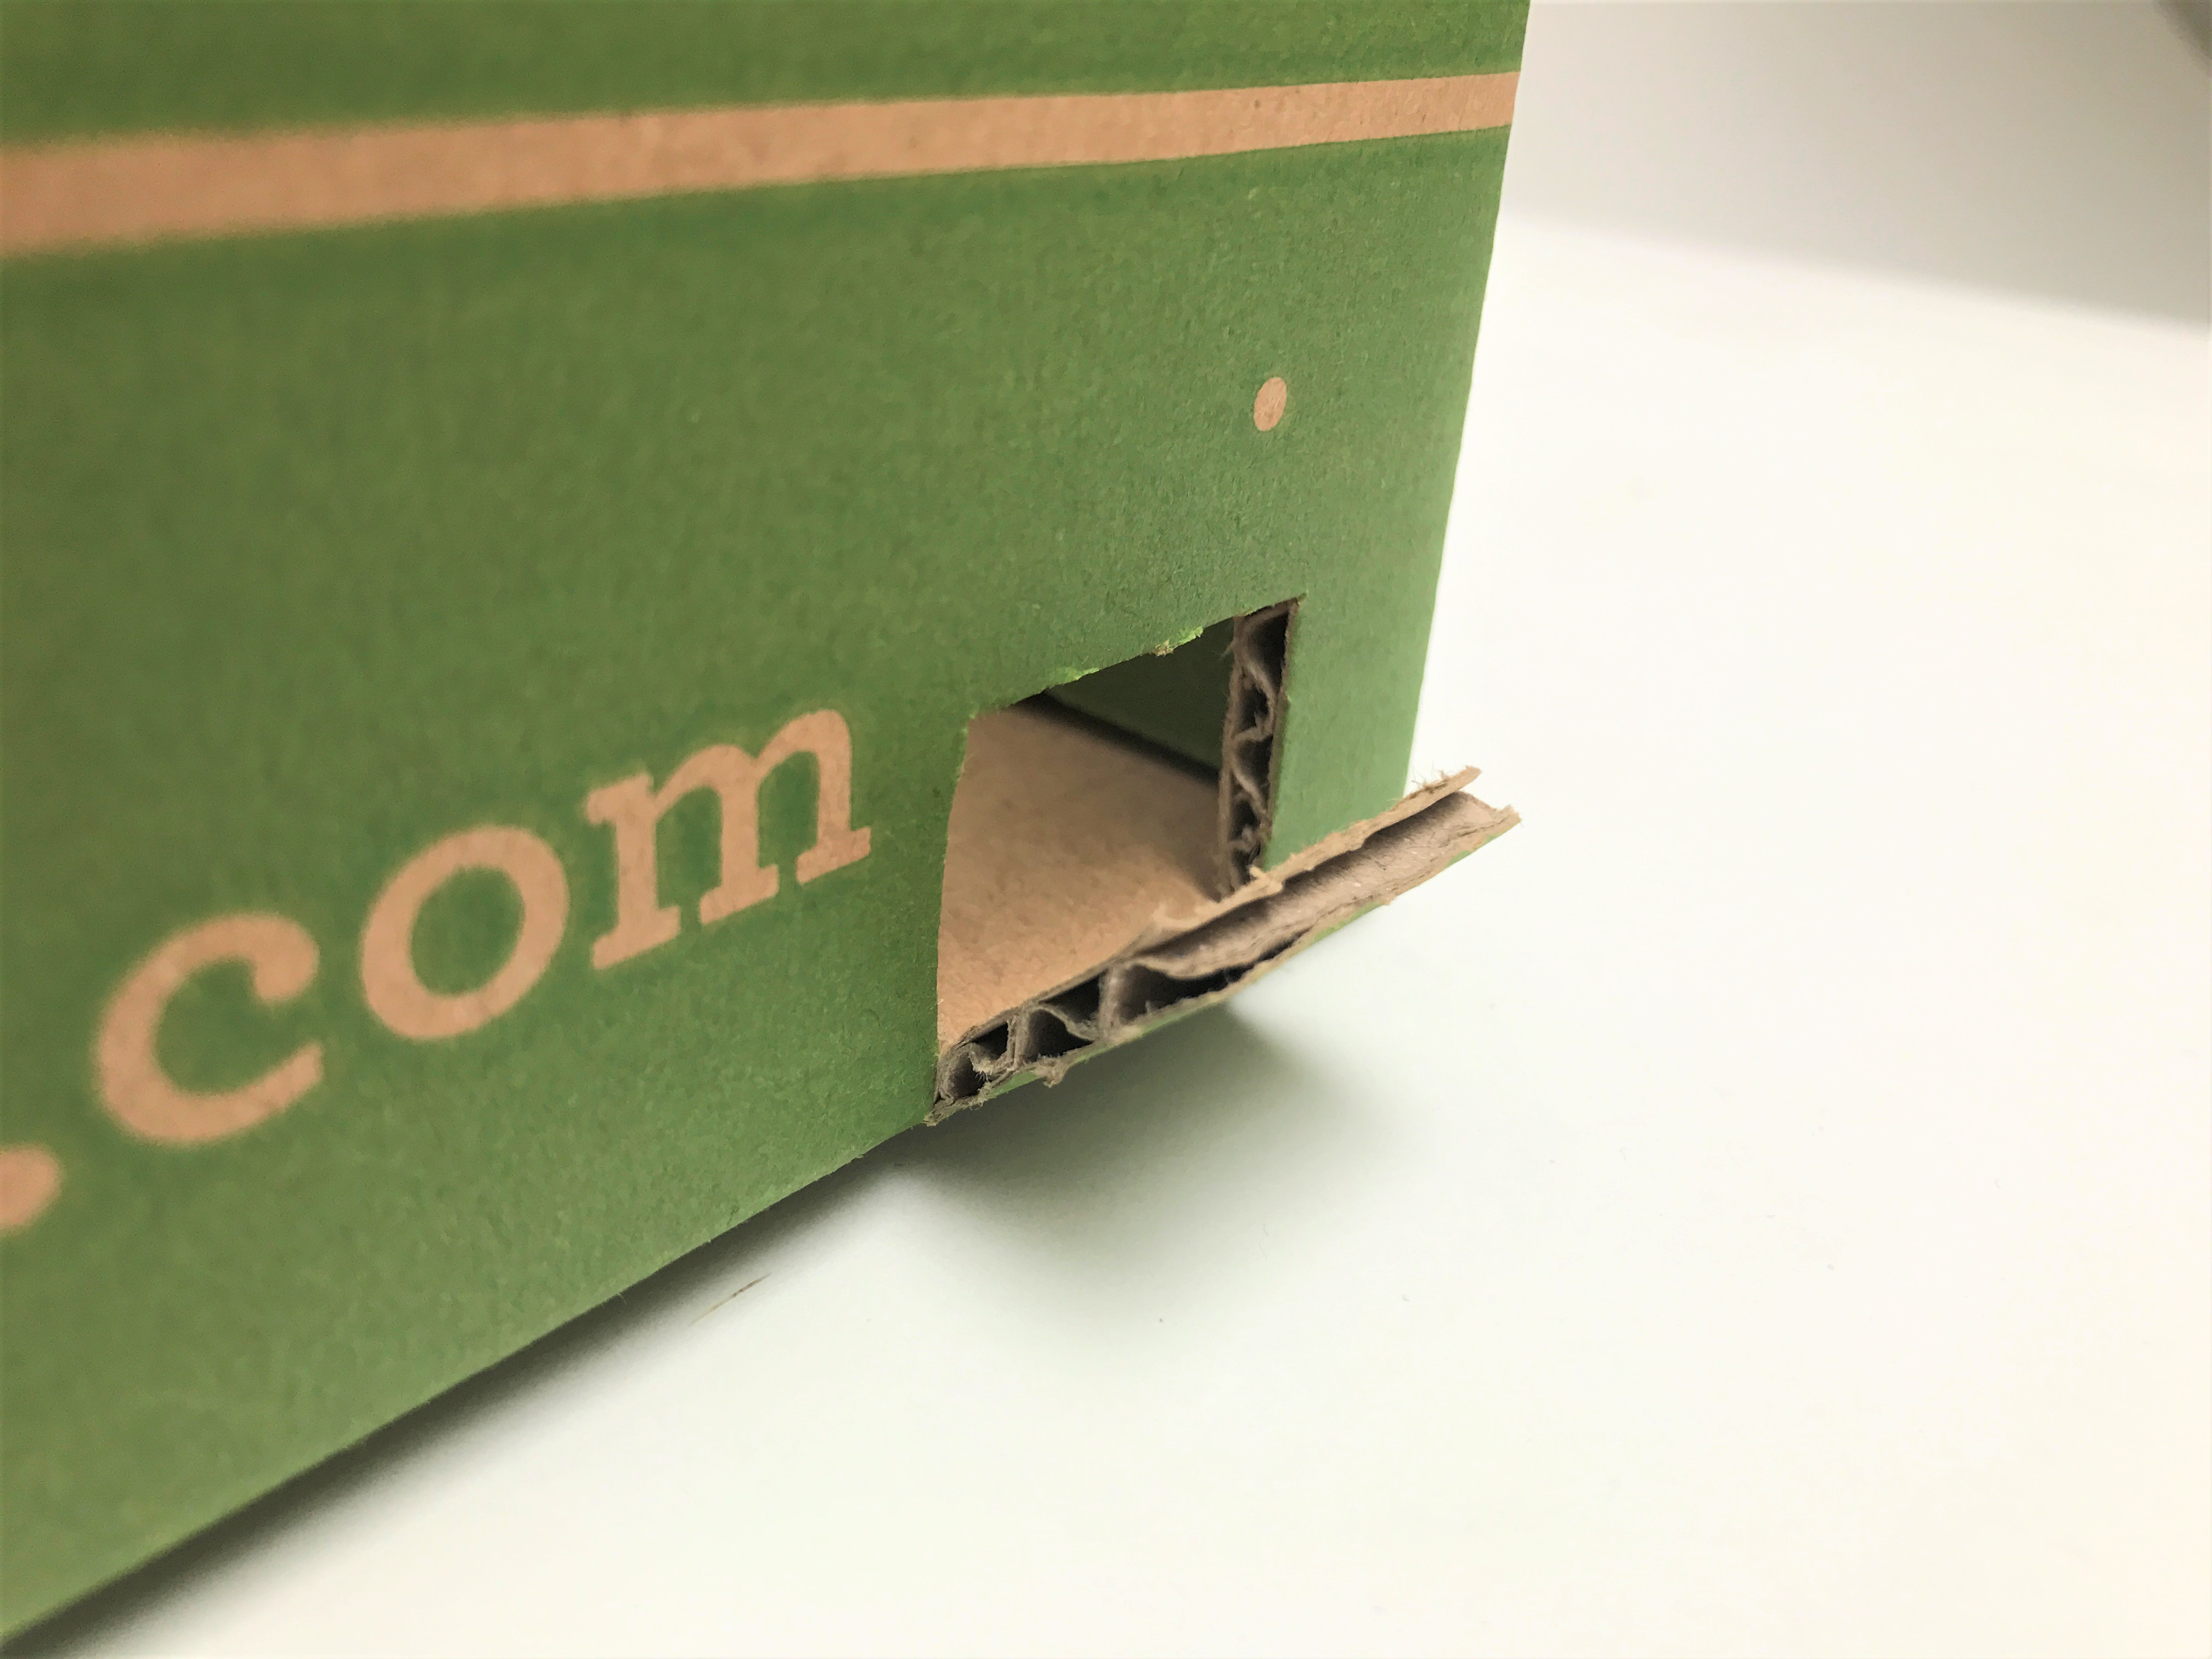
Step 3
On the side of the crate, have an adult cut a little trap door out of the cardboard.
Step 4
Take a piece of paper and use a pencil to trace your cardboard rectangle and the square holes.
Step 5
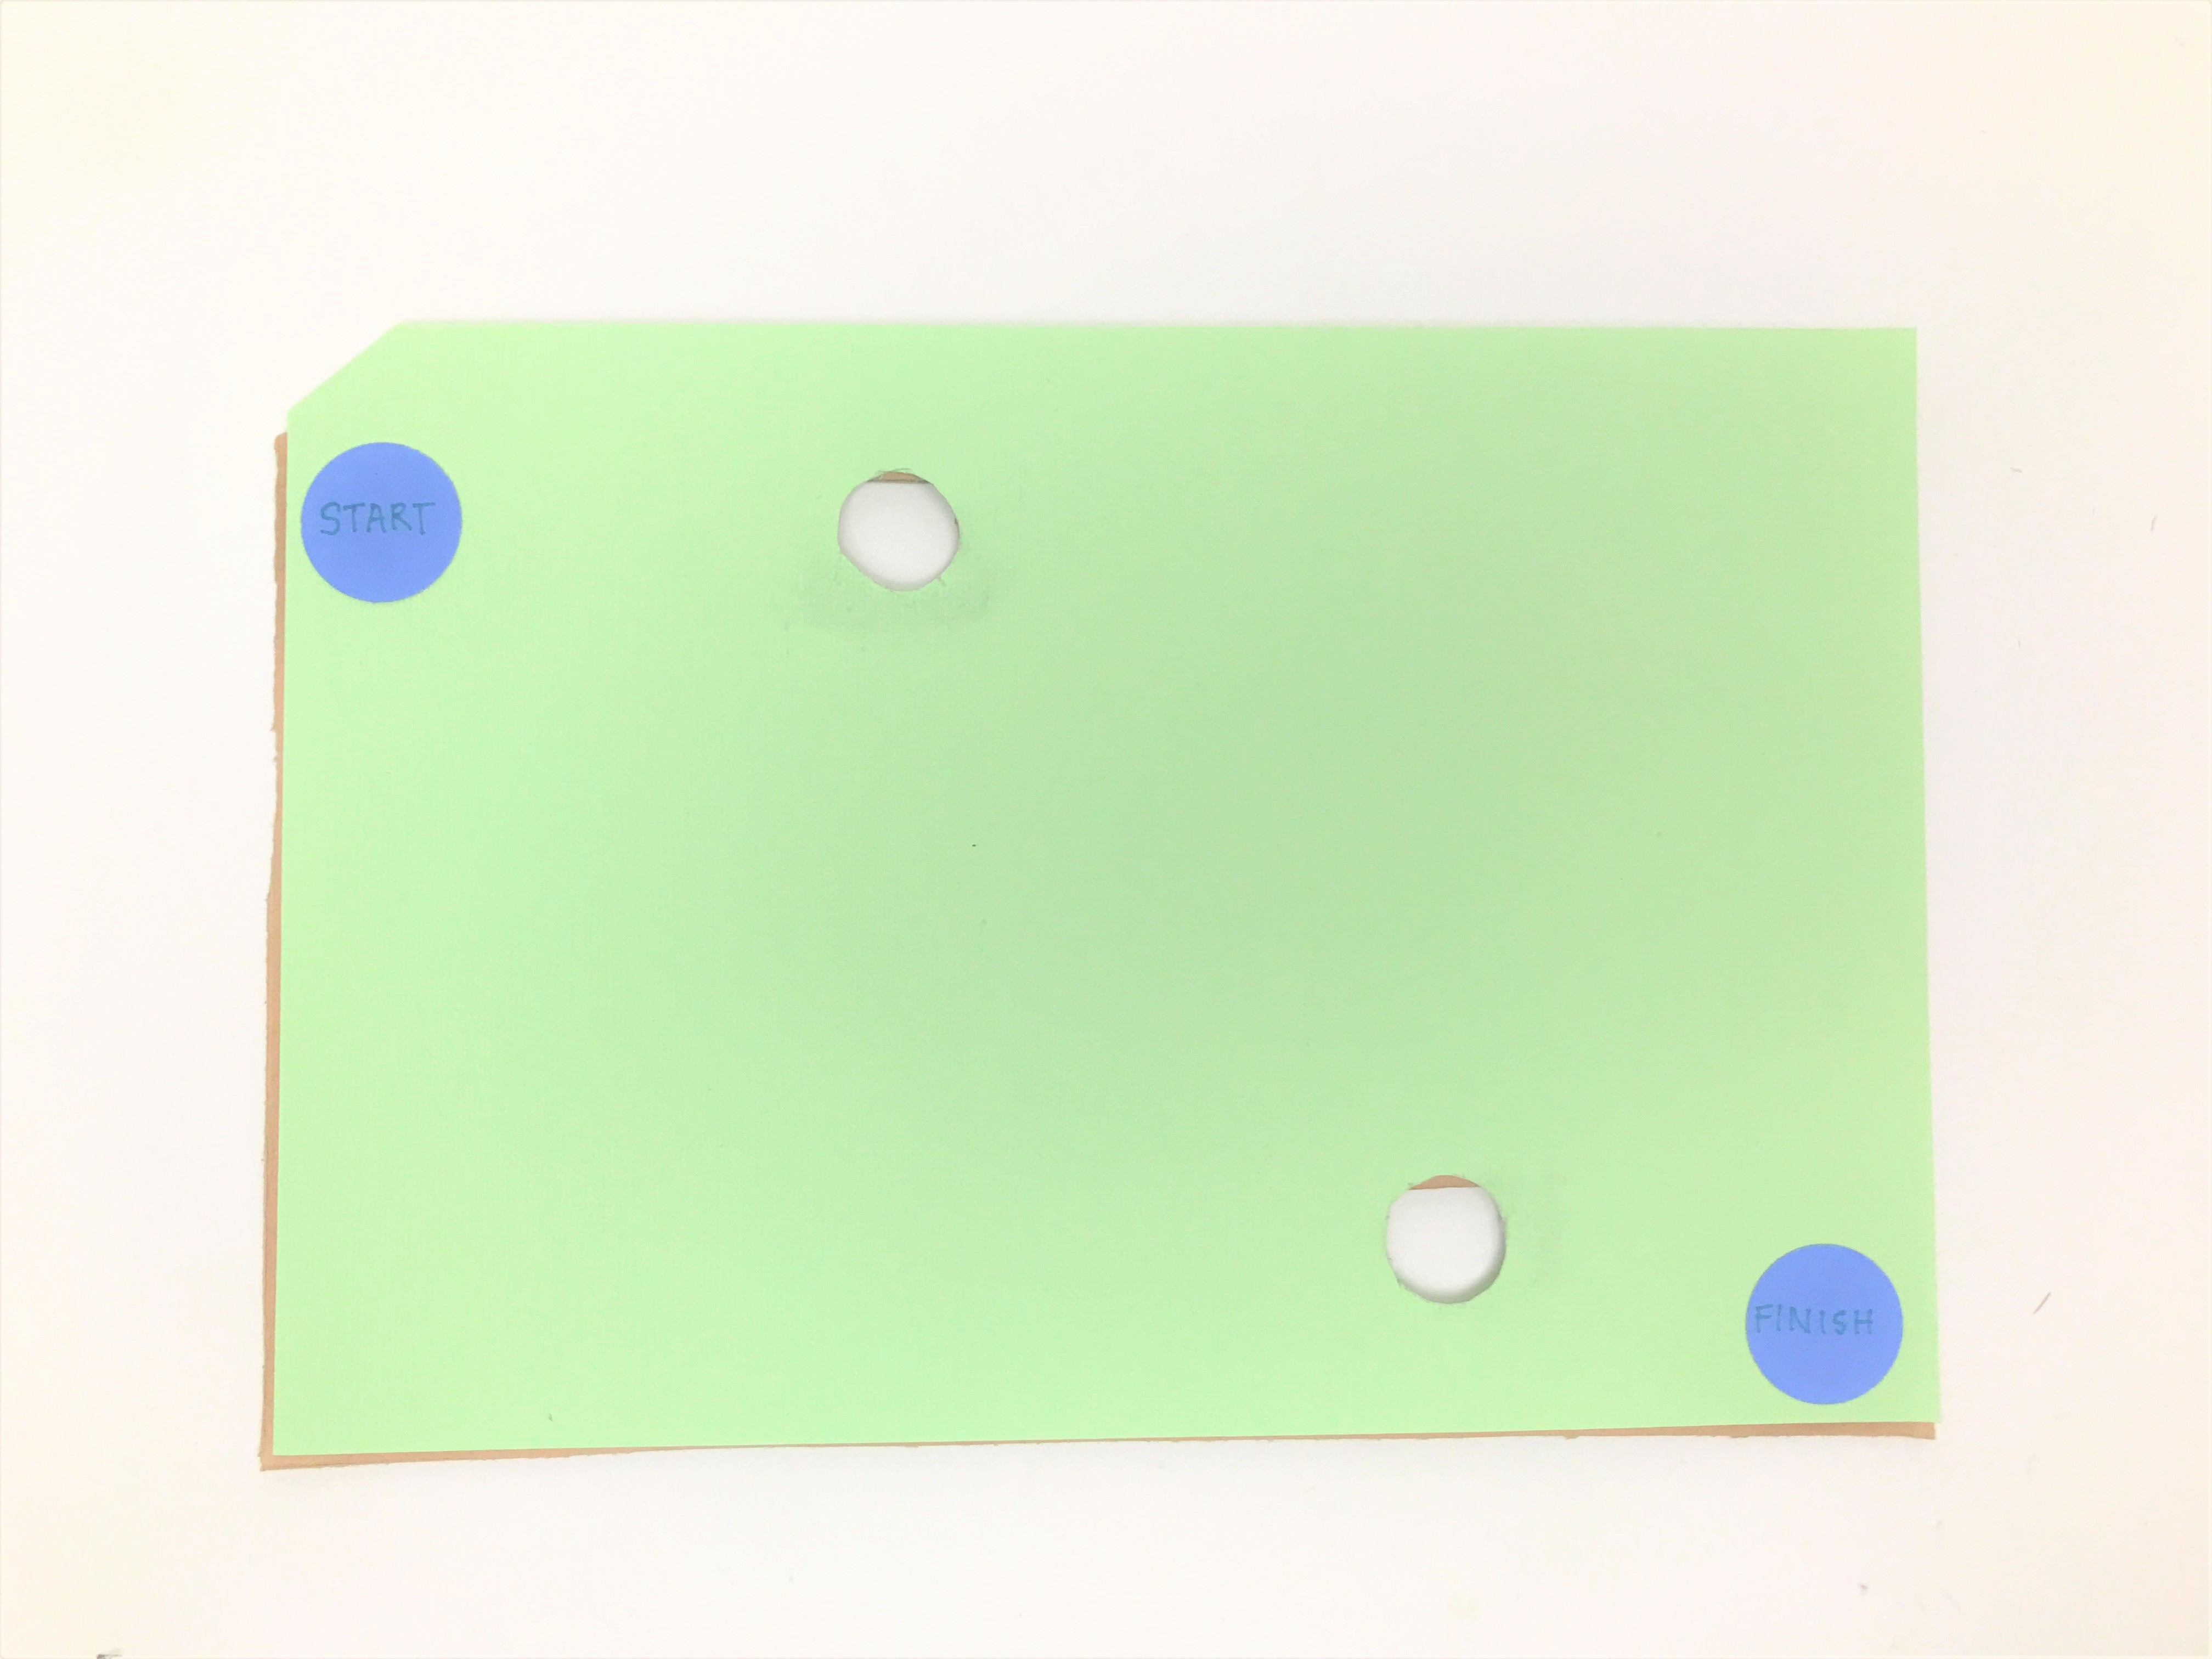
Grab your marble and bouncy balls. Inside the square holes on your paper, use a pencil to draw a circle that is bigger than your marble, but smaller than your bouncy balls.

Step 6
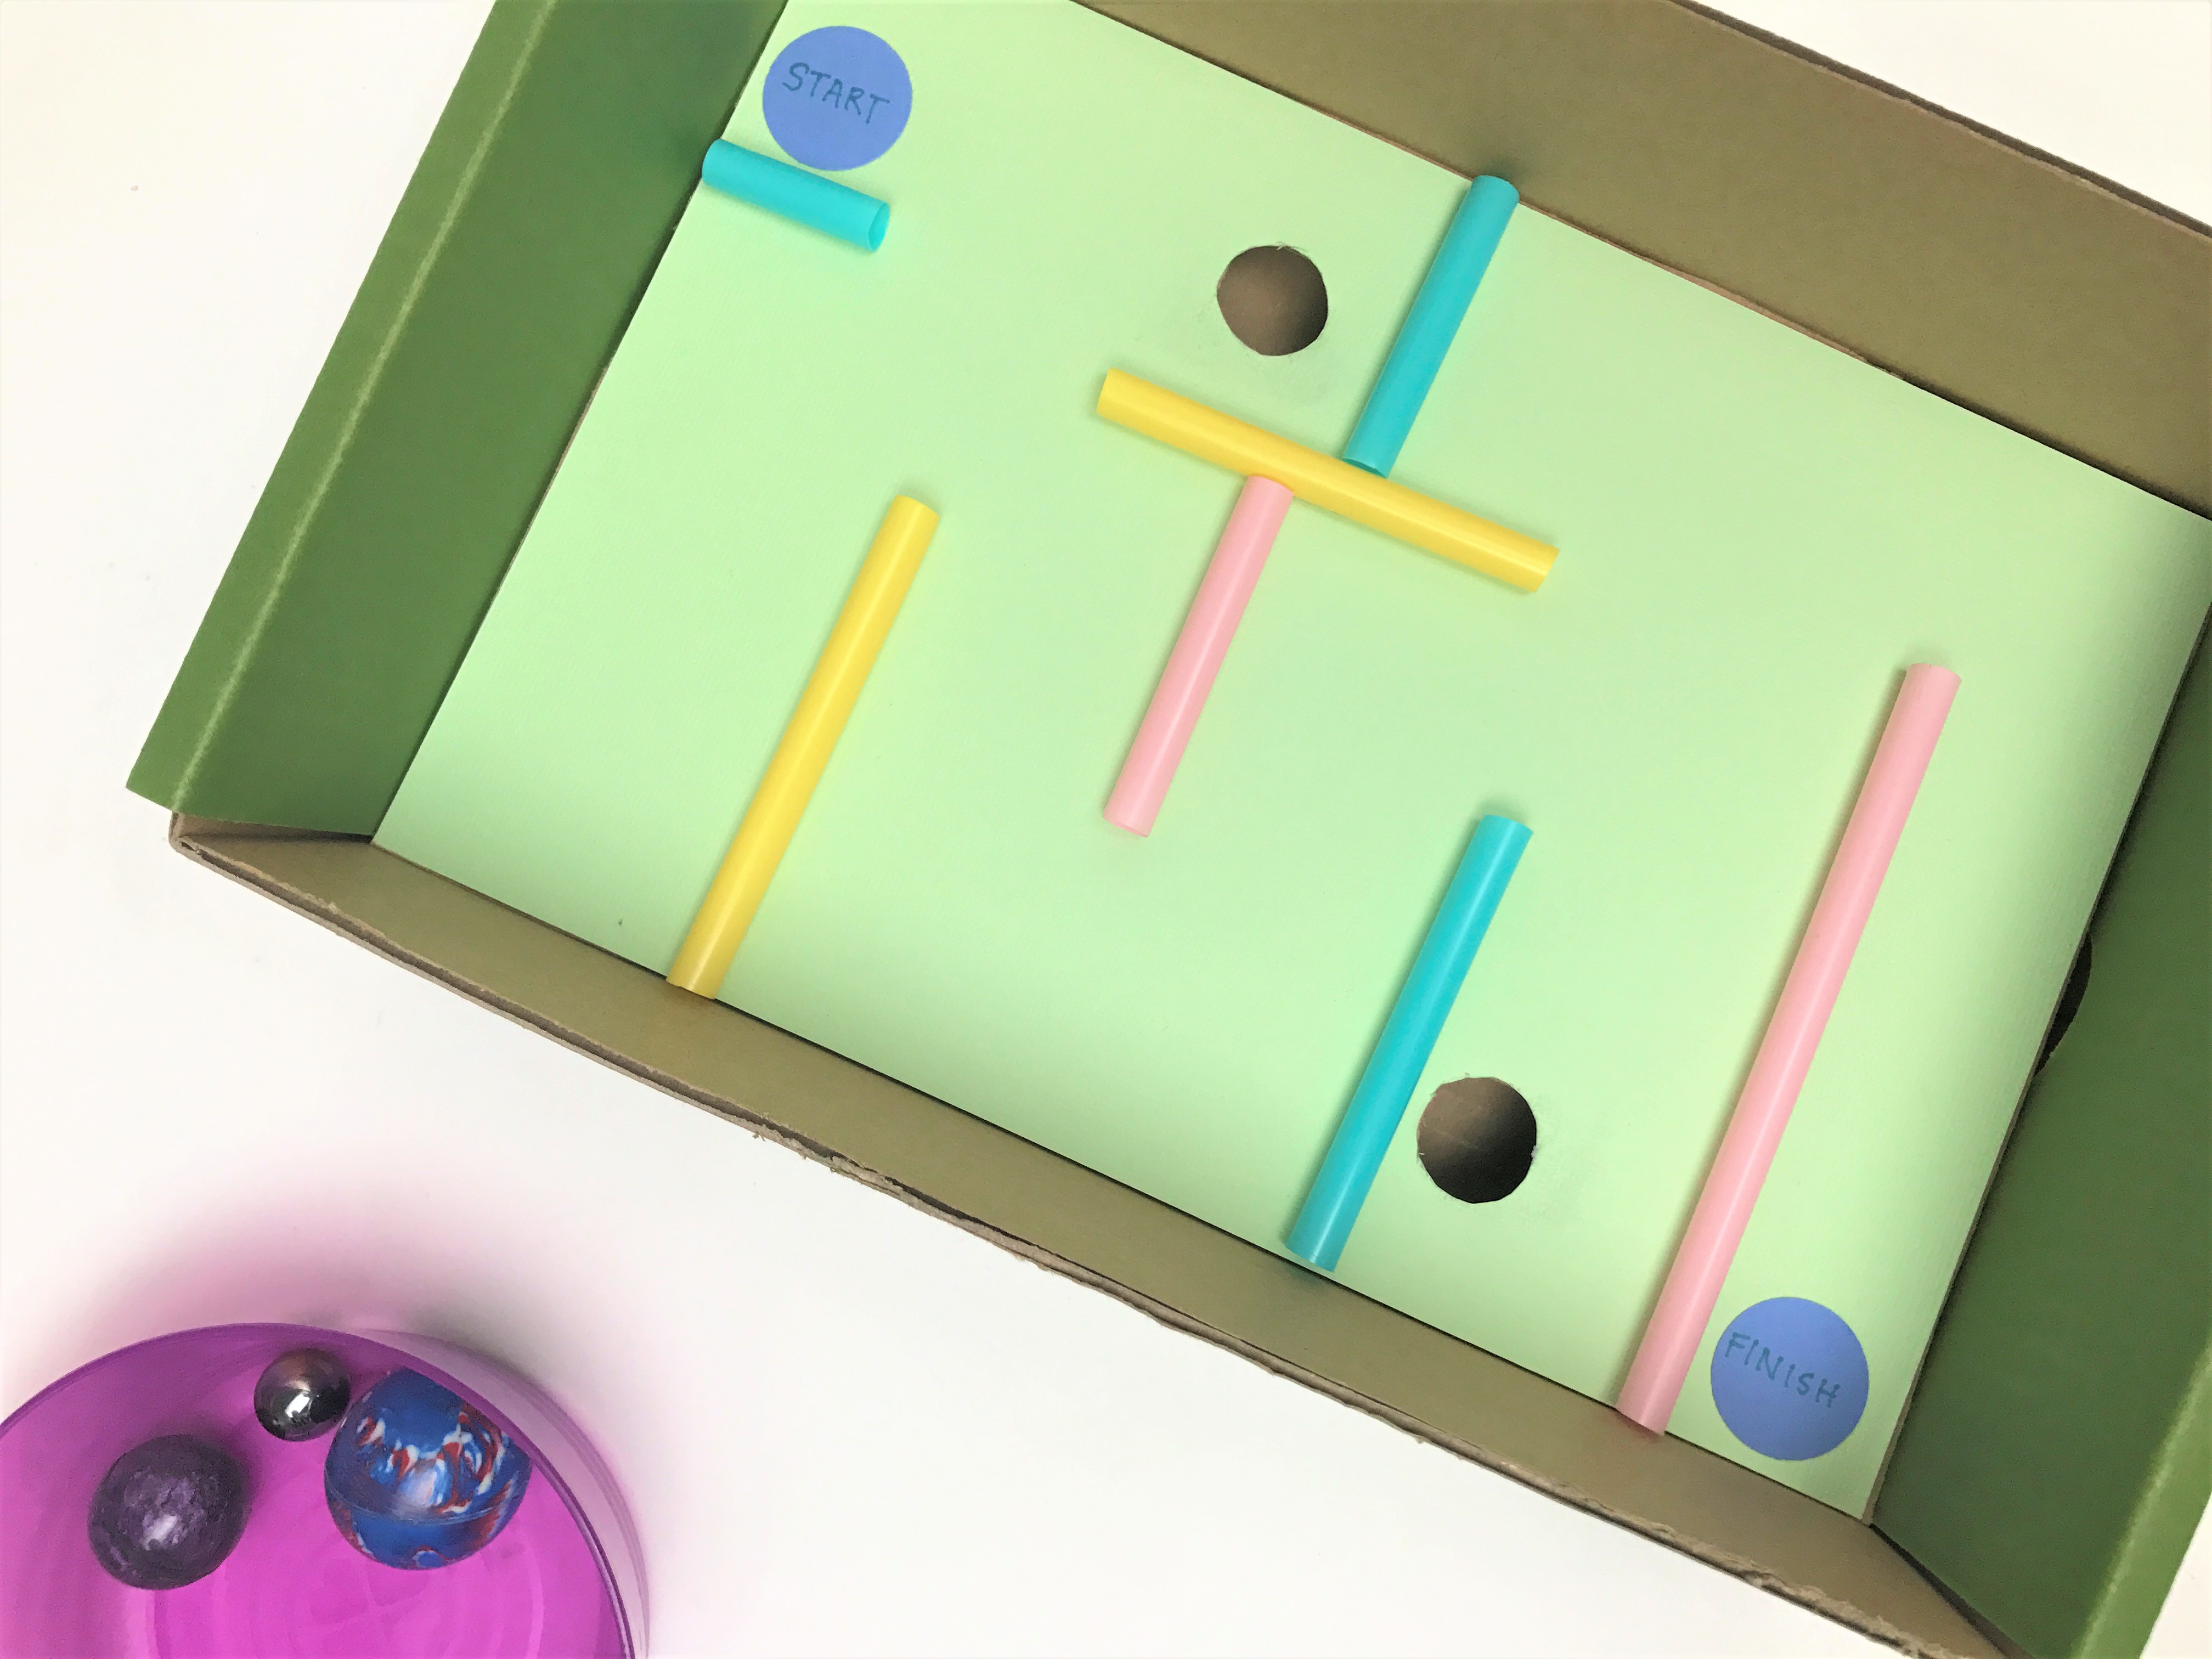
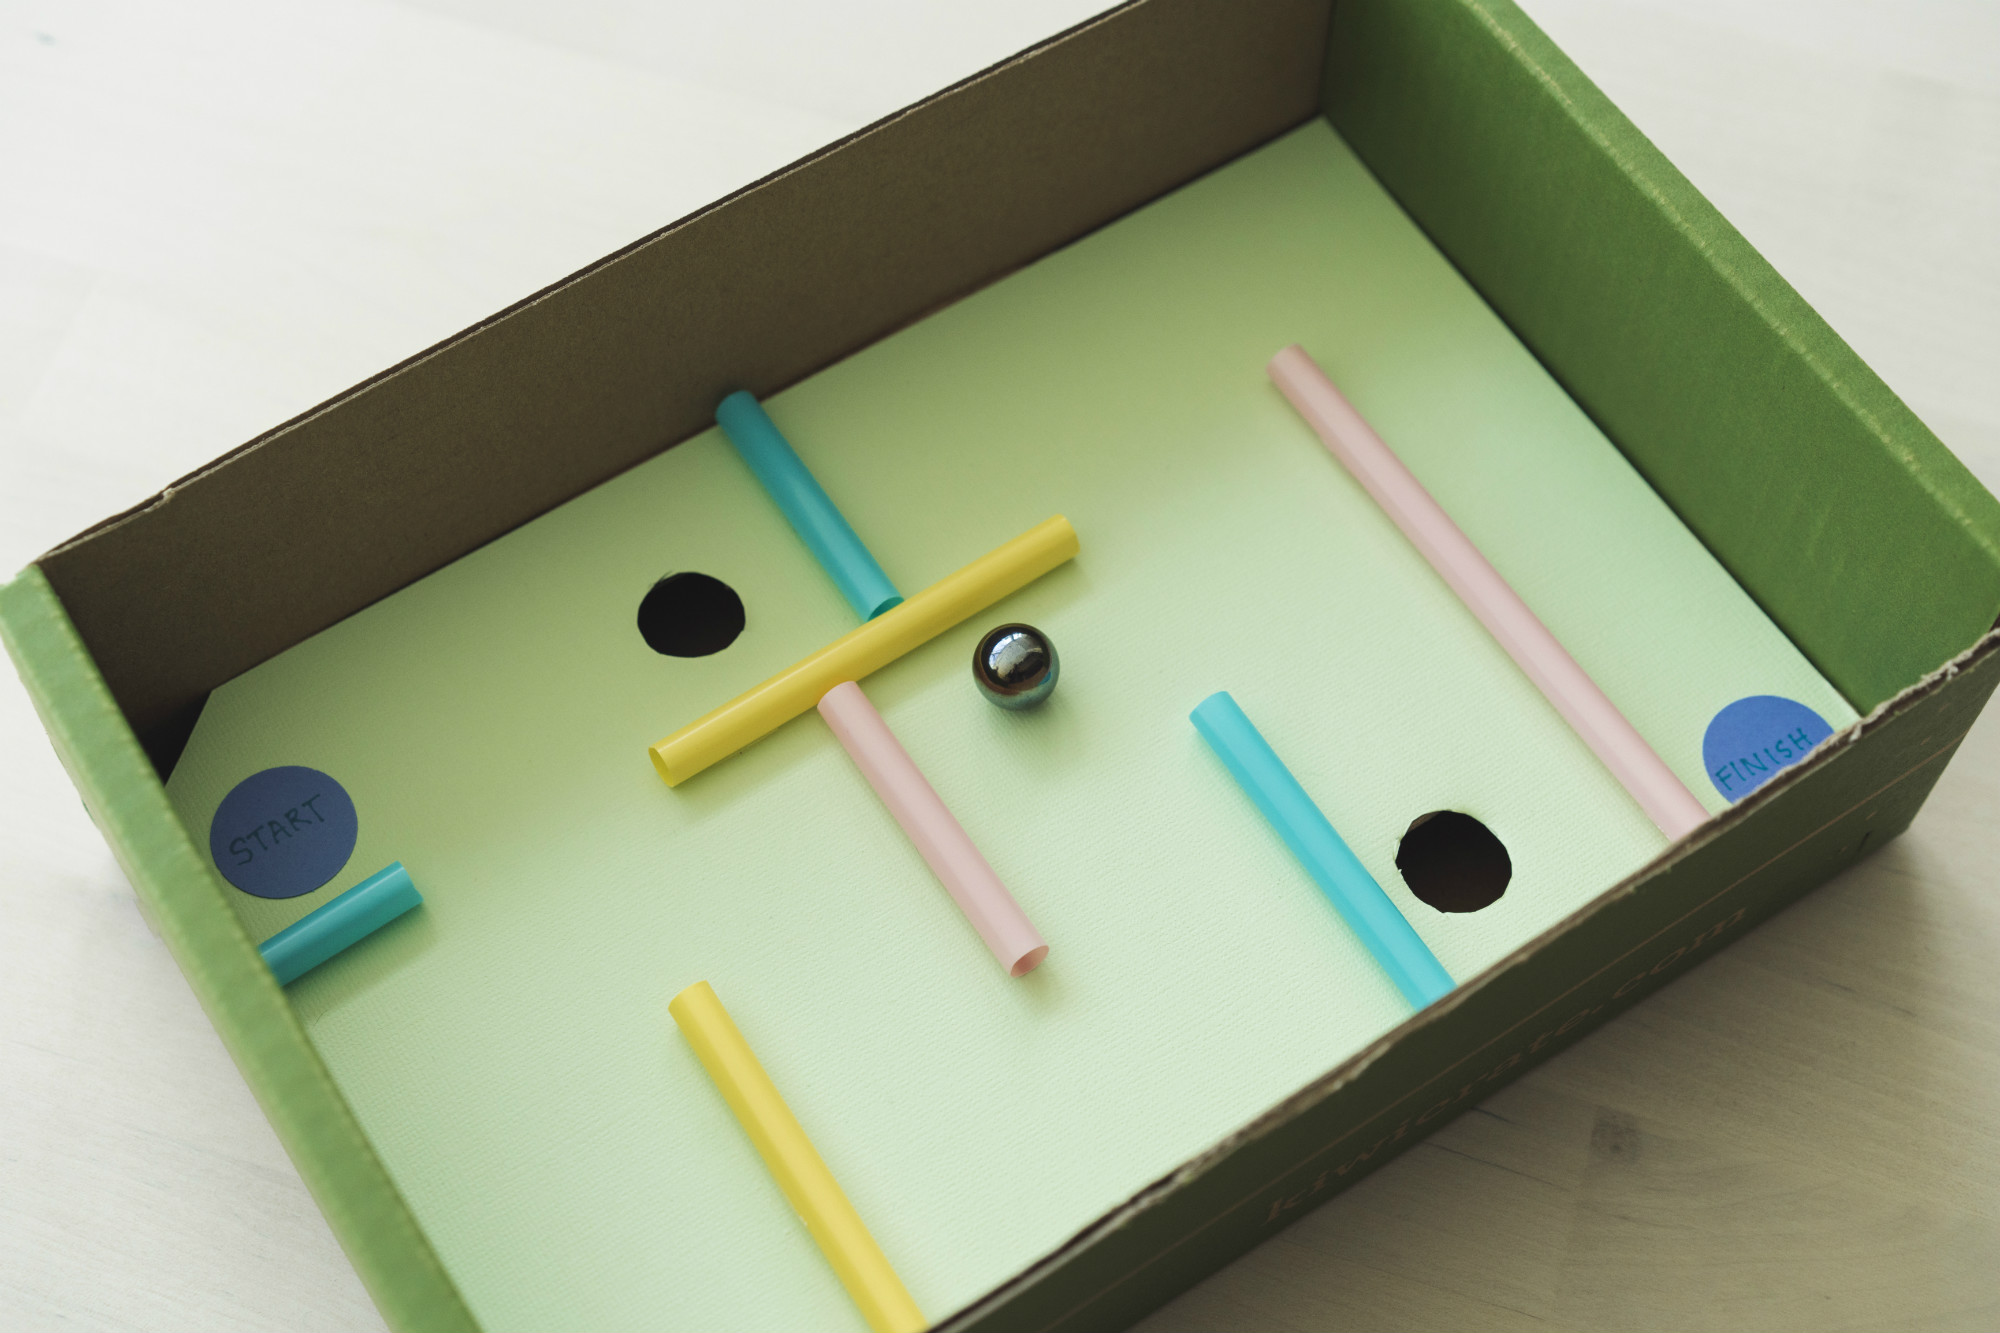
Place your paper on the cardboard and cut out the border, so your paper lines up with the cardboard. Cut out the holes (not the squares) from the paper as well. Make sure both pieces line up and use double-stick tape to attach the paper to the cardboard. This will be your game board base. We suggest writing START in the top left corner, and in the bottom right corner, writing FINISH.
Step 7
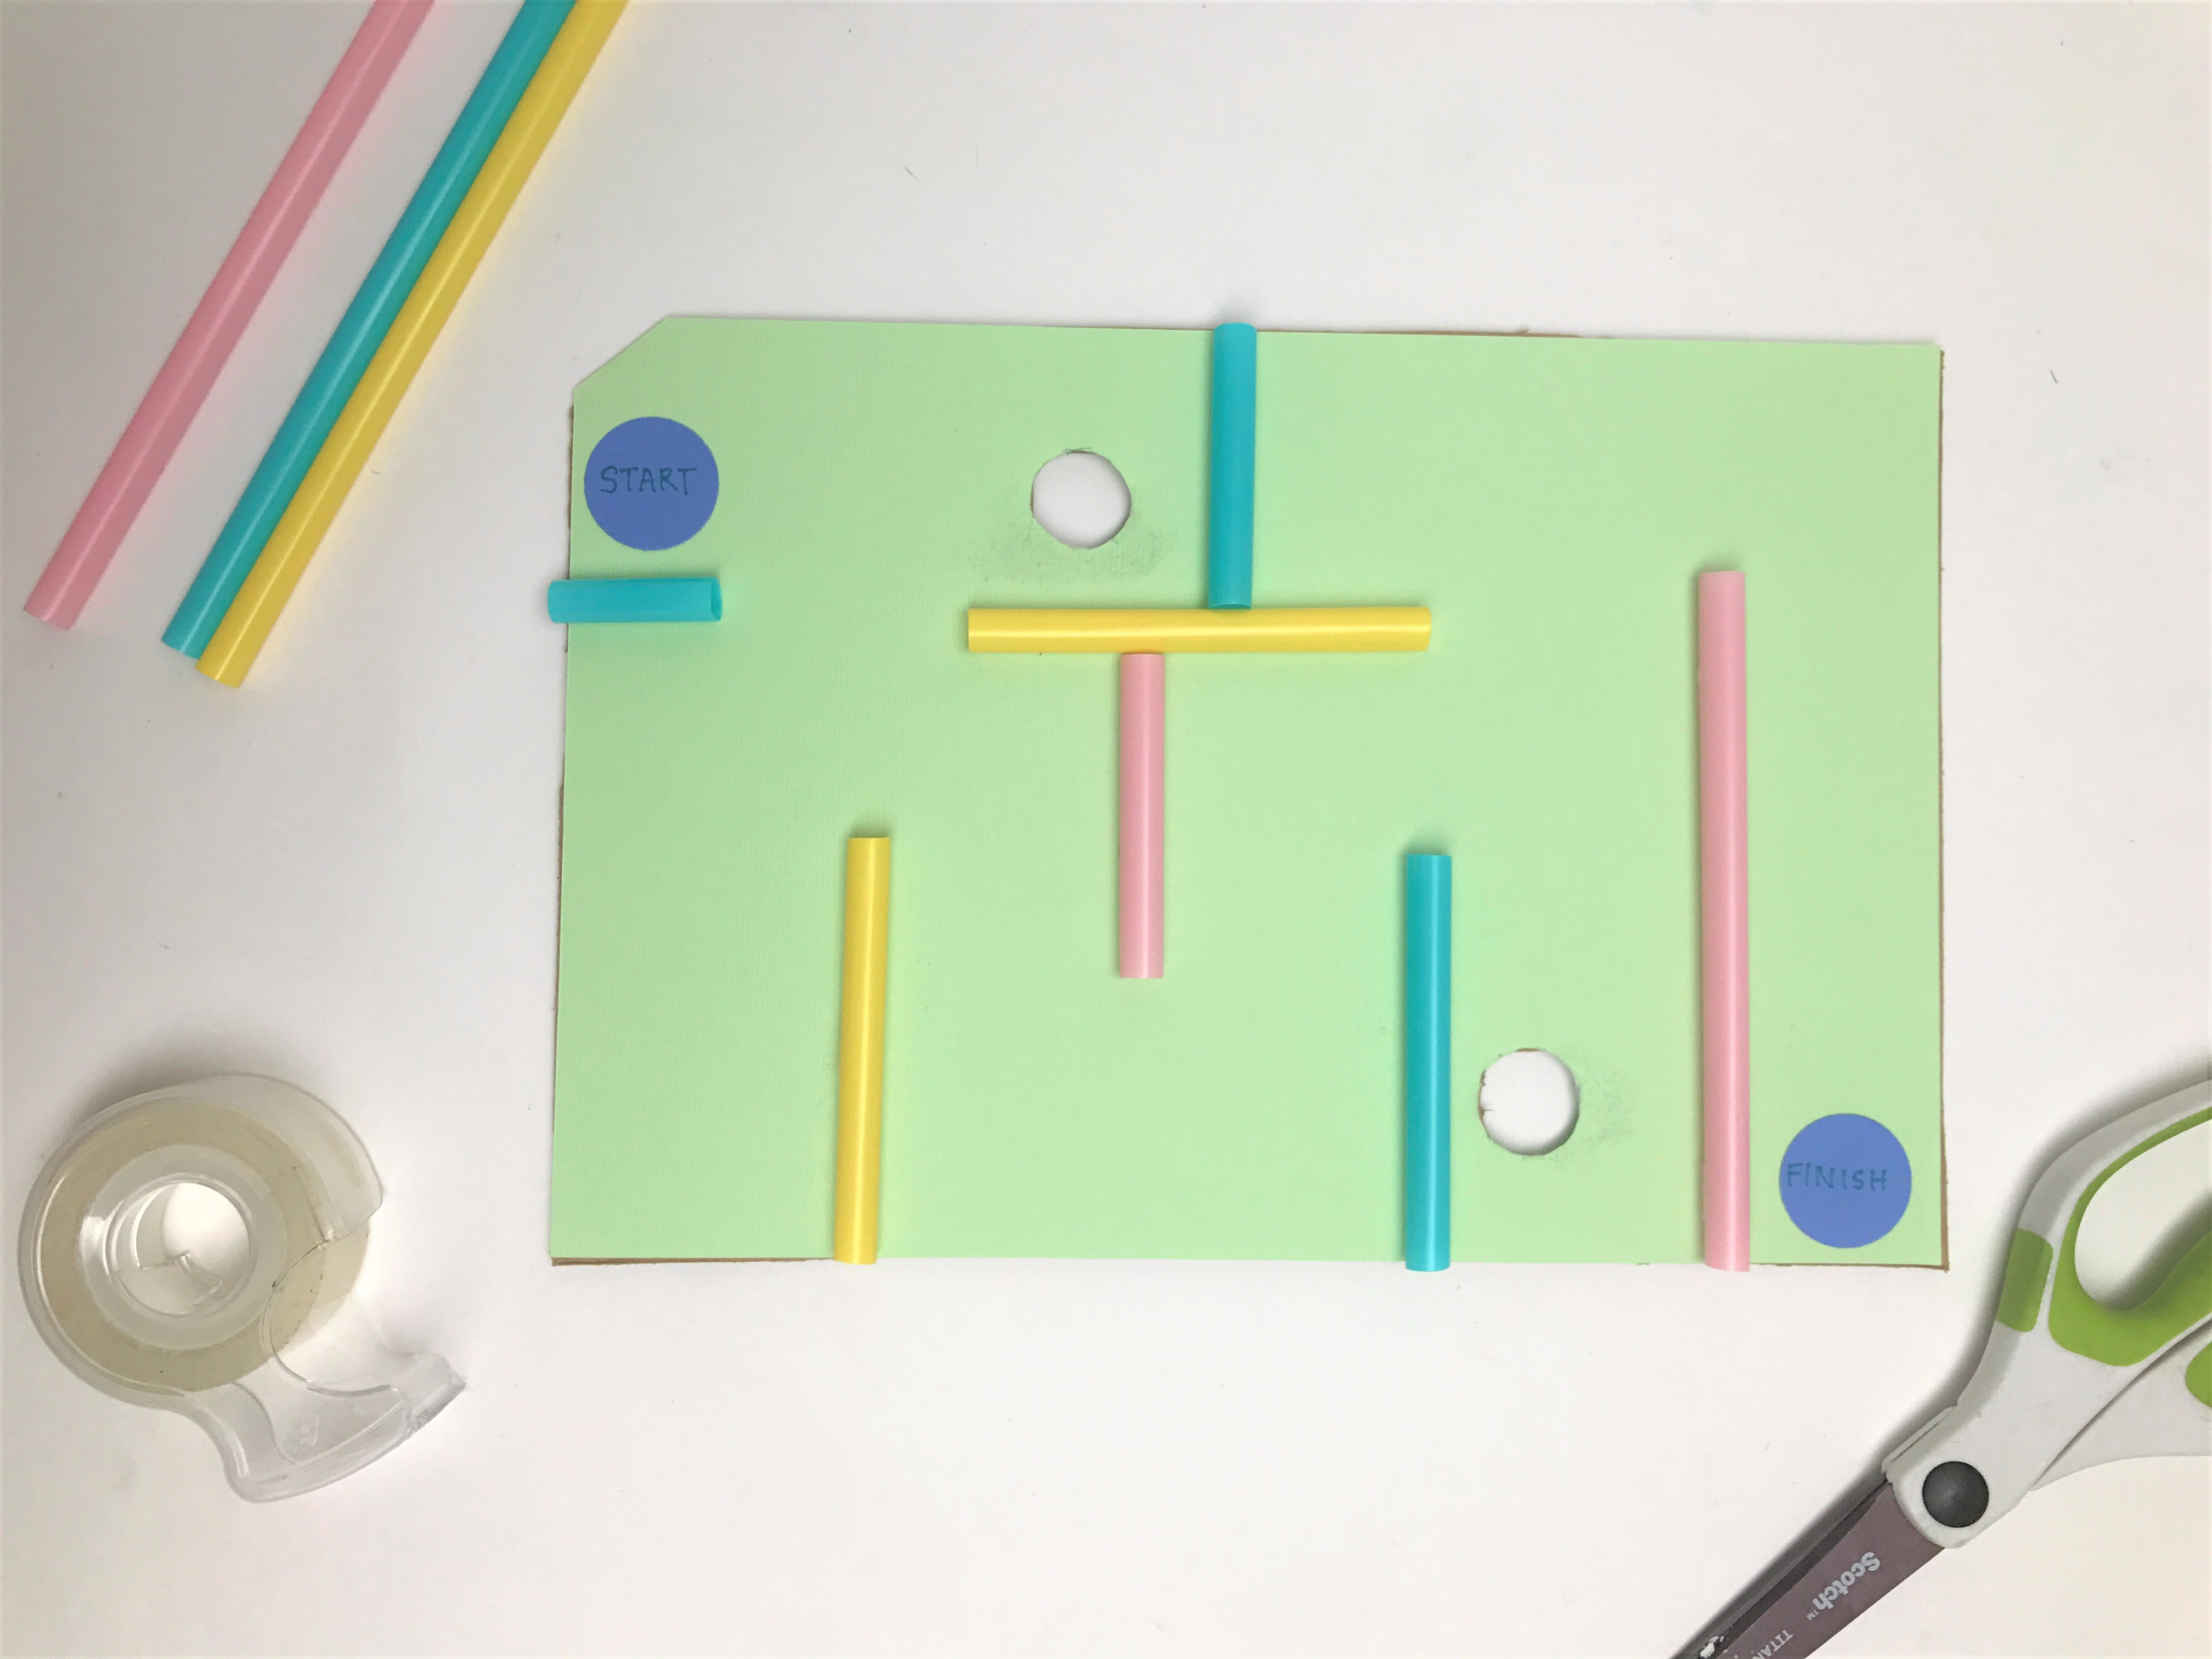
Cut your straws into different-sized pieces and start arranging them to create a path from the start to finish. As you design, work the holes into your maze, so the holes become obstacles in the maze path. When you're happy with the arrangement, tape or glue the straws in place.
Step 8
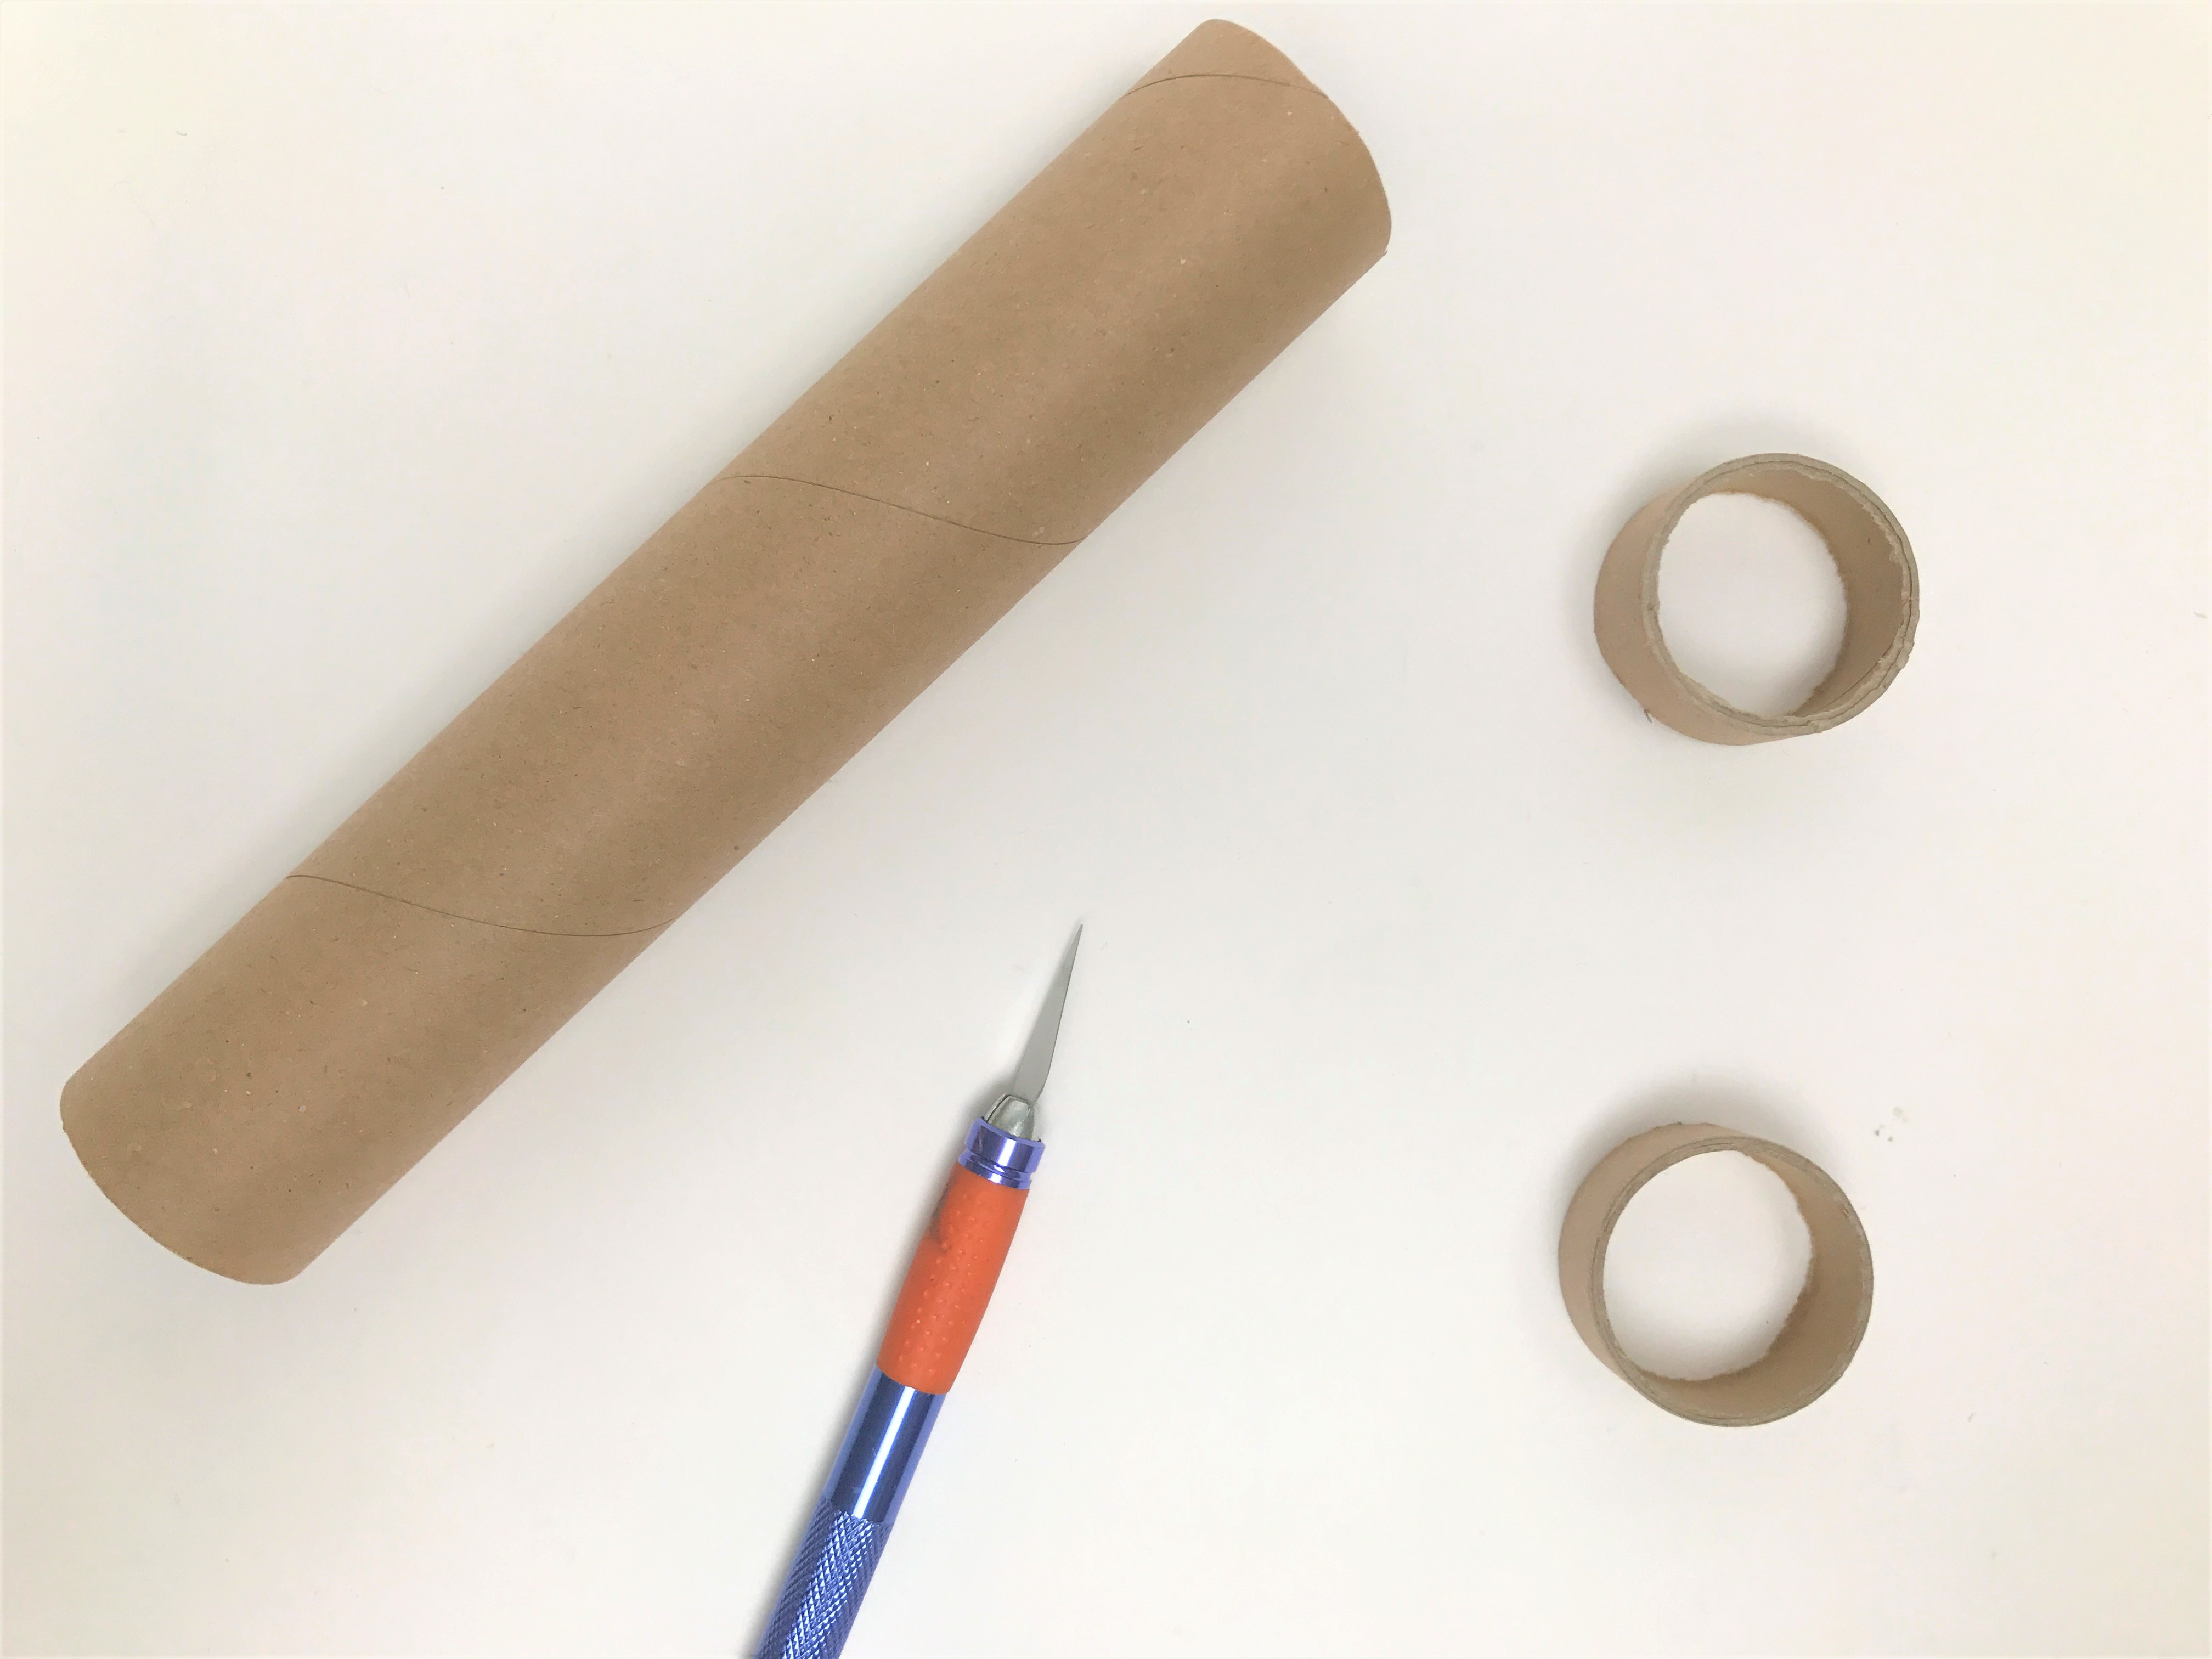
Now take your paper towel tube and cut 2 half-inch wide rings from the end of the tube.
Step 9
Glue these to the bottom of the crate box, making sure that when your game board piece is placed inside, the rings don't align with the holes. Glue your game board piece down to the rings.

Done!
When all your glue is dry, you're ready to play! Try placing a bouncy ball at the START and tilting your box to roll it to the FINISH! If you want more of a challenge, use your marble and tilt your box to roll it from the START to the FINISH. You'll need to avoid the holes or your marble will fall through. If your marble falls through, use the trapdoor you cut in the box side to get the marble out. If you want to try a different game, use two bouncy balls and try to get them stuck in both holes at the same time.