Step-by-step tutorial
Step 1
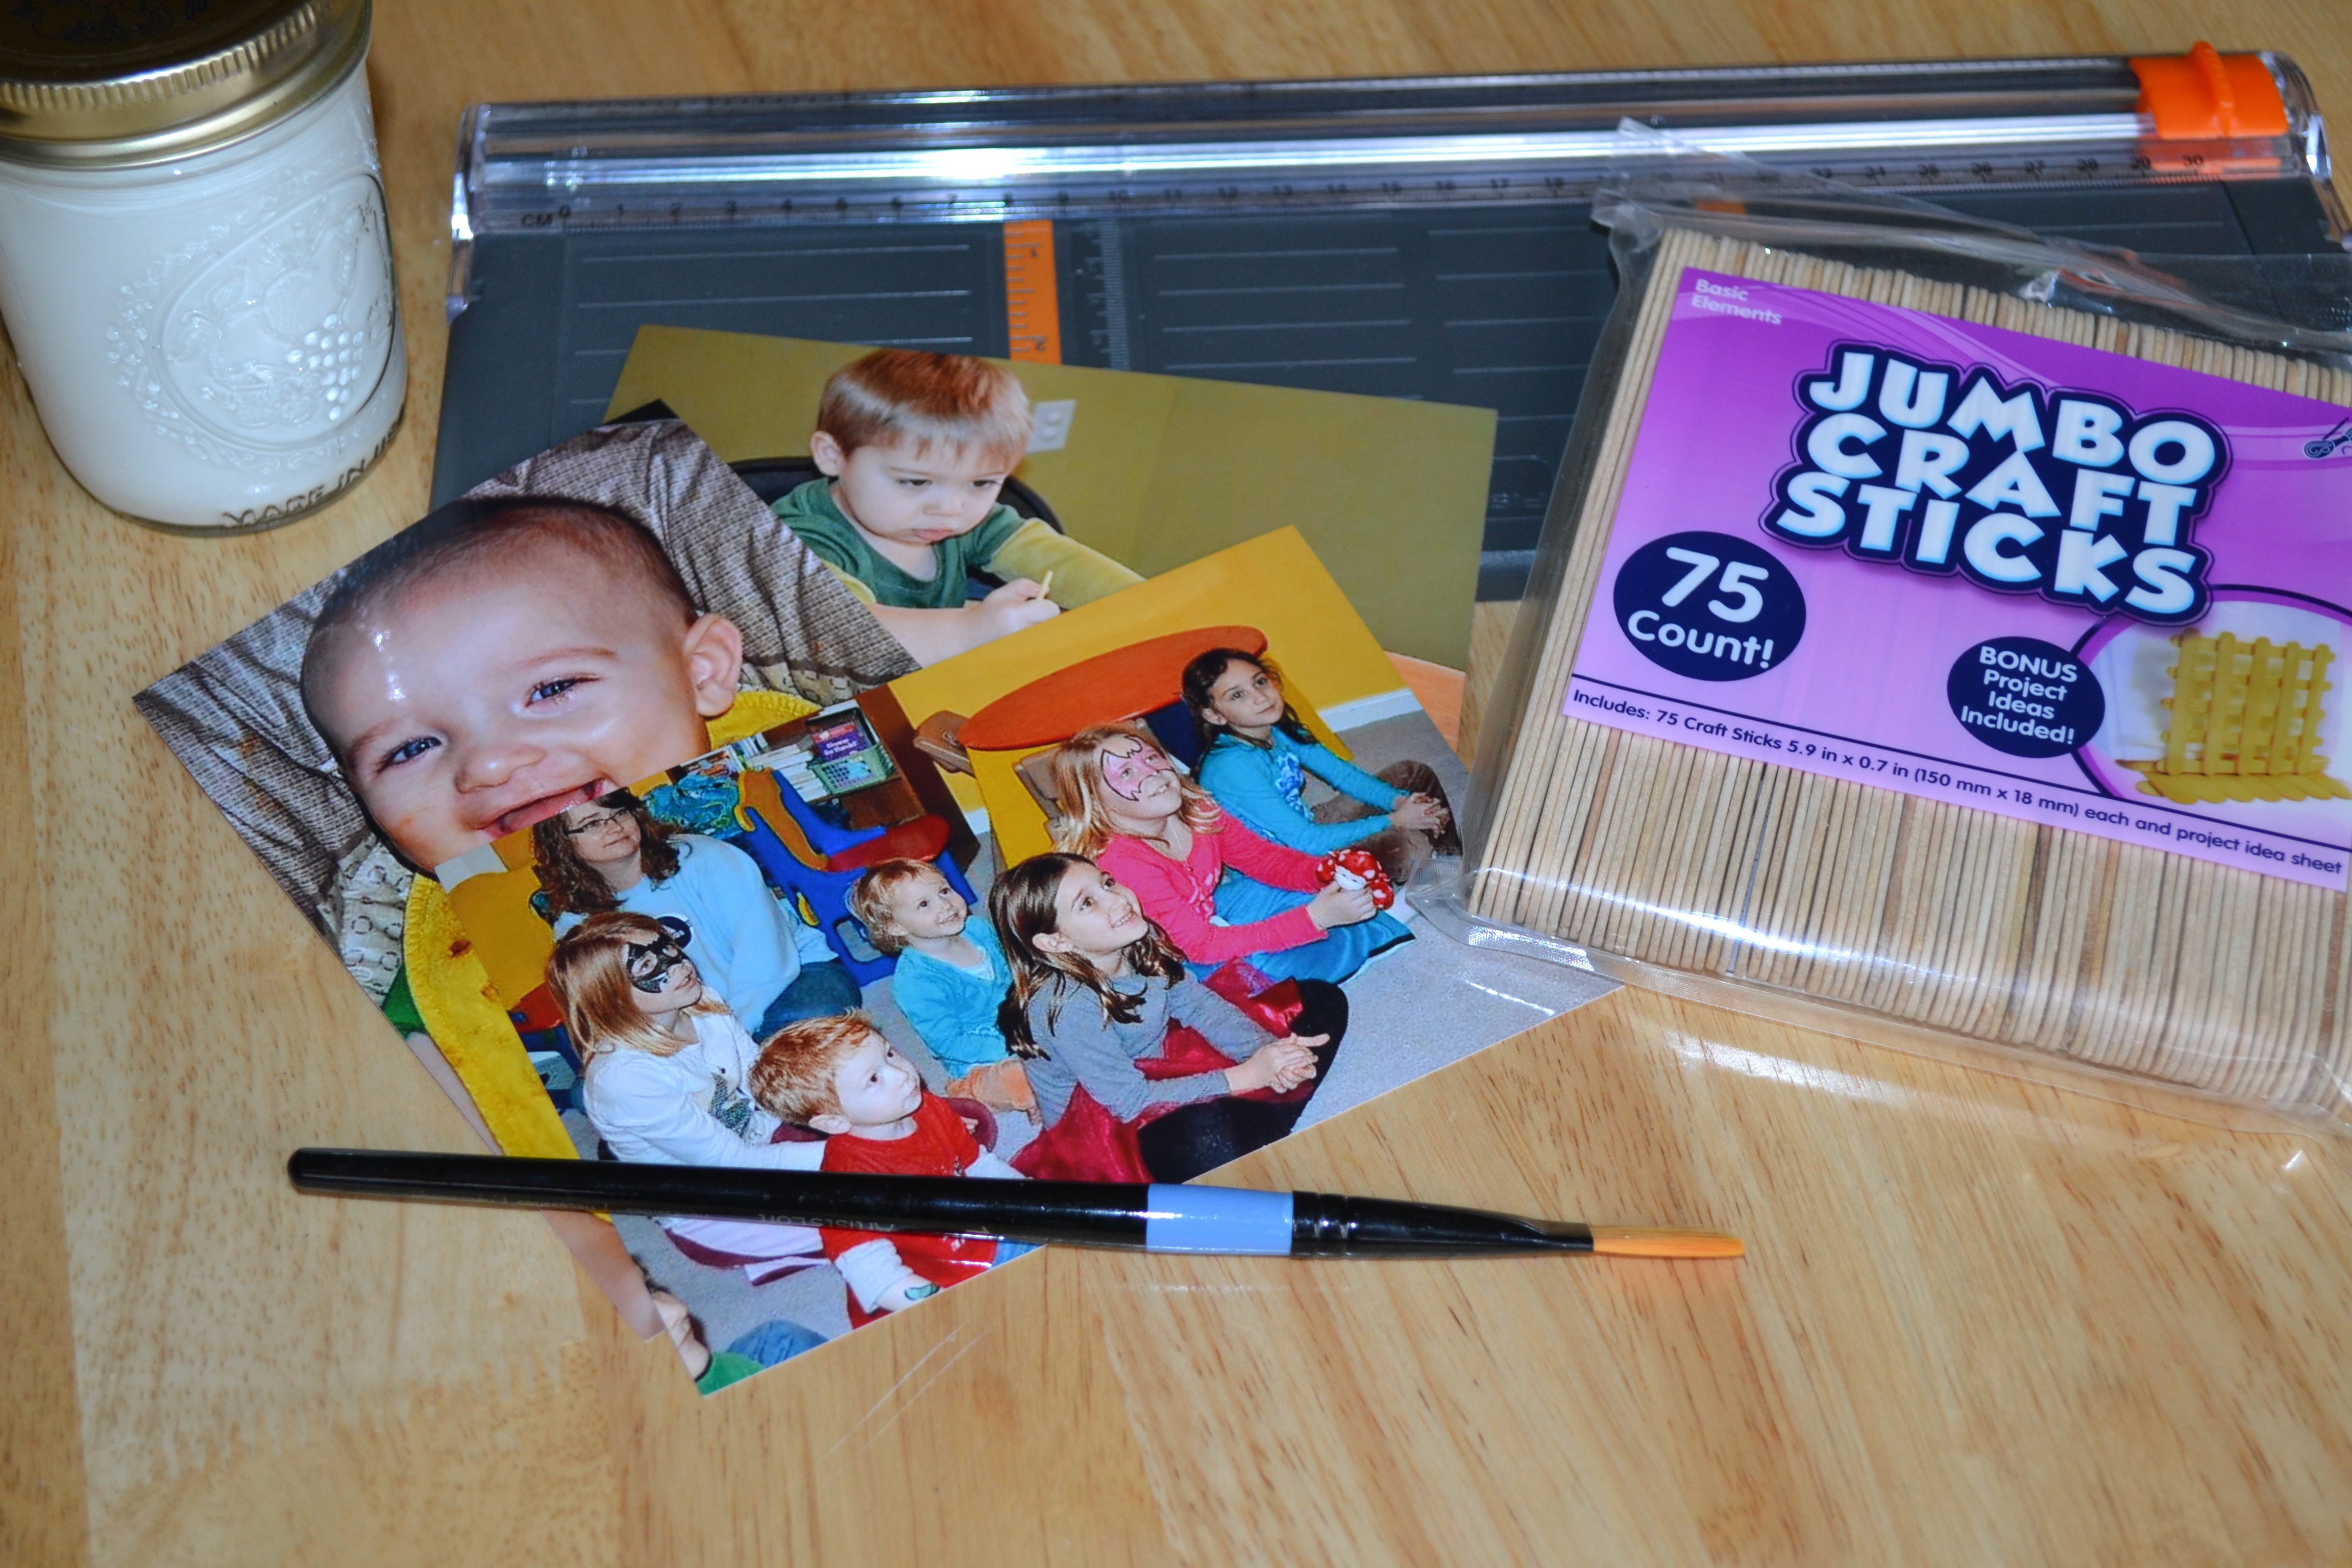
Gather your materials. We used a homemade Mod-Podge by mixing a solution of half water and half Elmer's glue in a pint-size jar. The kids had a great time pouring and mixing the two ingredients together.

Step 2
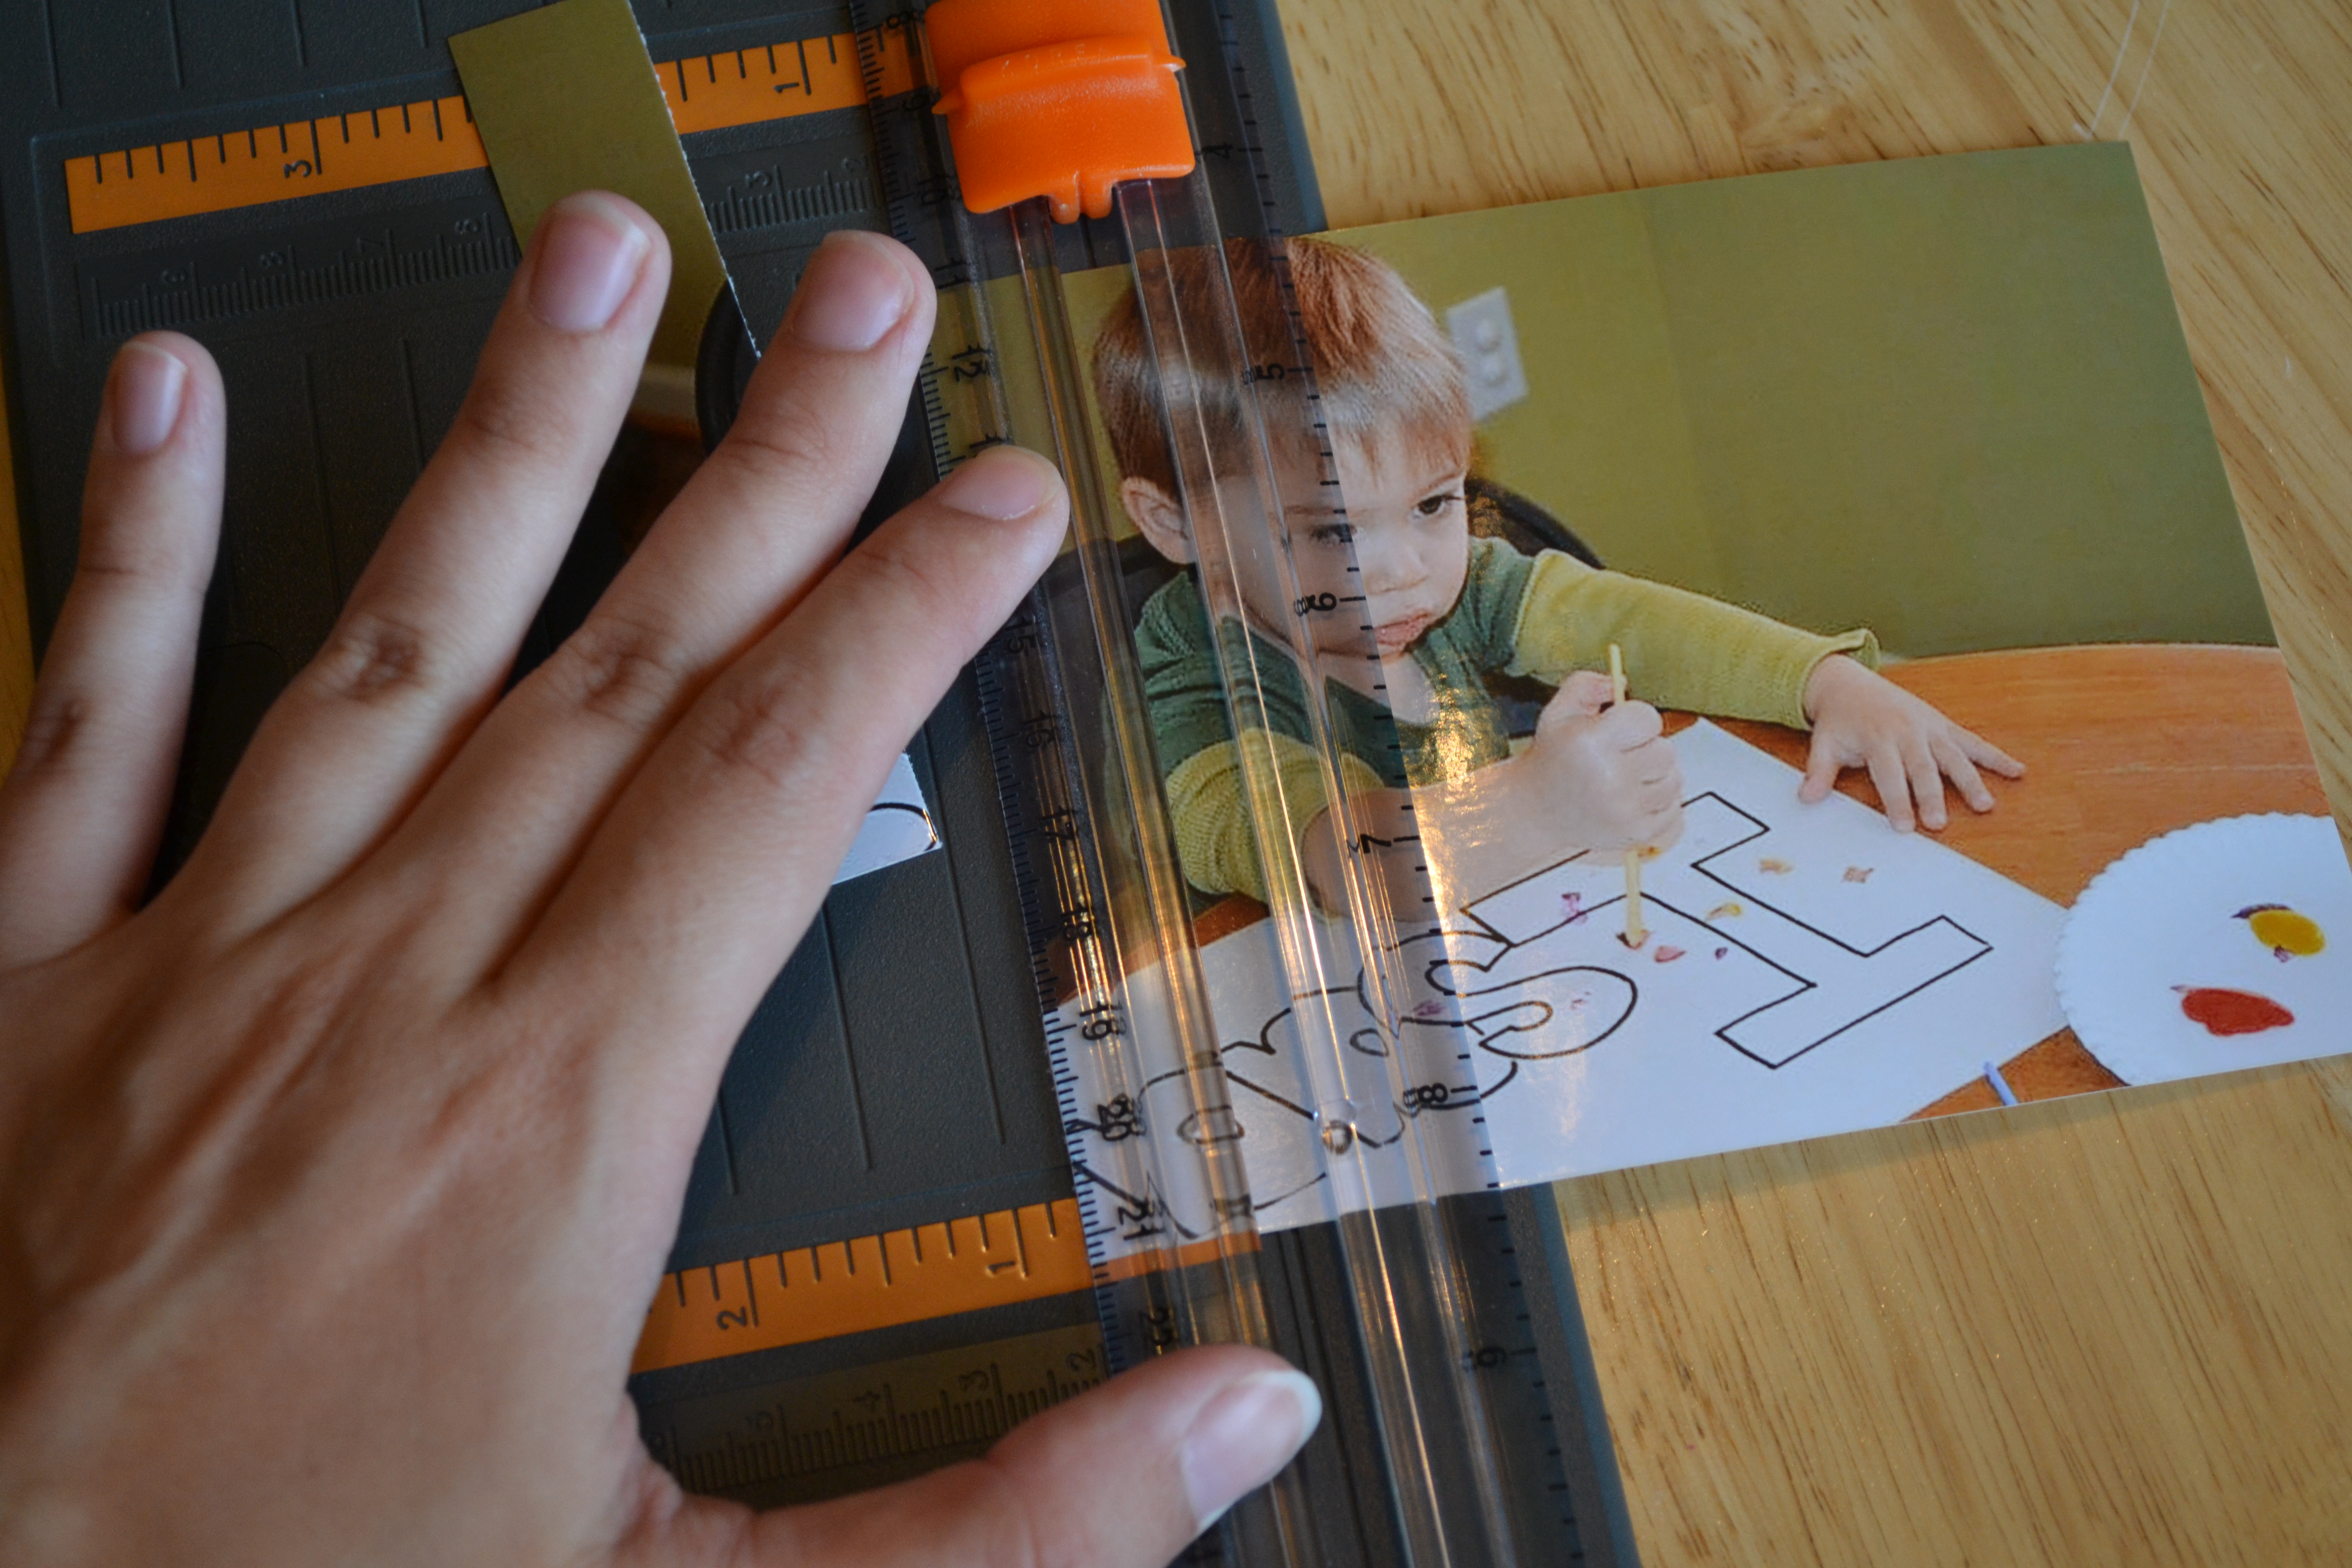
Then we selected greeting cards and photographs to use for our puzzles. We had some old baby pictures that some of the kids wanted to use and we also put together a few using old holiday cards from last year. I love finding a new use for things we already have in the house! Using a paper cutter, I trimmed the pictures slightly smaller than the craft sticks we were using. My older kids were able to do this with supervision, but an adult should do this for young children.
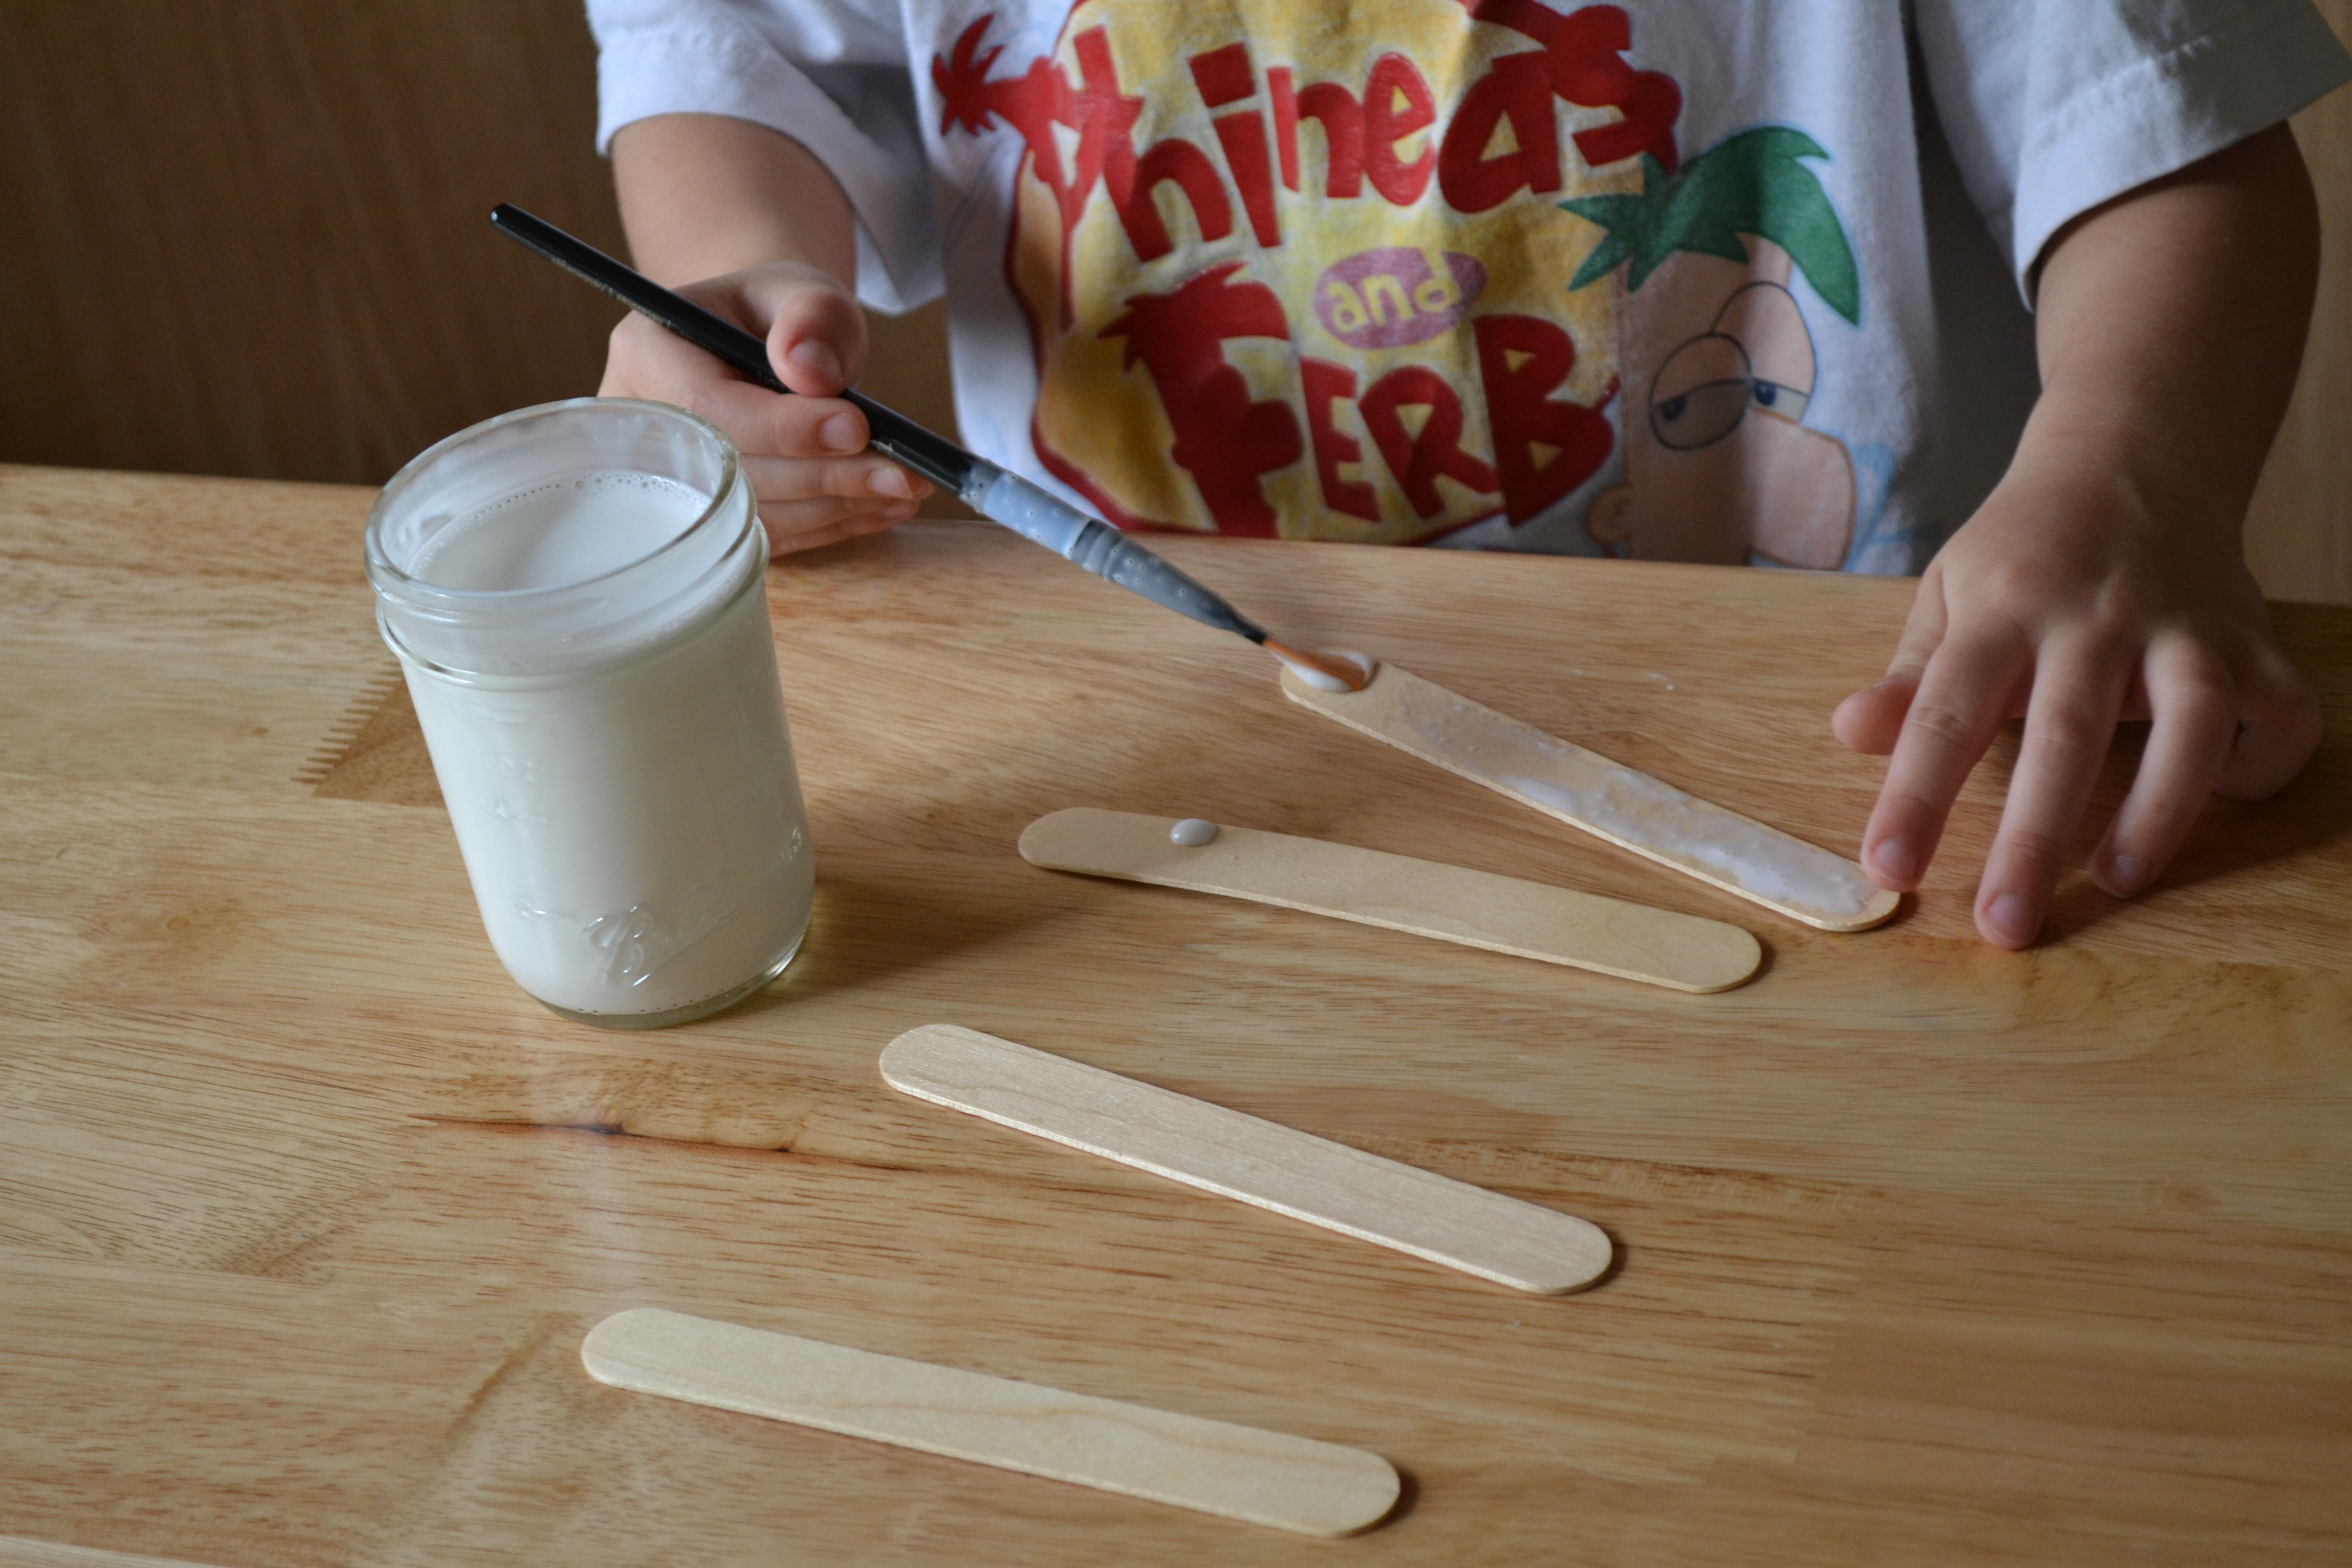
Step 3
Then, my kids spread a thin layer of our glue mixture onto the craft sticks. We let them dry for just a few seconds before putting our paper strips on them to help keep them from bubbling. This part was VERY messy with my little guys! They had a hard time understanding "thin layer," but they had so much fun painting with glue!
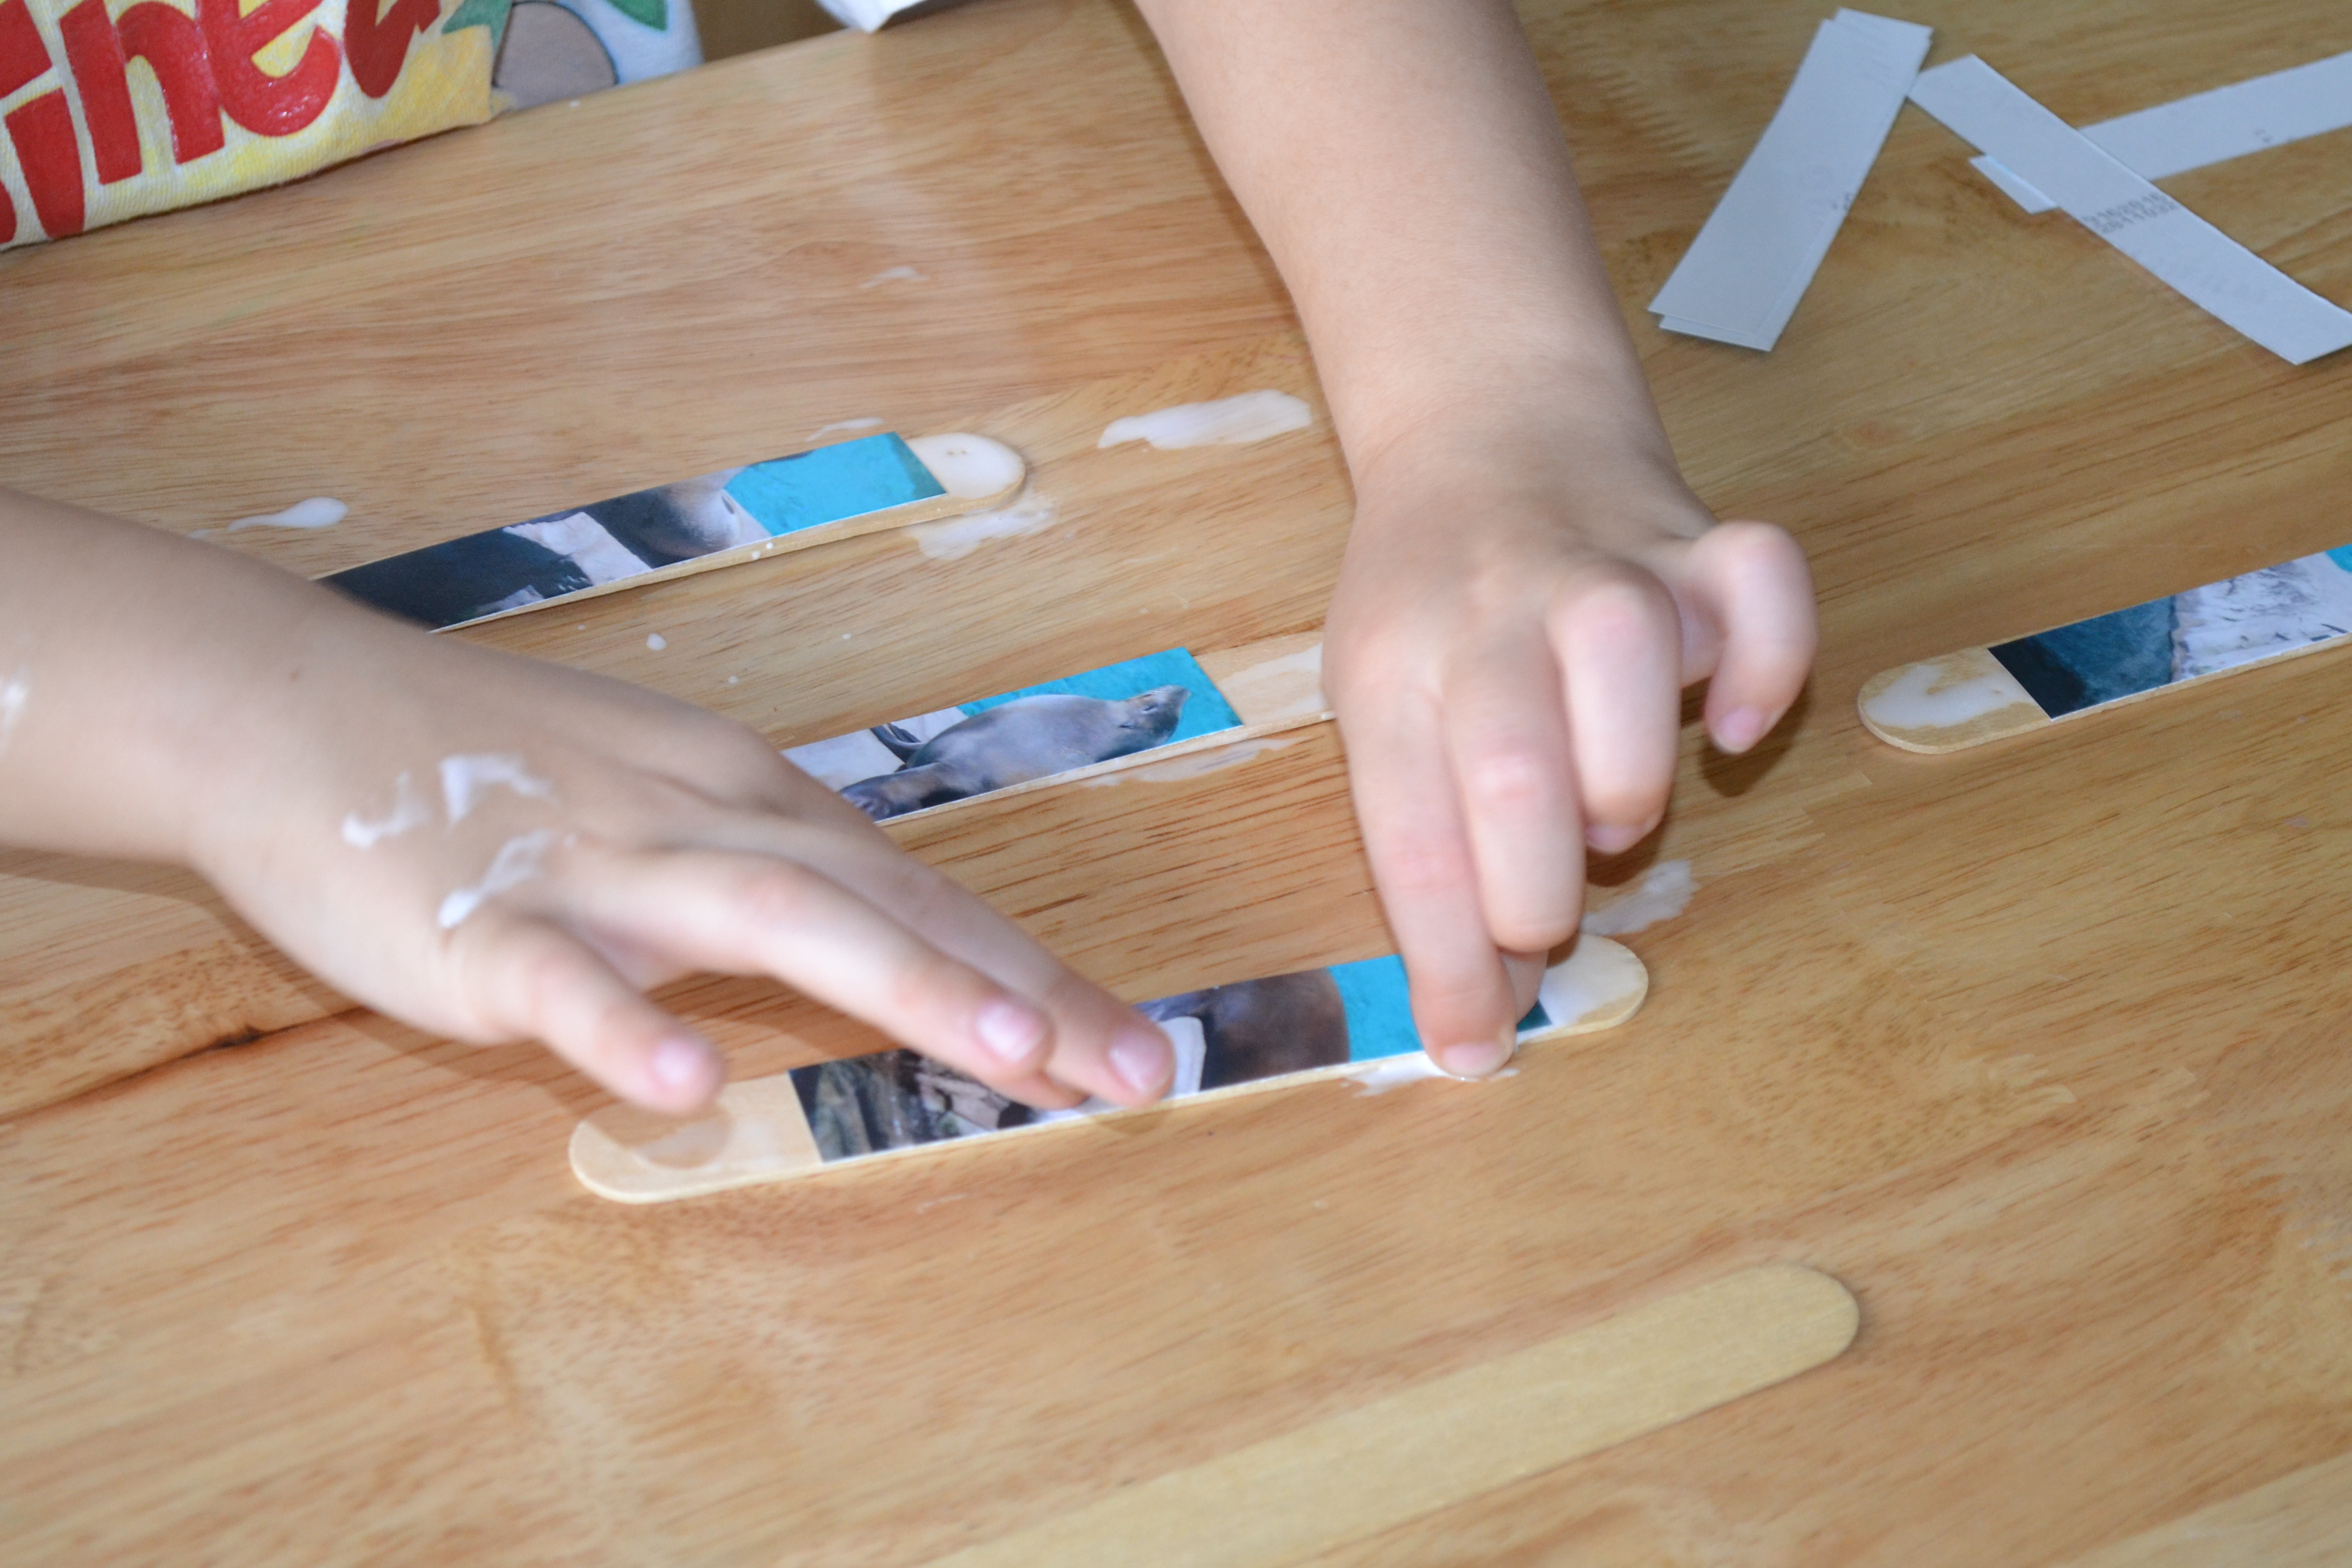
Step 4
After the glue set for a few seconds, we added the strips of paper to our craft sticks. The kids ended up painting and placing three strips at a time. The perfectionist in me wanted to straighten them, but I refrained and let the kids have their fun.
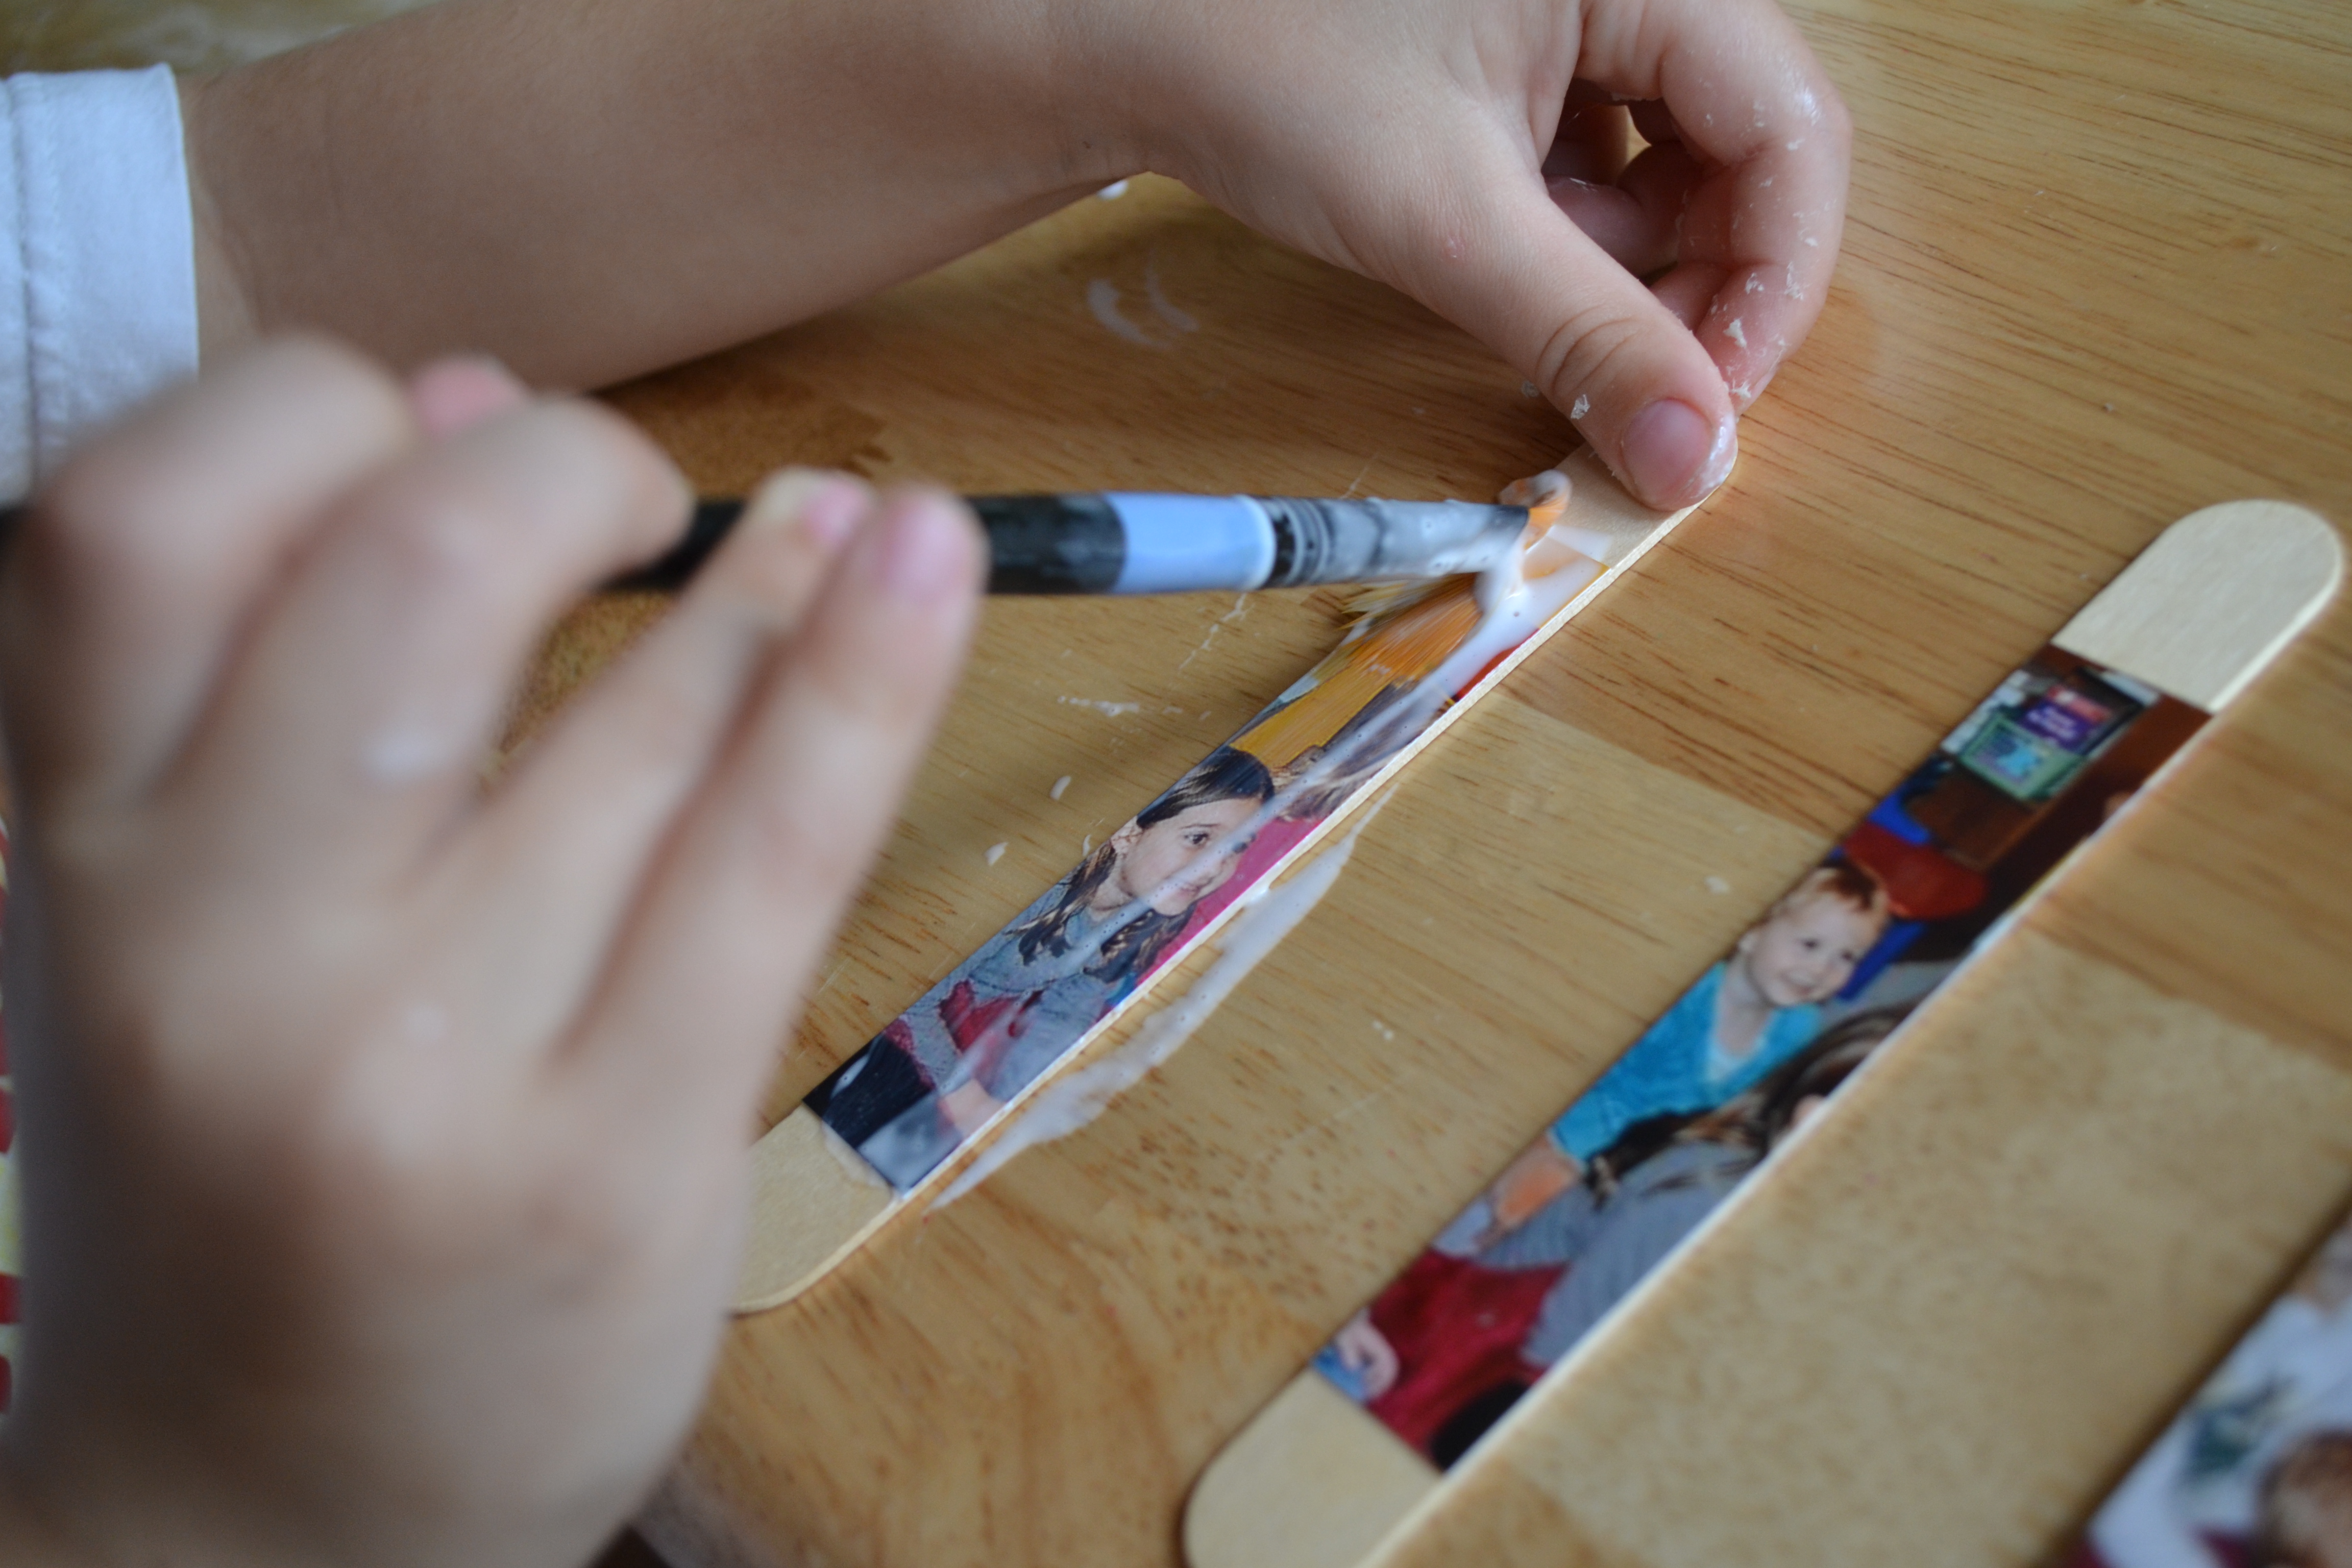
Step 5
Once all the strips were glued on, we let them dry and then painted another layer of our glue mix on top to seal them on. If you intend to keep these forever, I recommend using actual Mod-Podge to prevent yellowing and peeling; however, the homemade variety works fine for us for most crafts.
Step 6
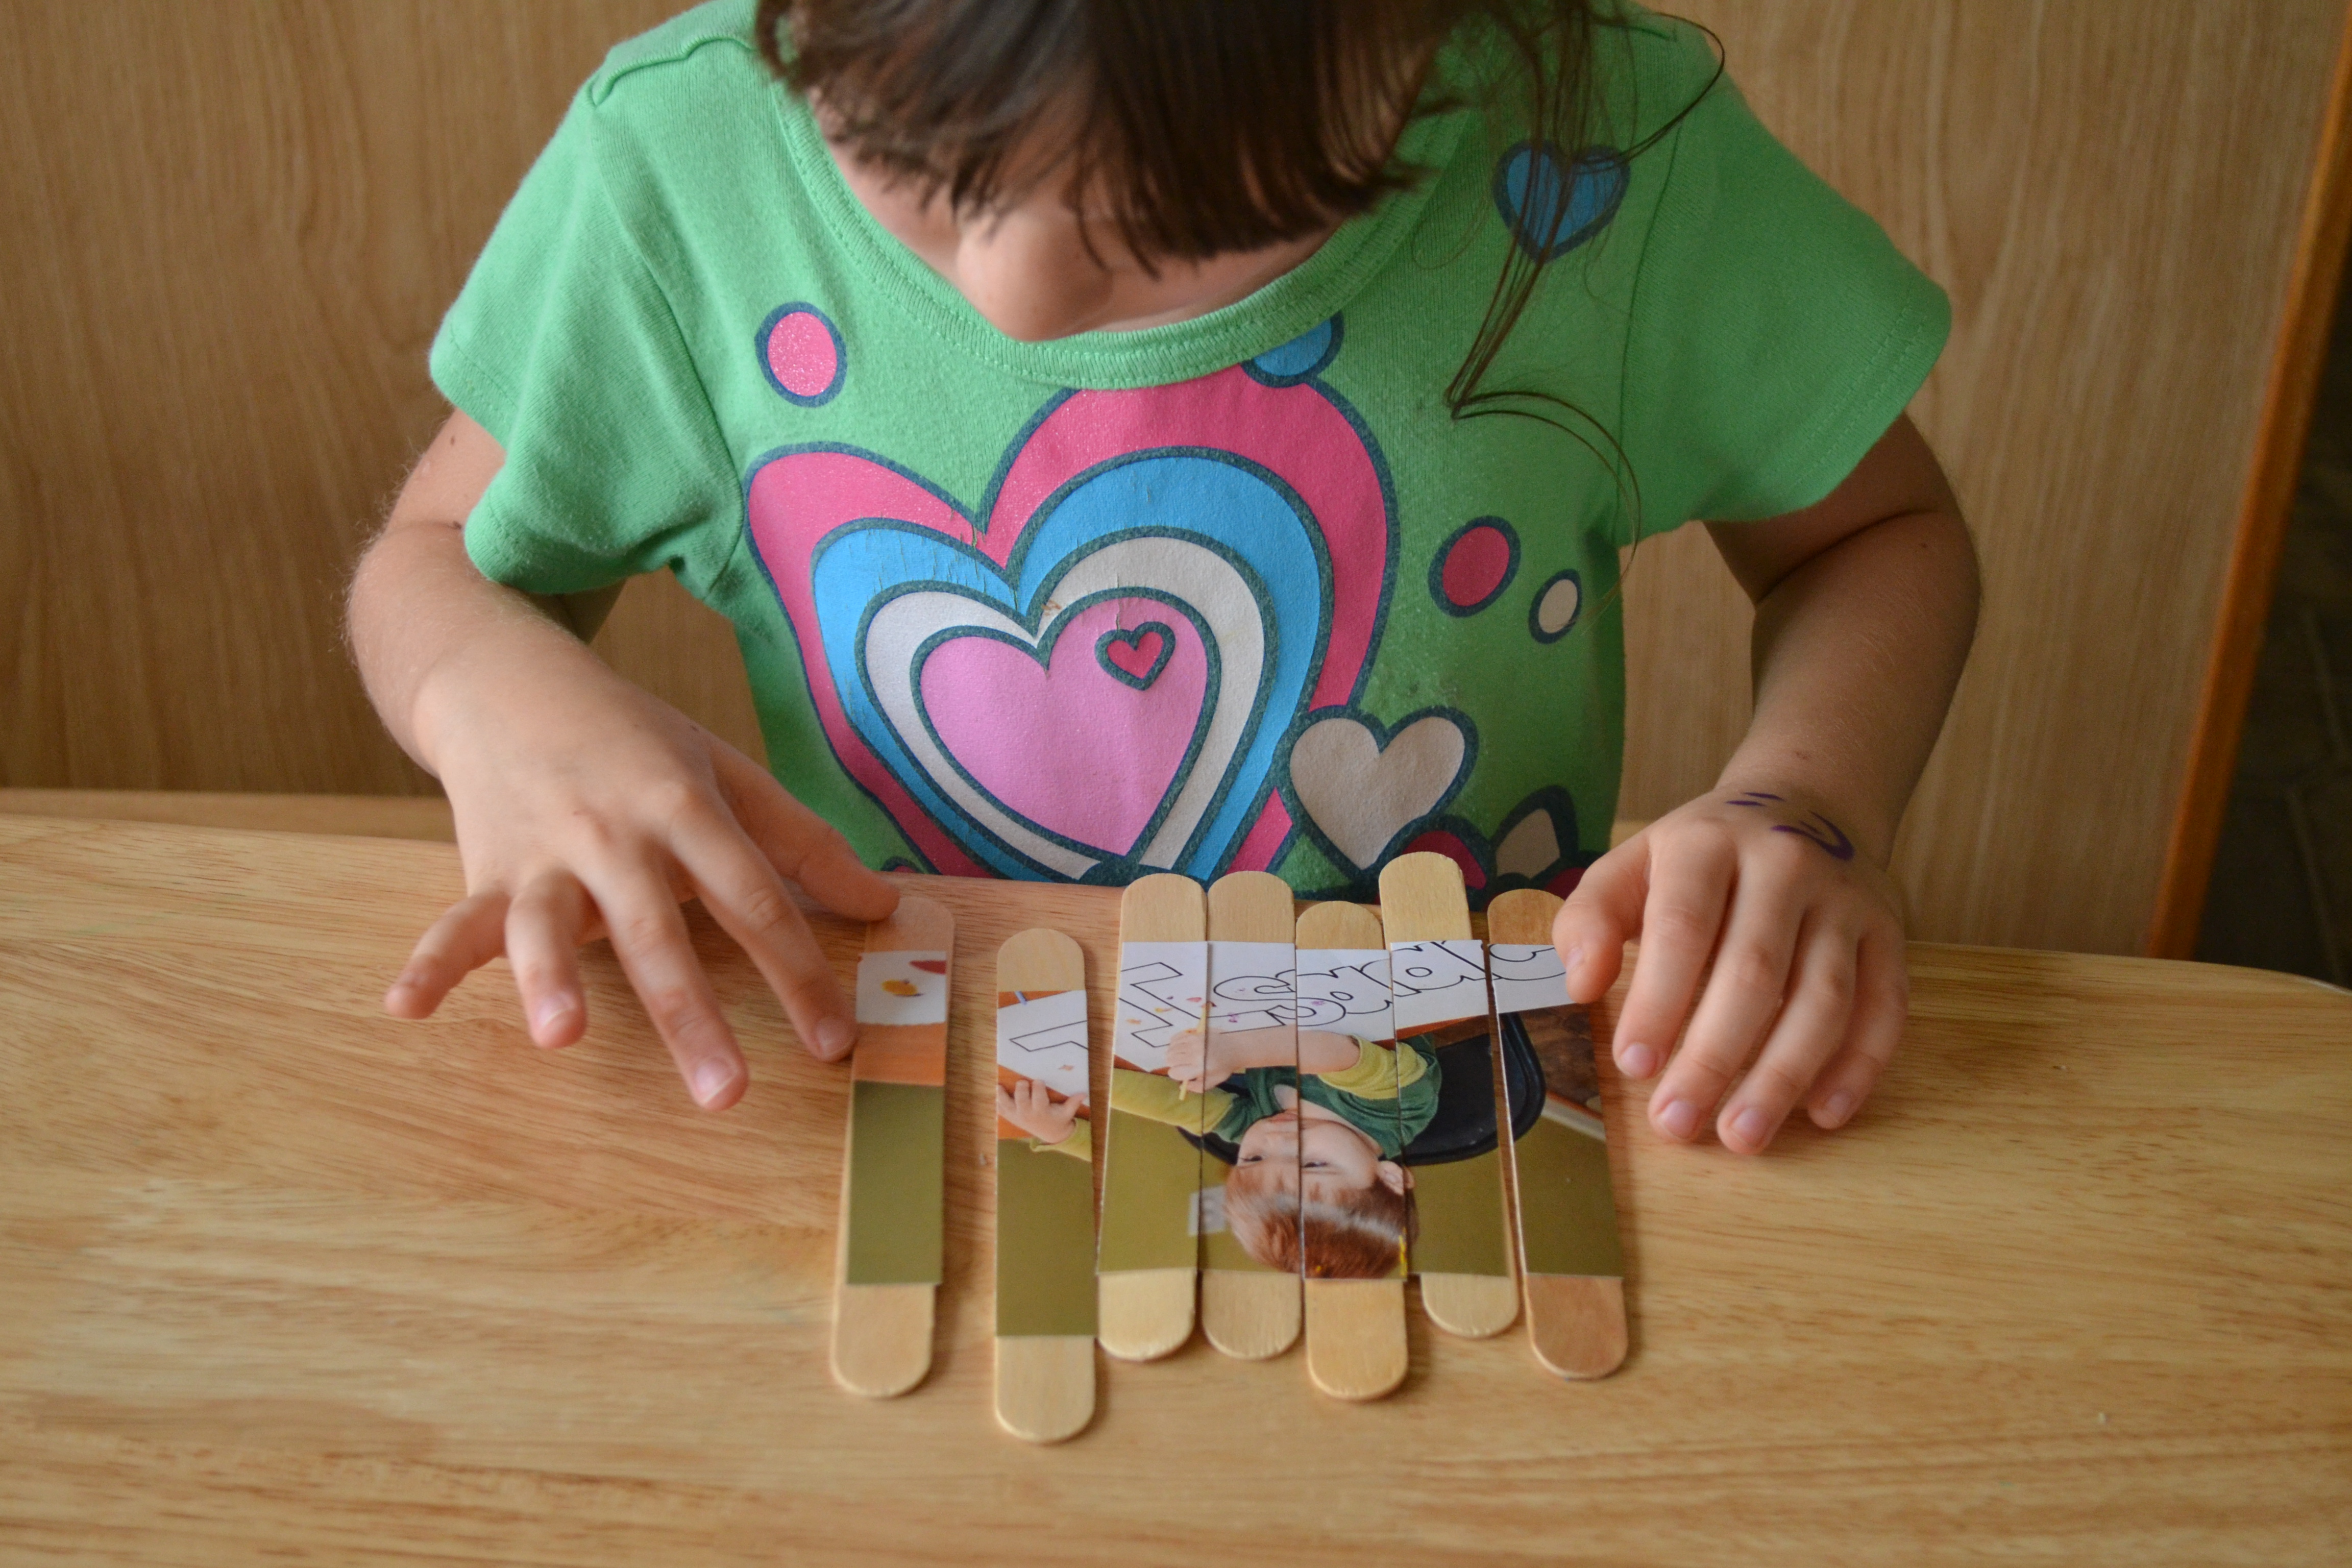
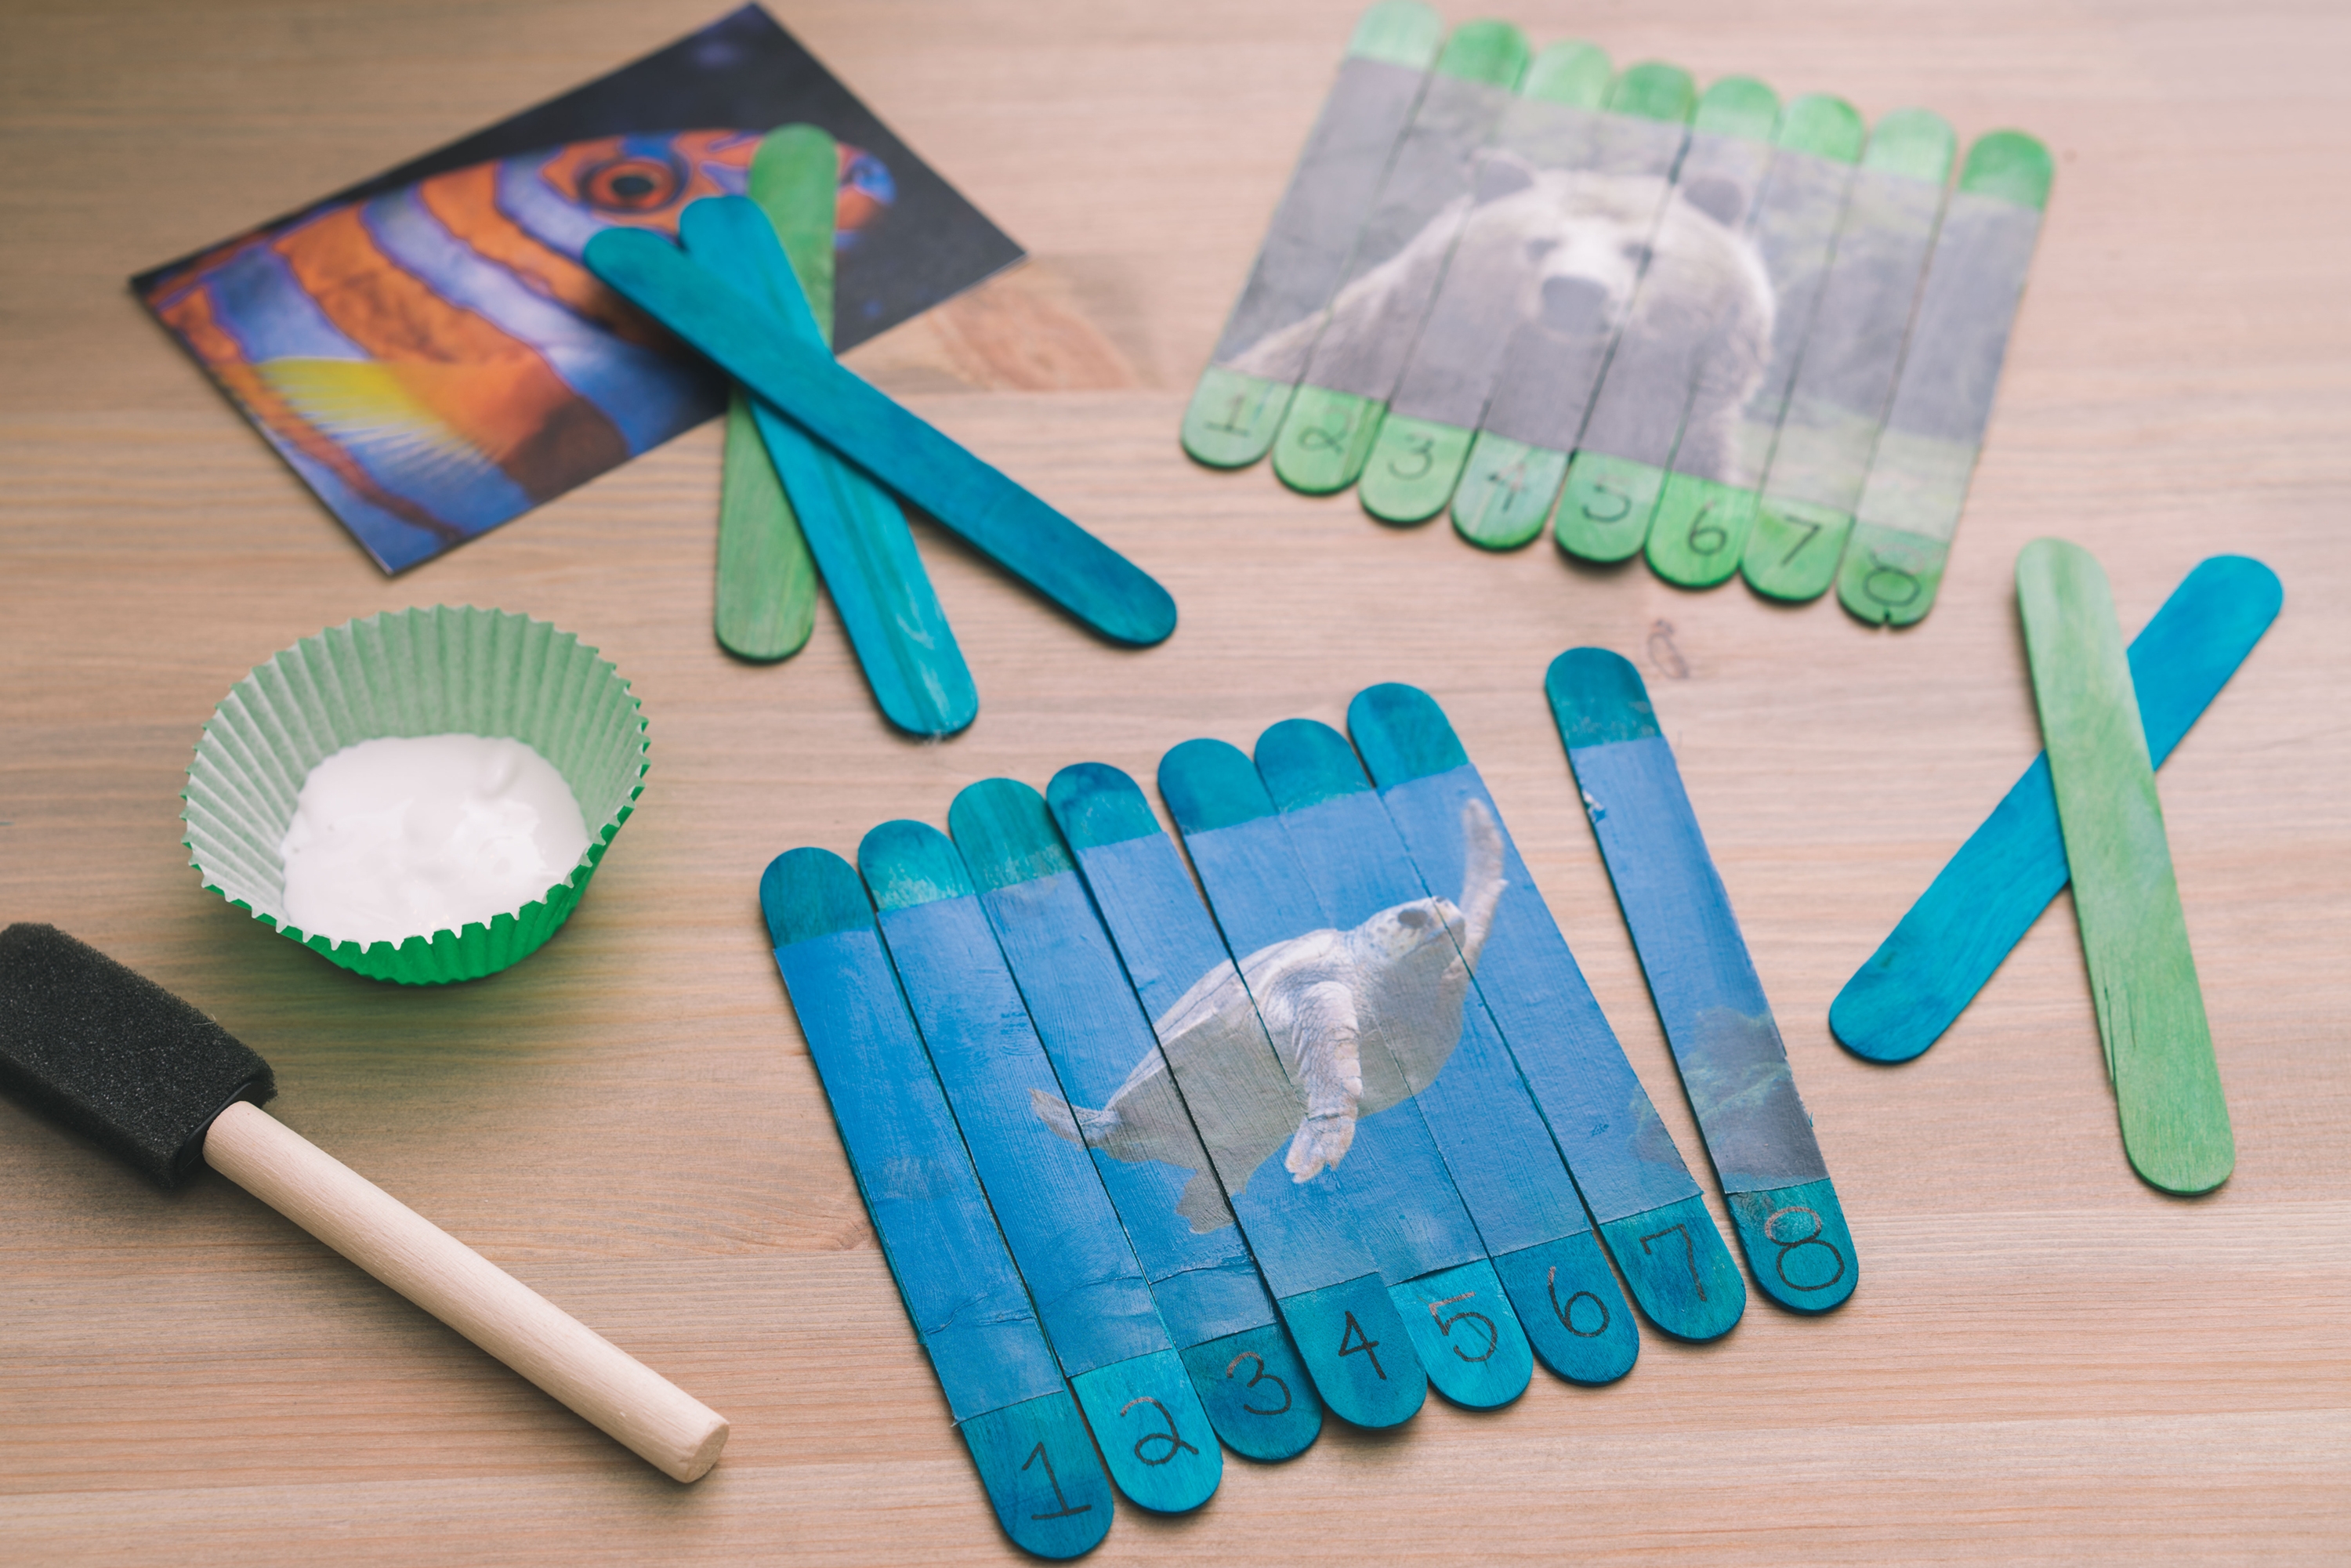
Once everything was dry, the kids put all of their puzzles back in order. Then, we used the permanent marker to number the sticks.
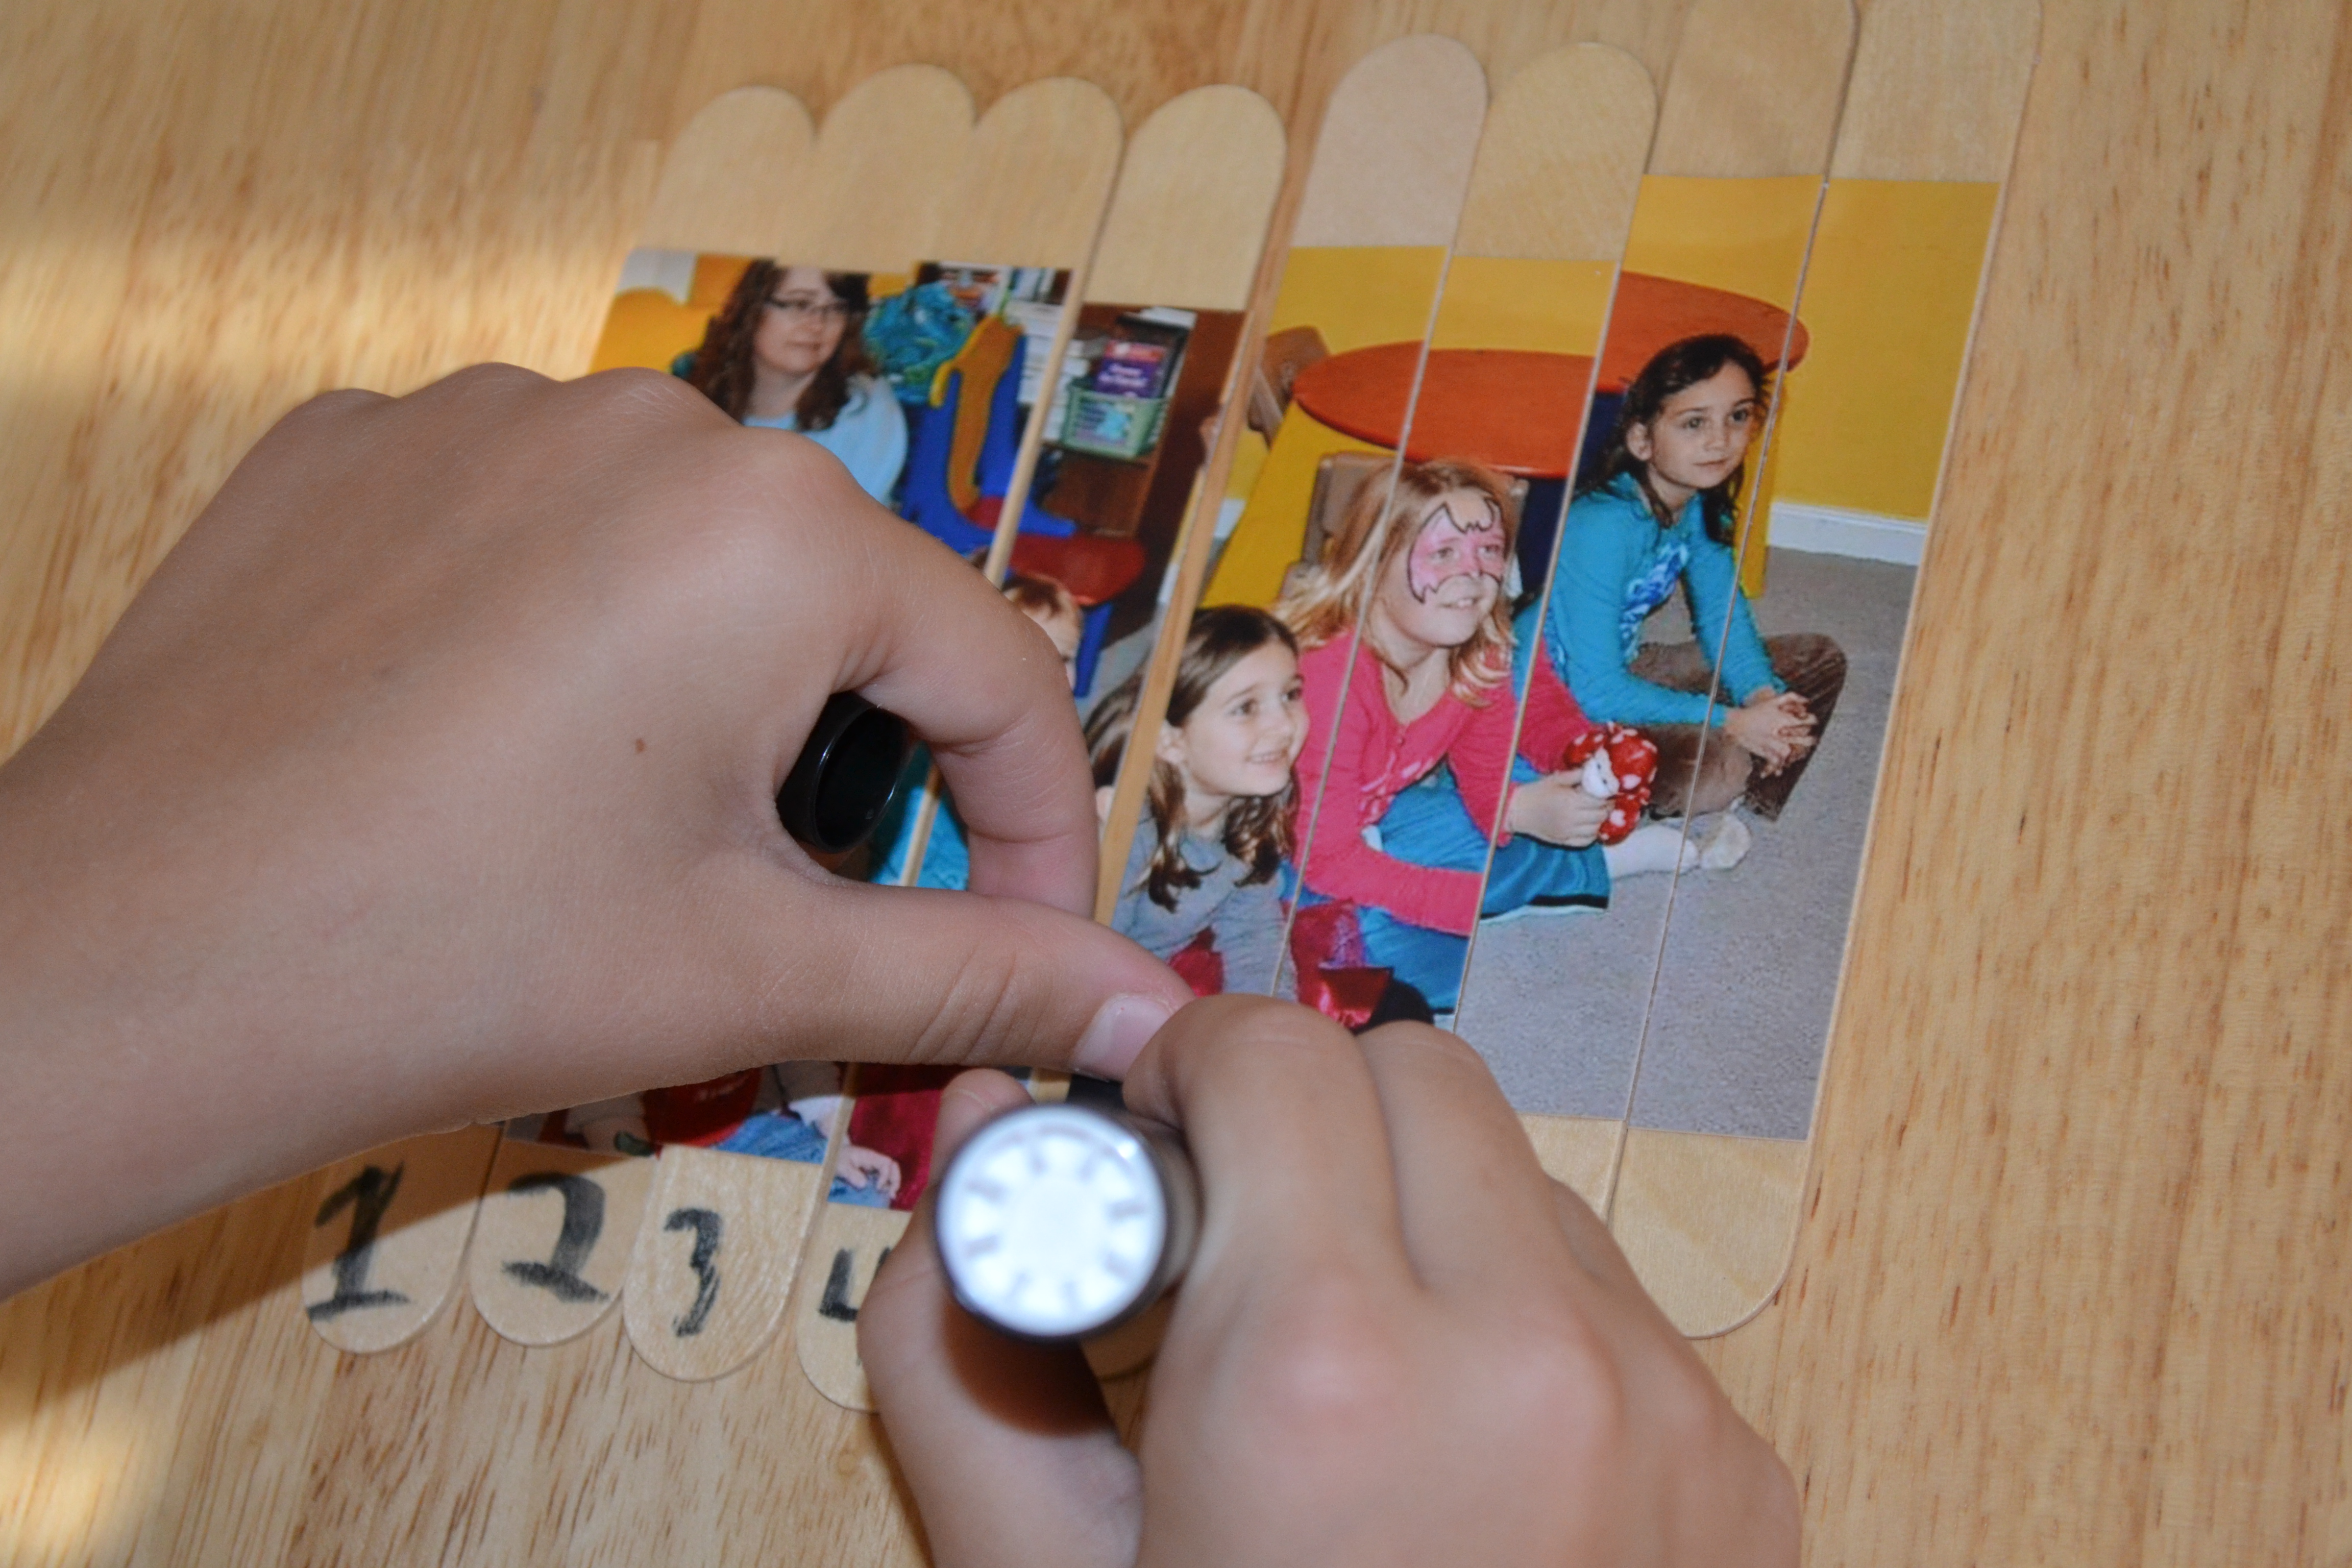
Done!
Next, we mixed them all up and had fun putting our puzzles together. This was a great counting and number recognition activity for my preschoolers. The numbers made it easier for them to put their puzzles together, and a lot easier for me to see if we had lost any of the pieces!
We put our craft stick puzzles into Ziploc bags and stored them with the other puzzles so the kids can pull them out any time. They were so proud of their puzzles and couldn't wait to show their Dad that they had puzzles with their pictures on them!