Step-by-step tutorial
Step 1
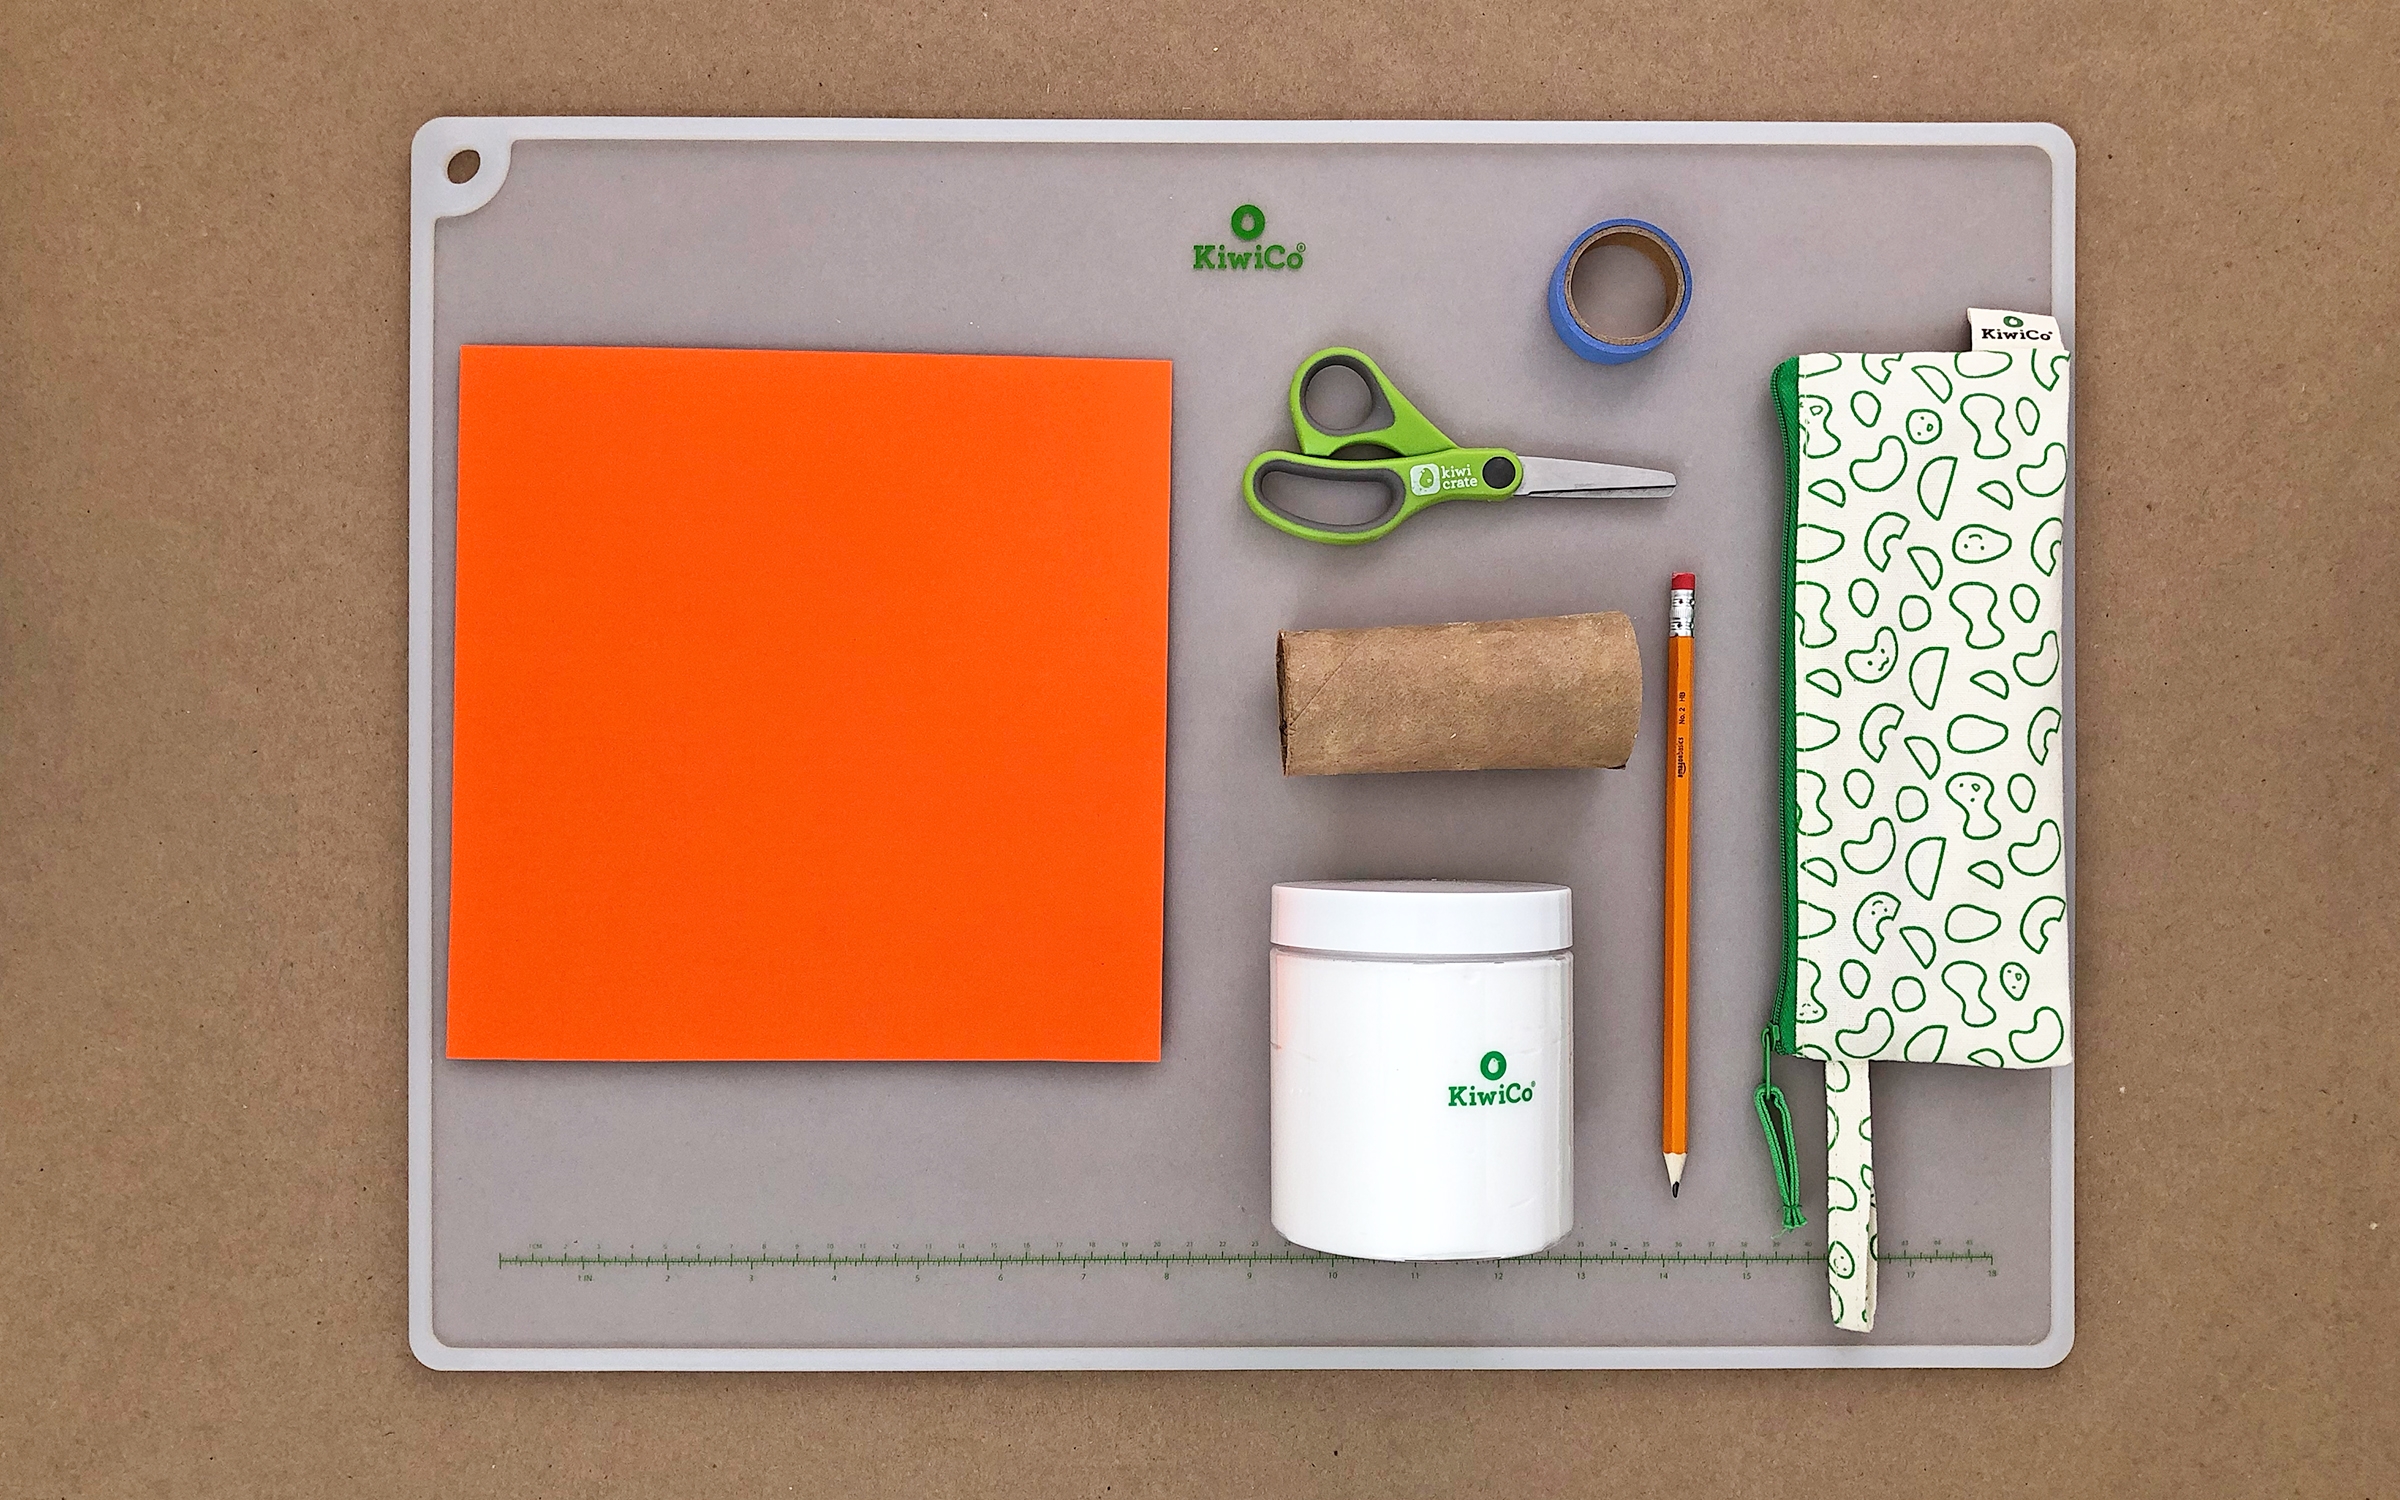
Gather your materials.

Tip
Missing supplies? Get them from the KiwiCo Store!
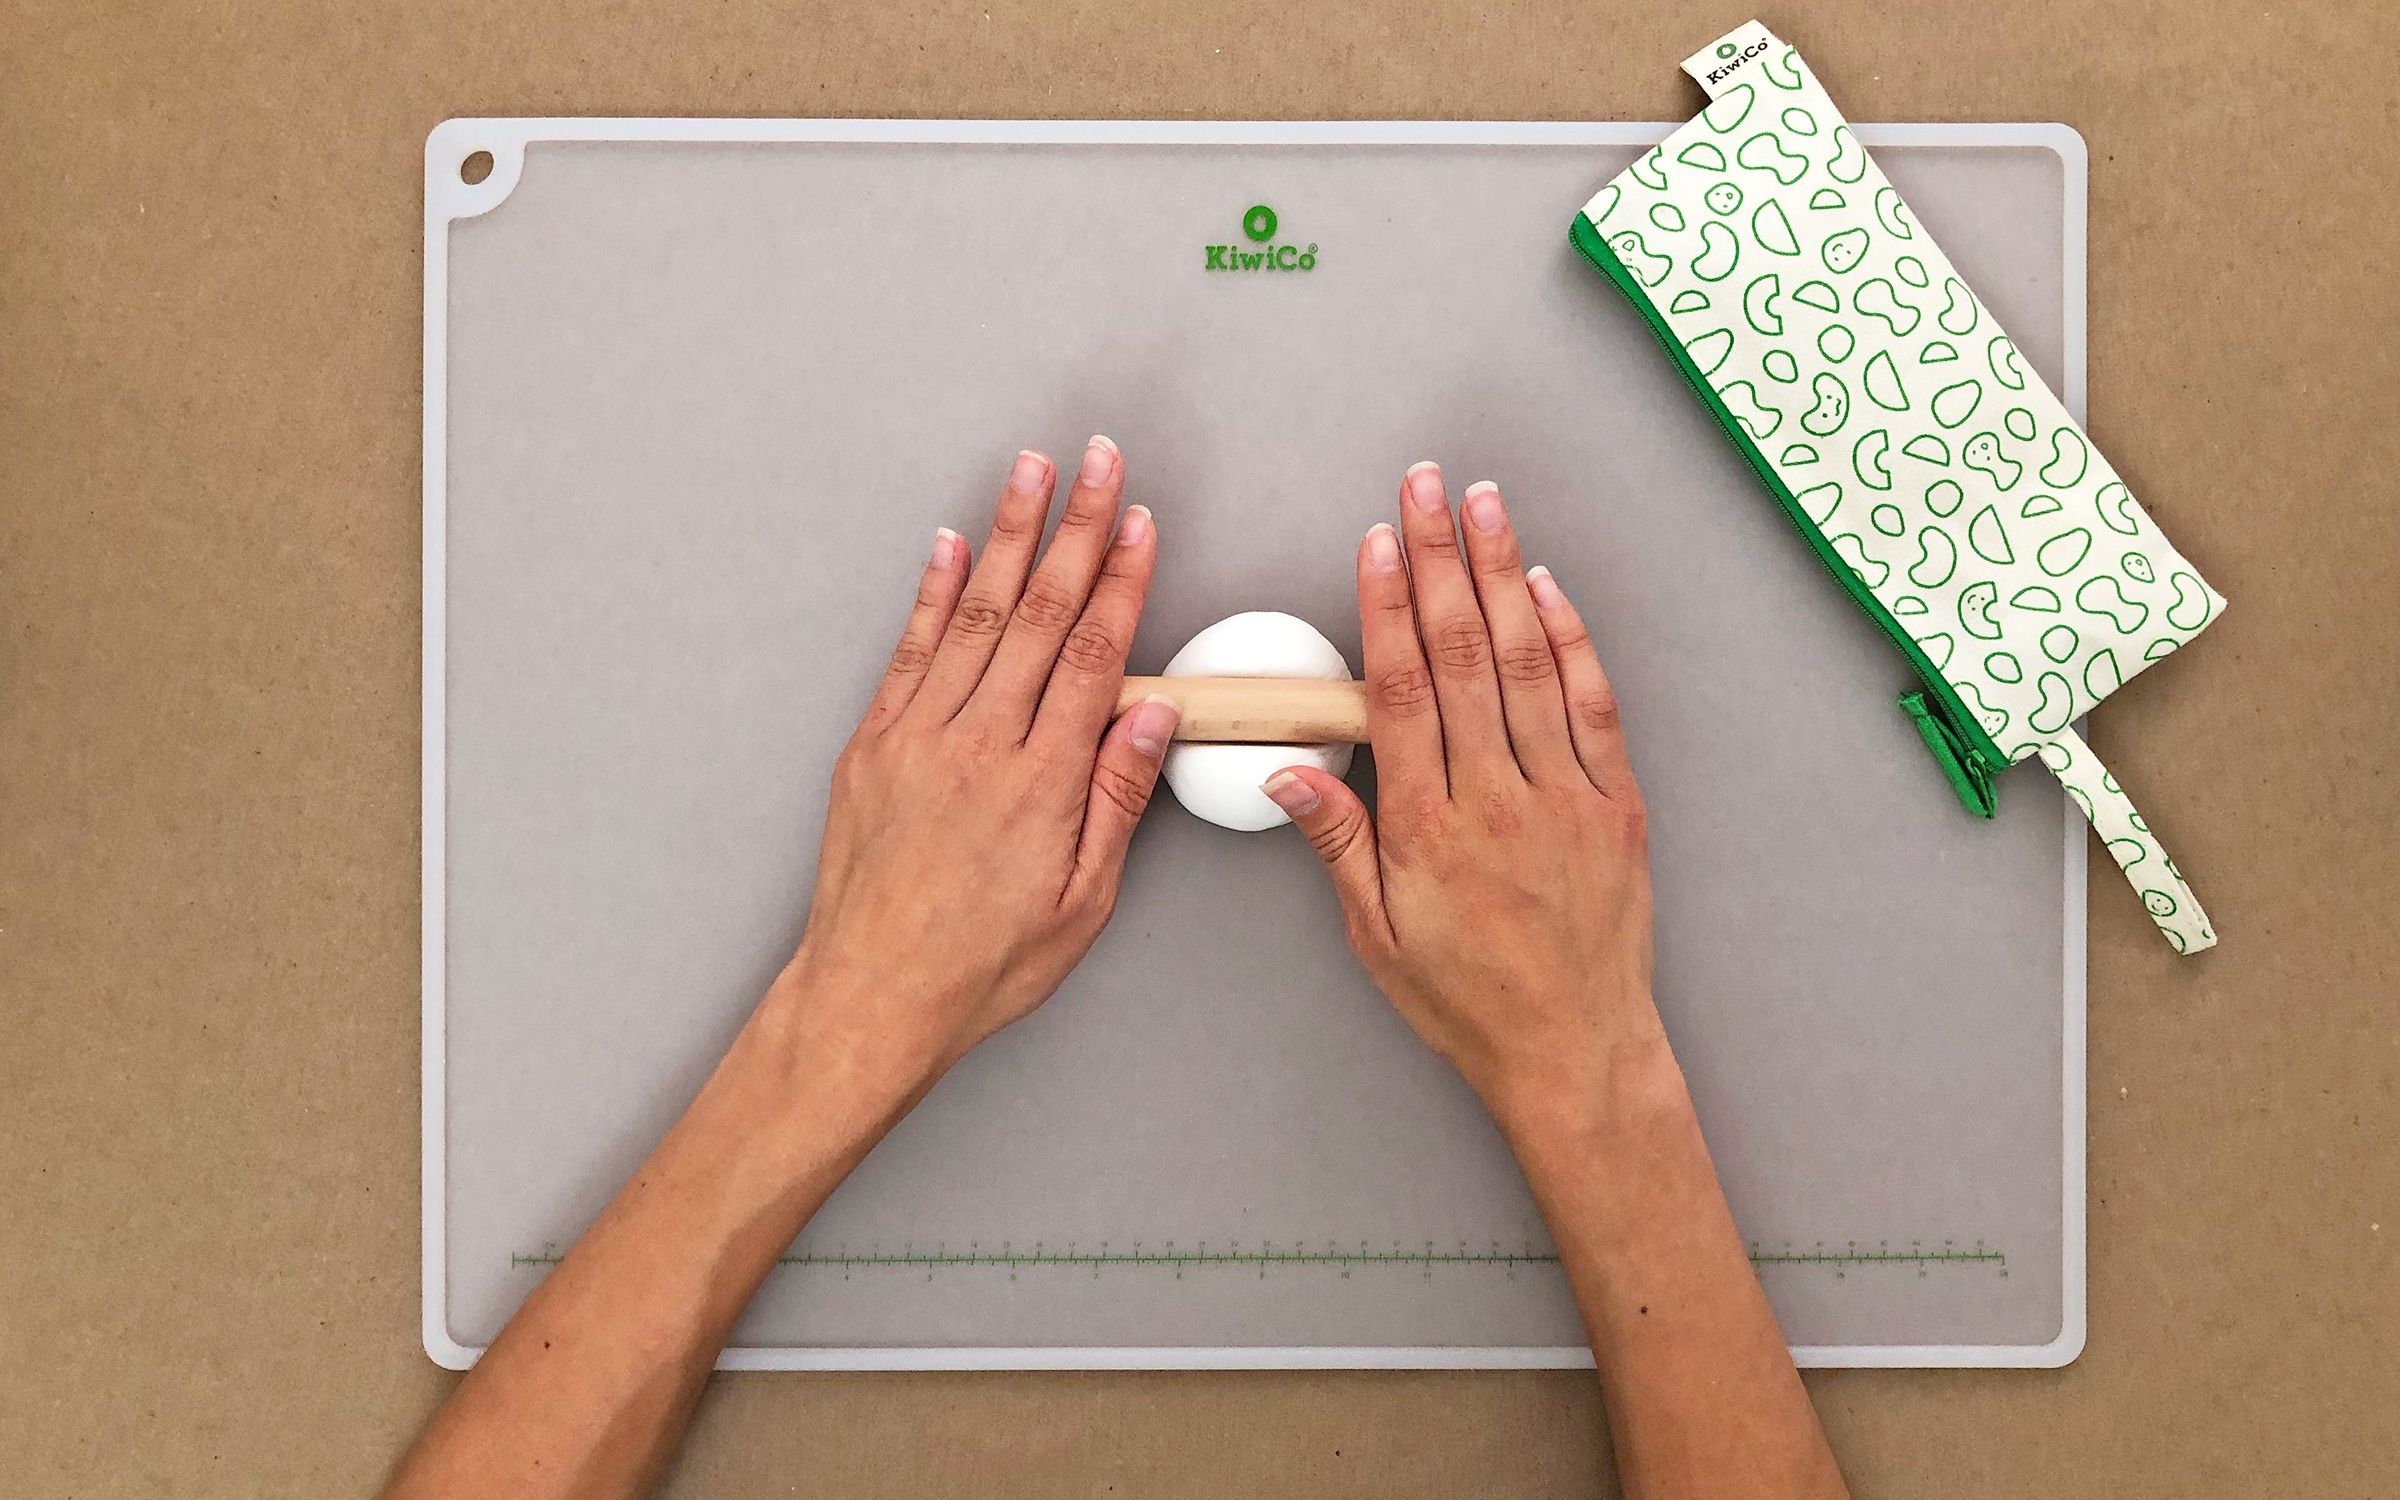
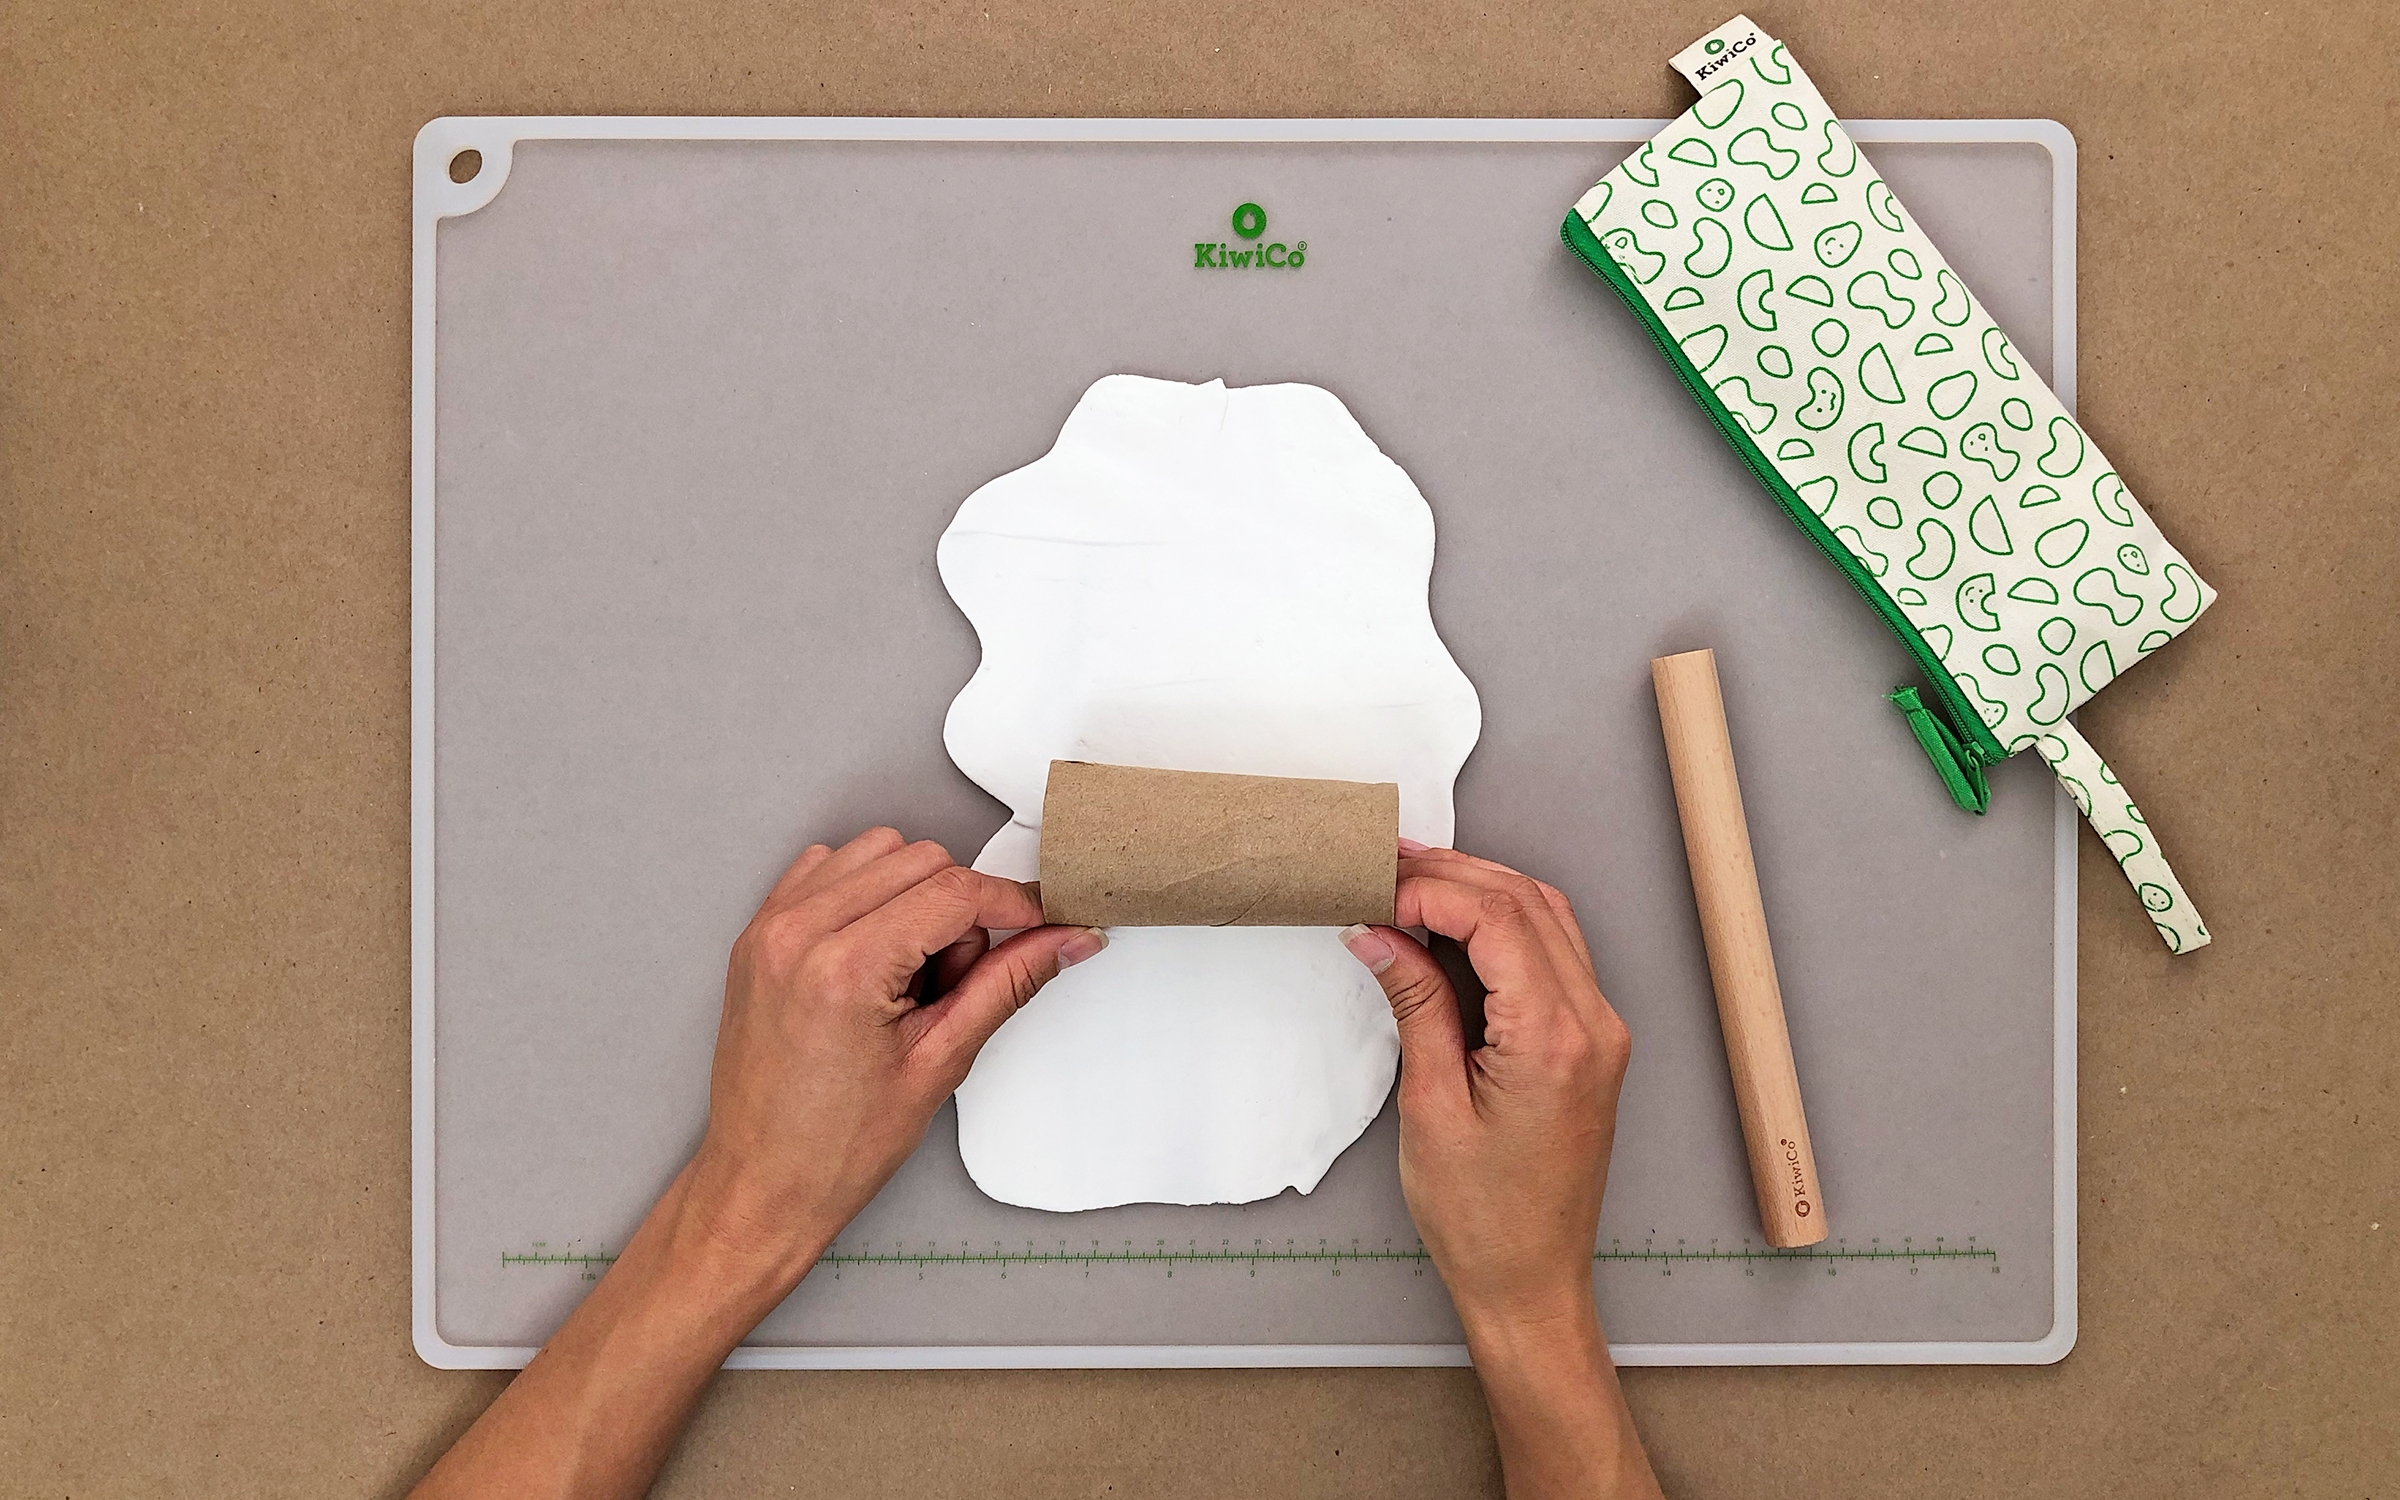
Step 2
Grab a ball of white clay about the size of your palm, and use the rolling pin to roll it out until it is long enough for it to wrap around the toilet paper tube.
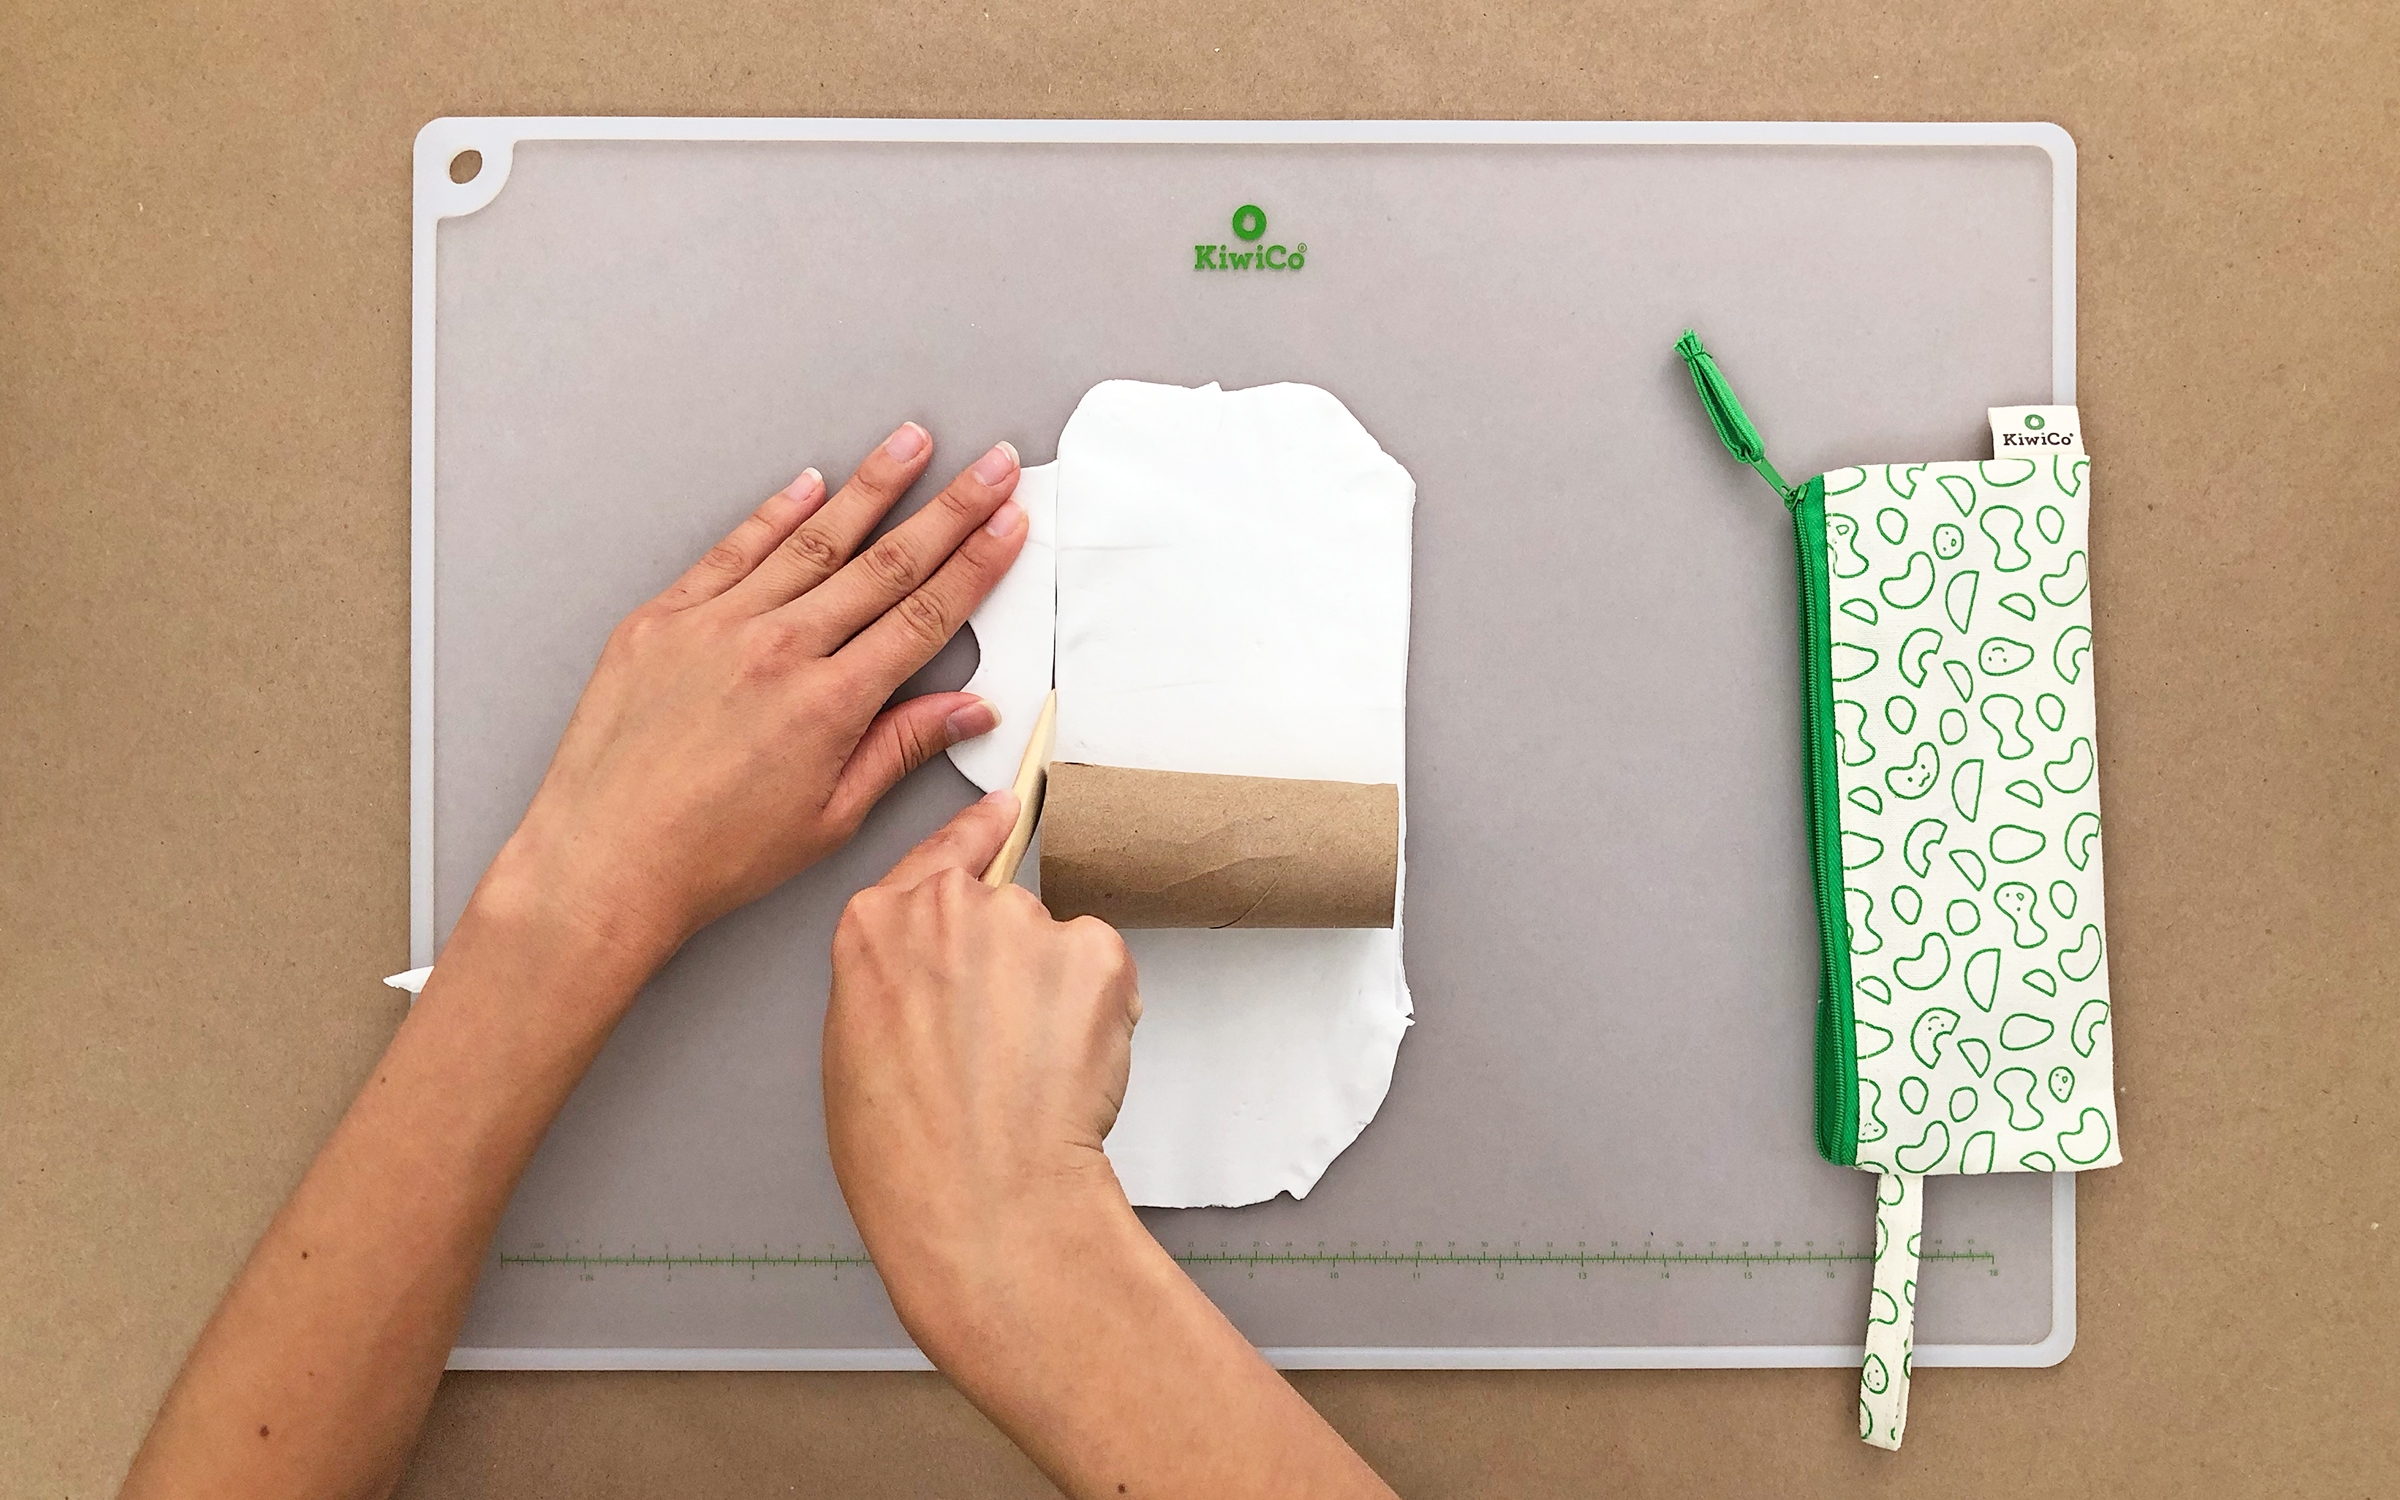
Step 3
Use the clay knife tool to cut the rolled out clay to the height of the toilet paper tube.
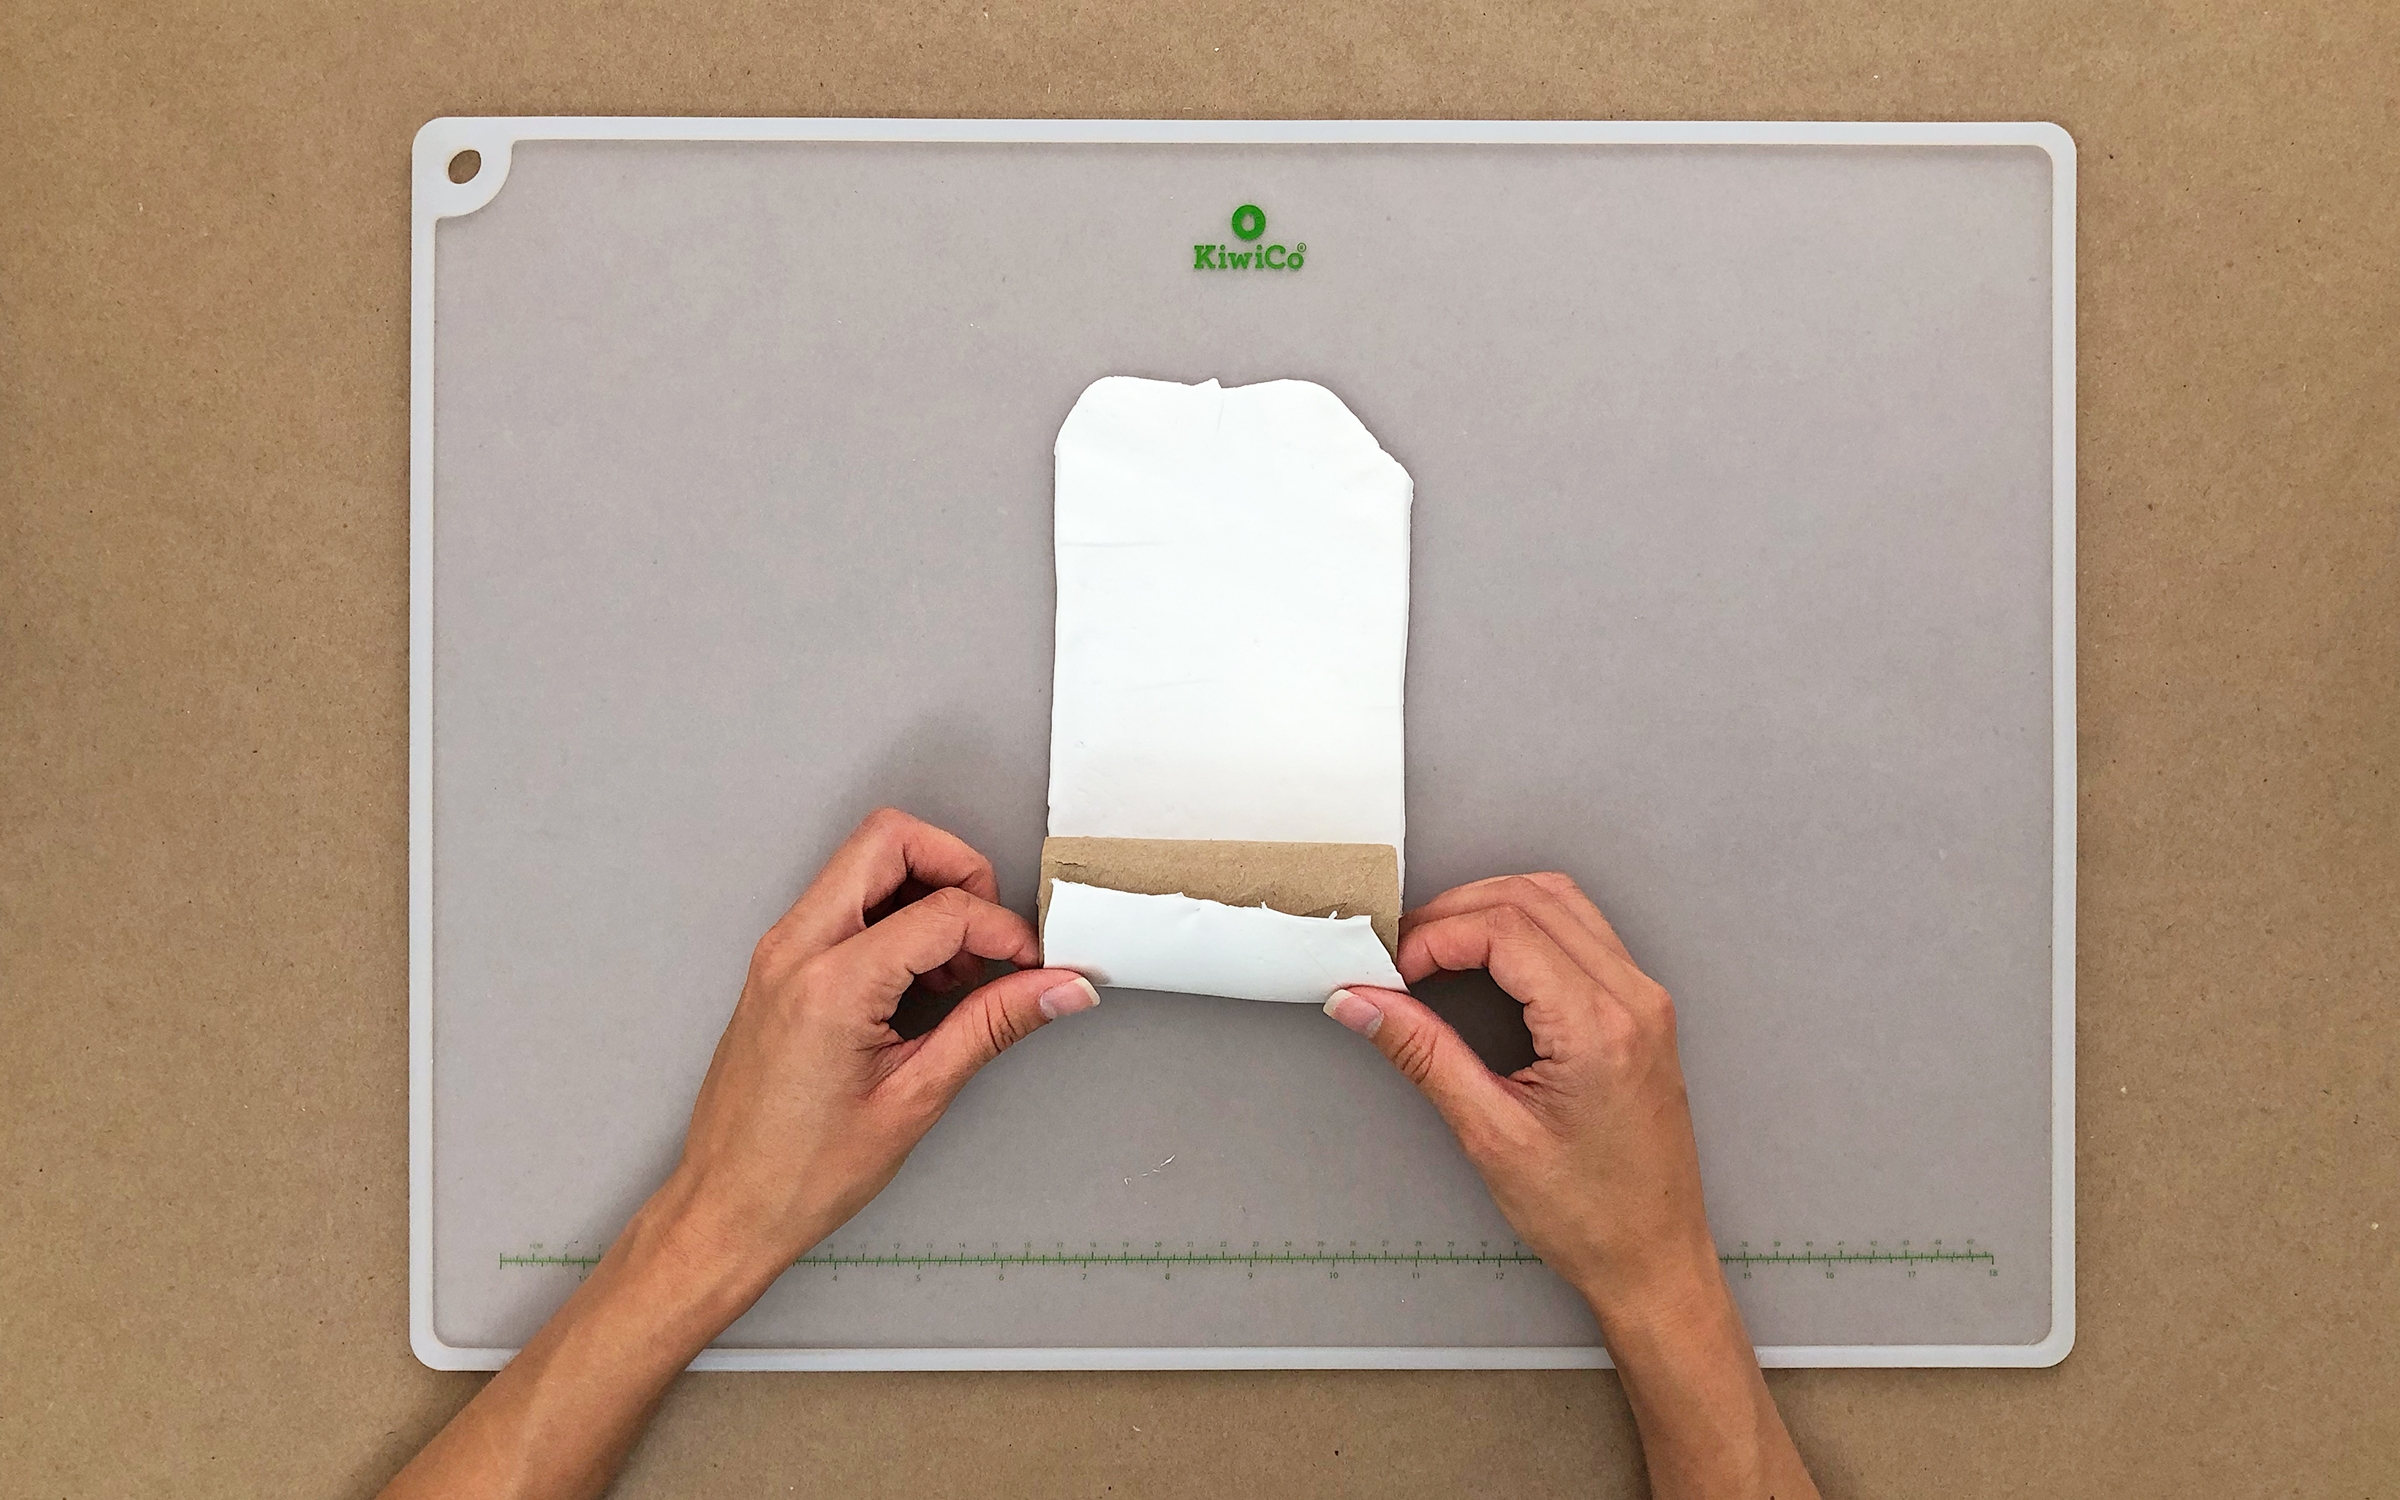
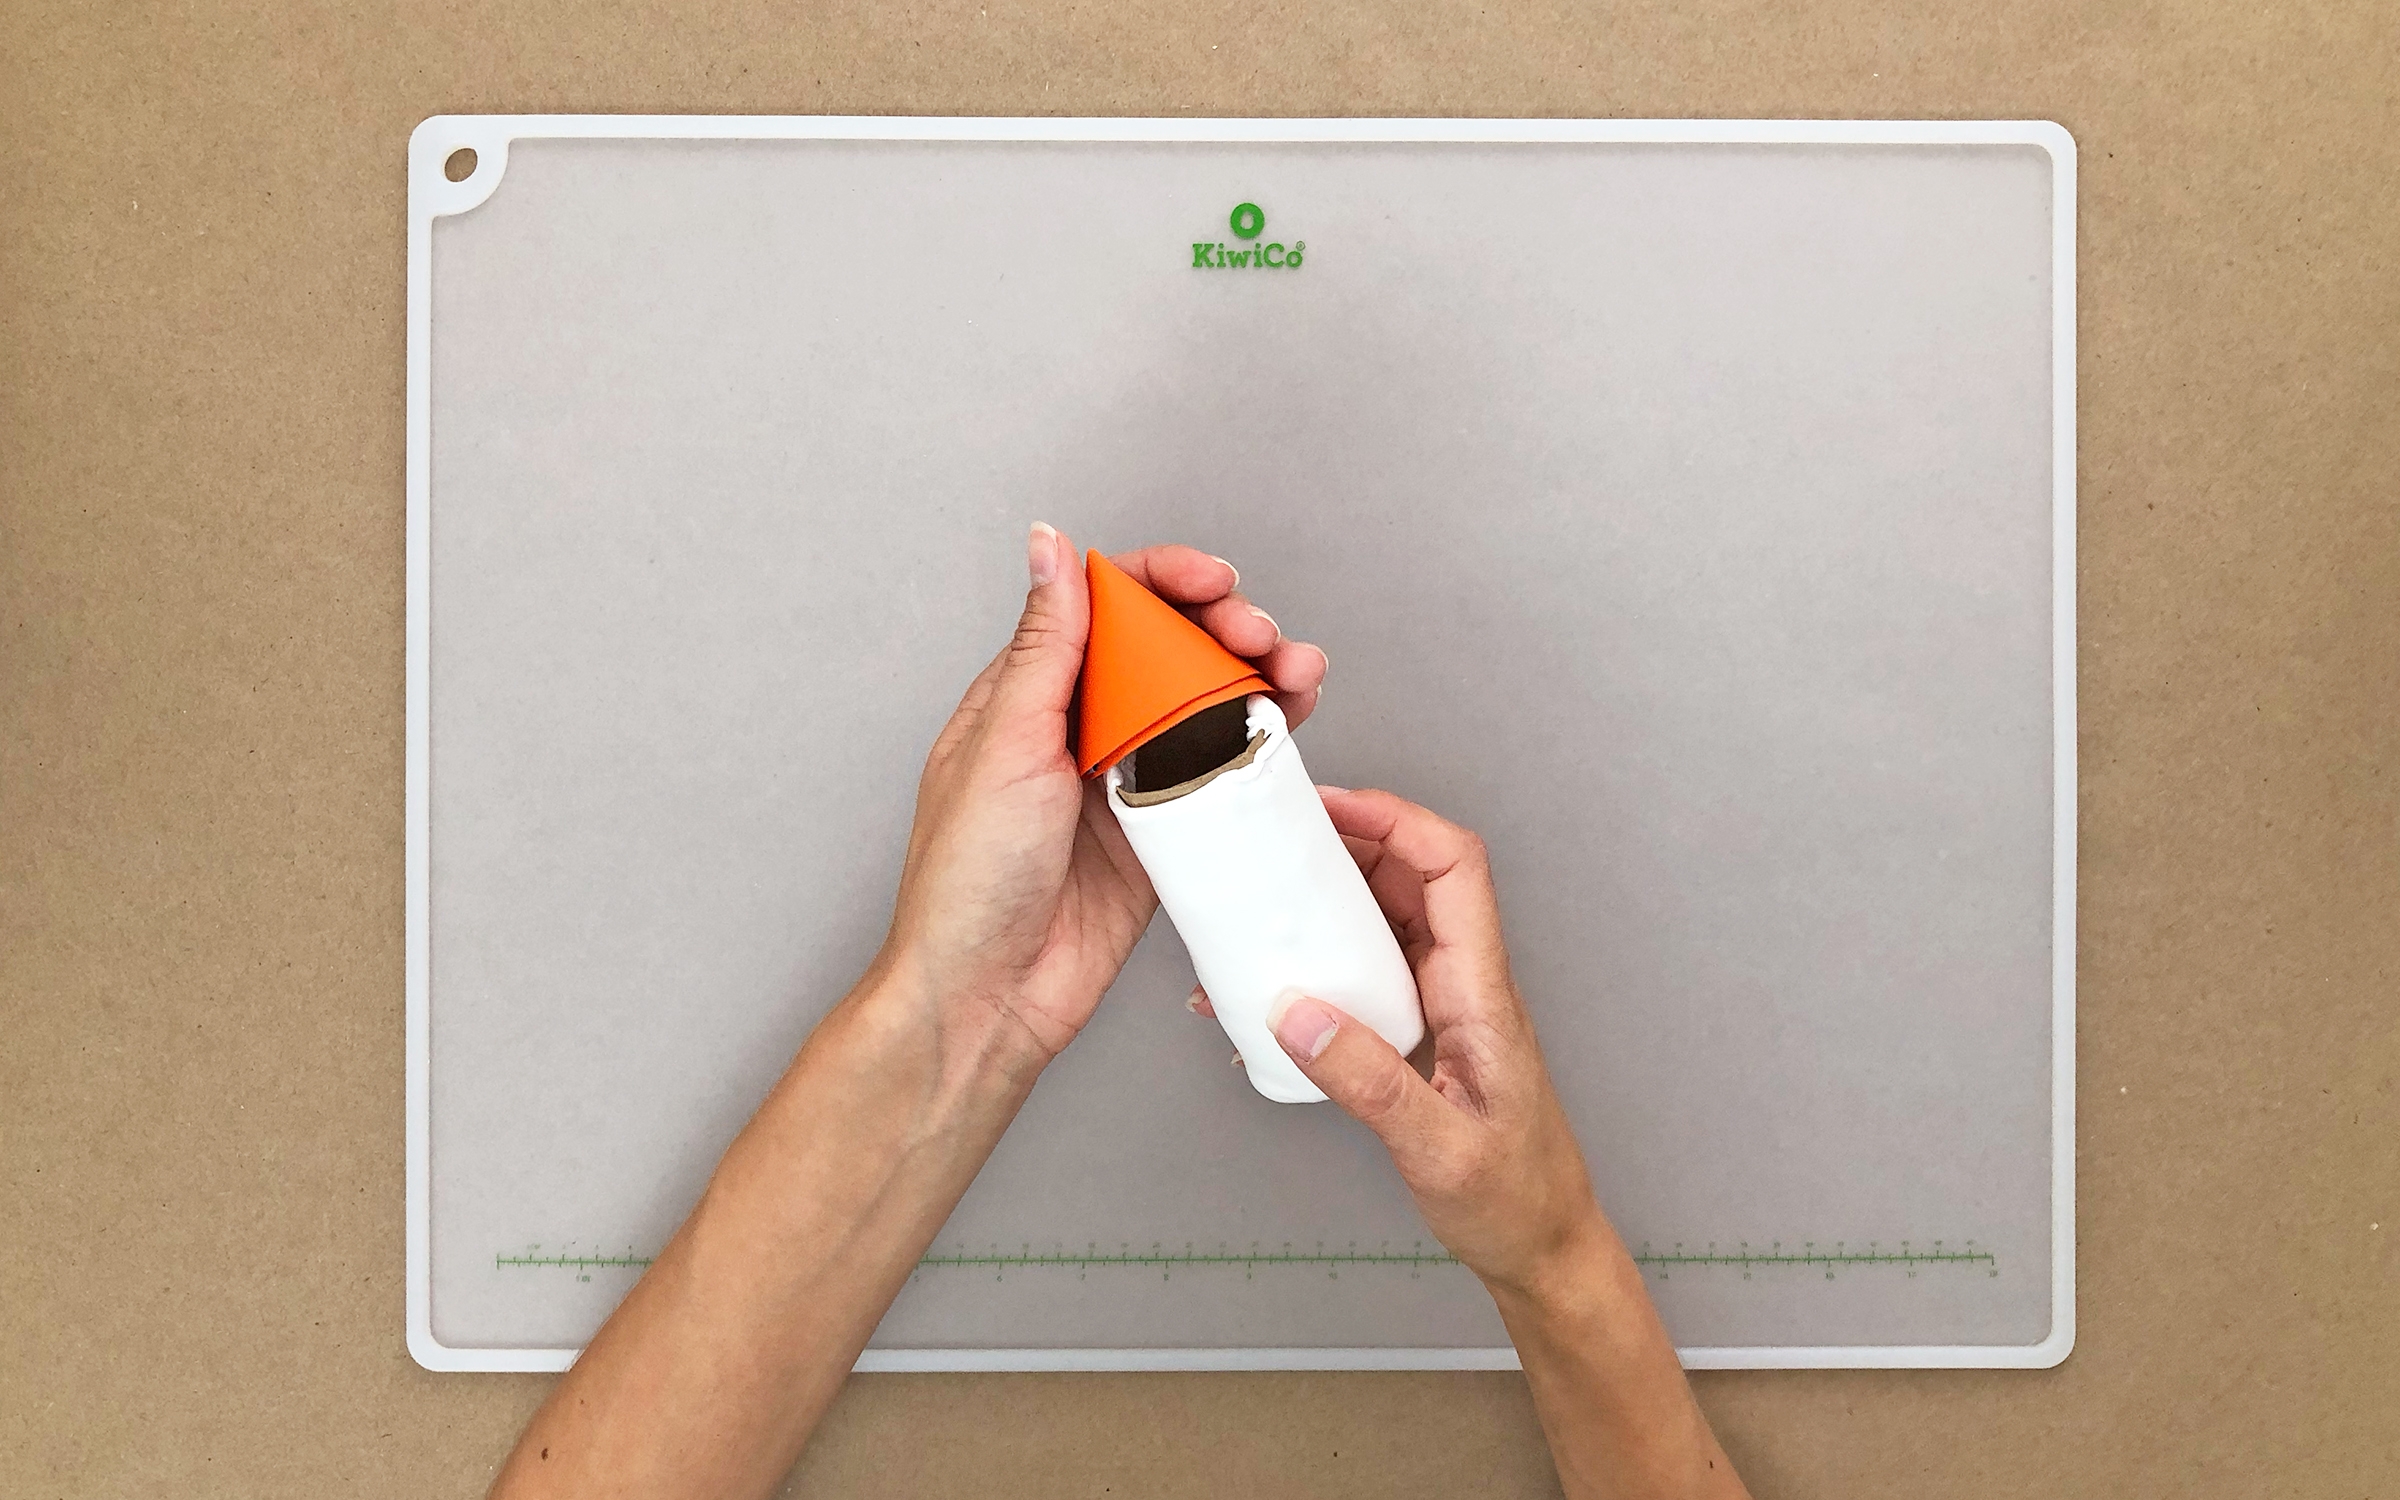
Step 4
Wrap the clay around the toilet paper tube.
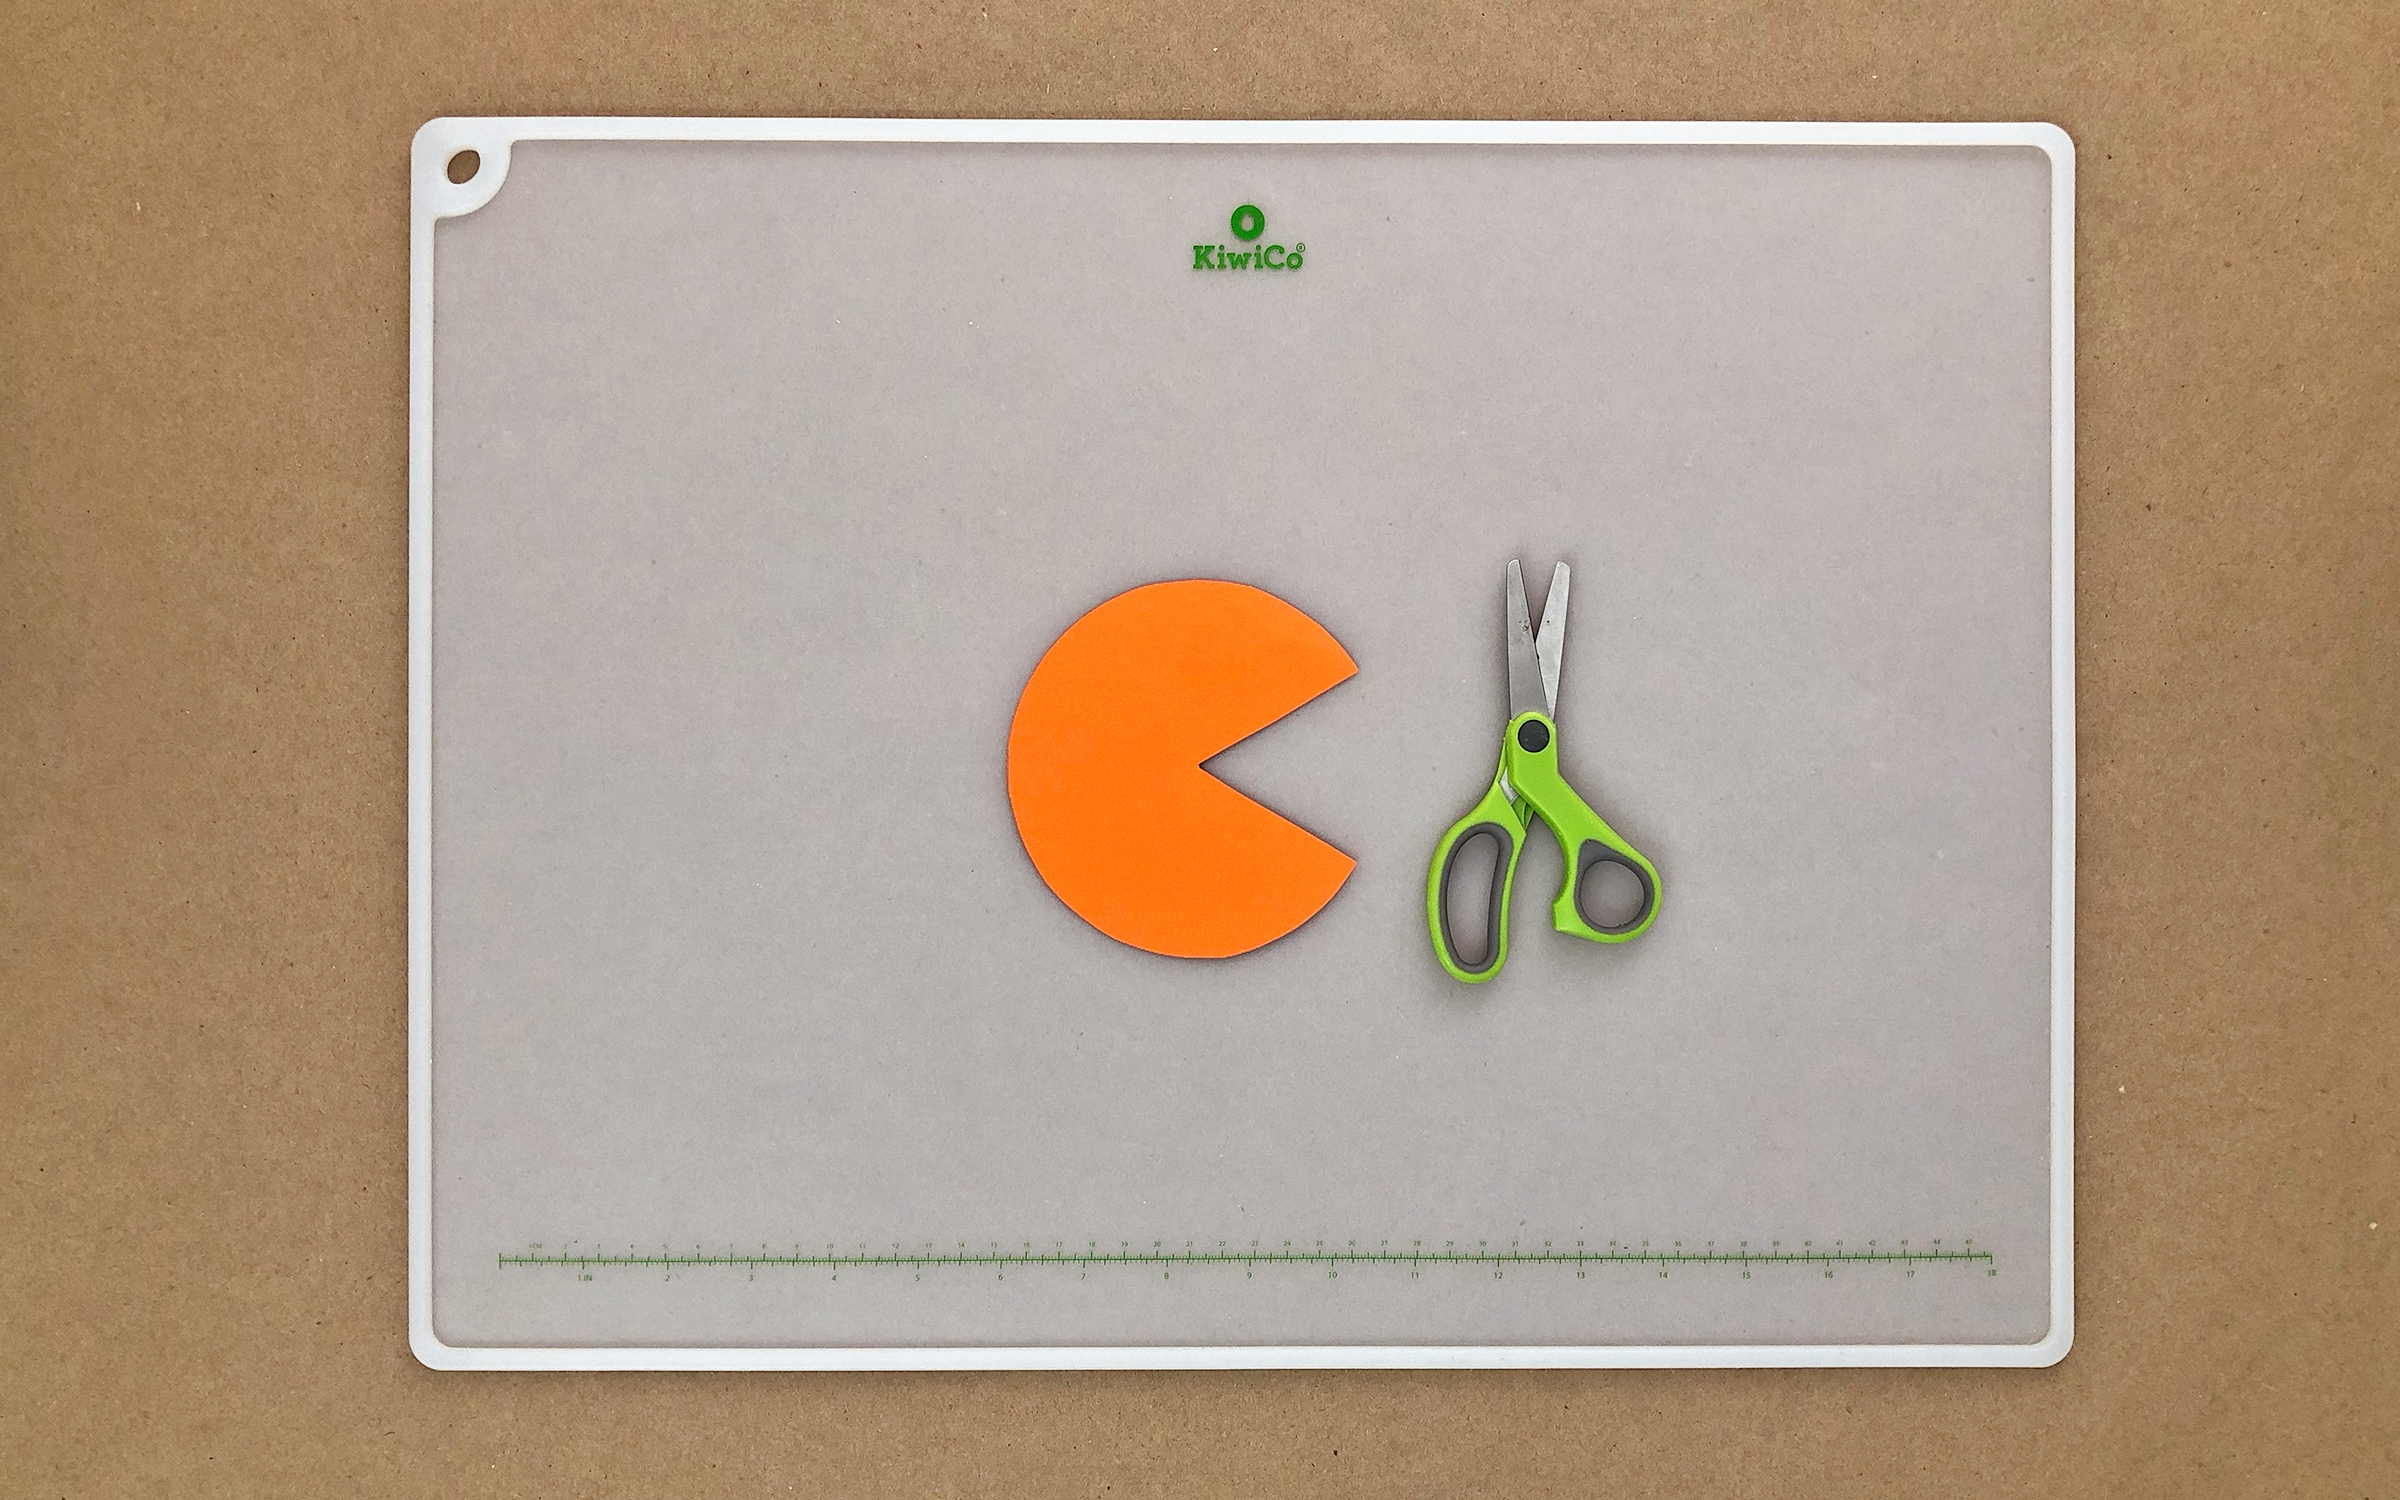
Step 5
Trace your circular container/lid onto your colorful construction paper and cut out this shape. This will become your rocket’s nose cone.
Step 6
Roll the shape into a cone and tape it into place. Use the toilet paper tube to figure out how wide of a cone you want. Add it to the top of your rocket!
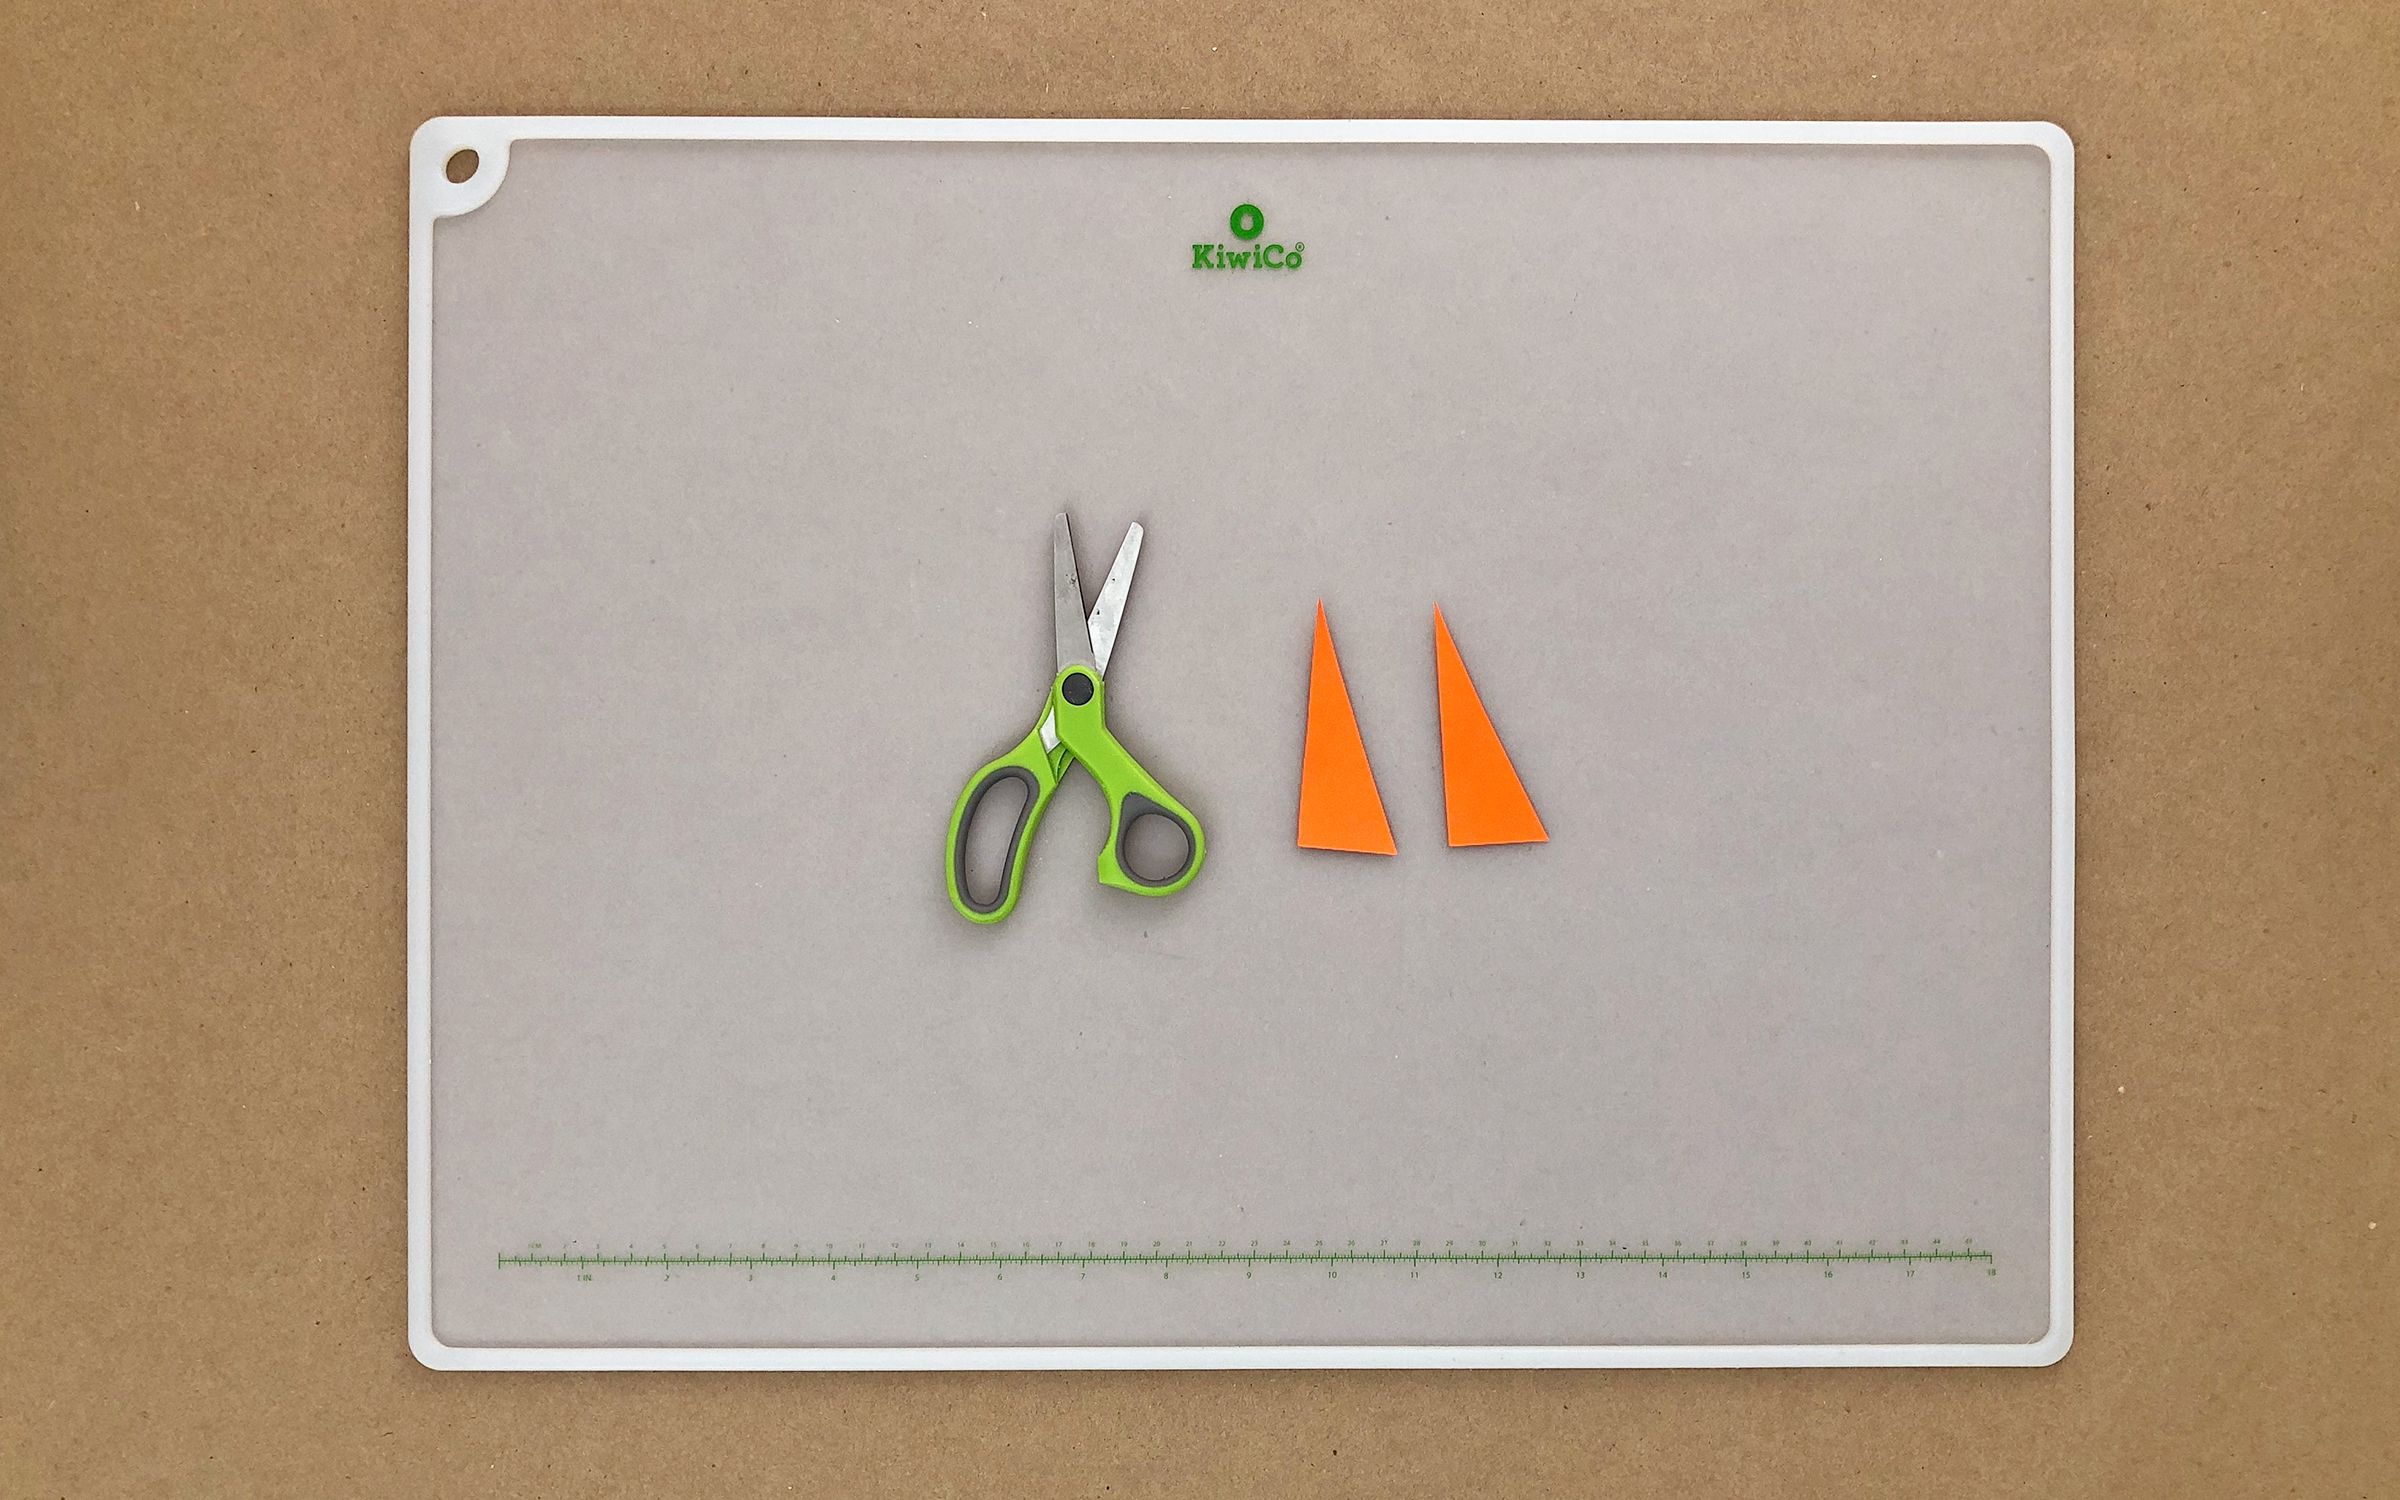
Step 7
Cut out two triangles for rocket fins.
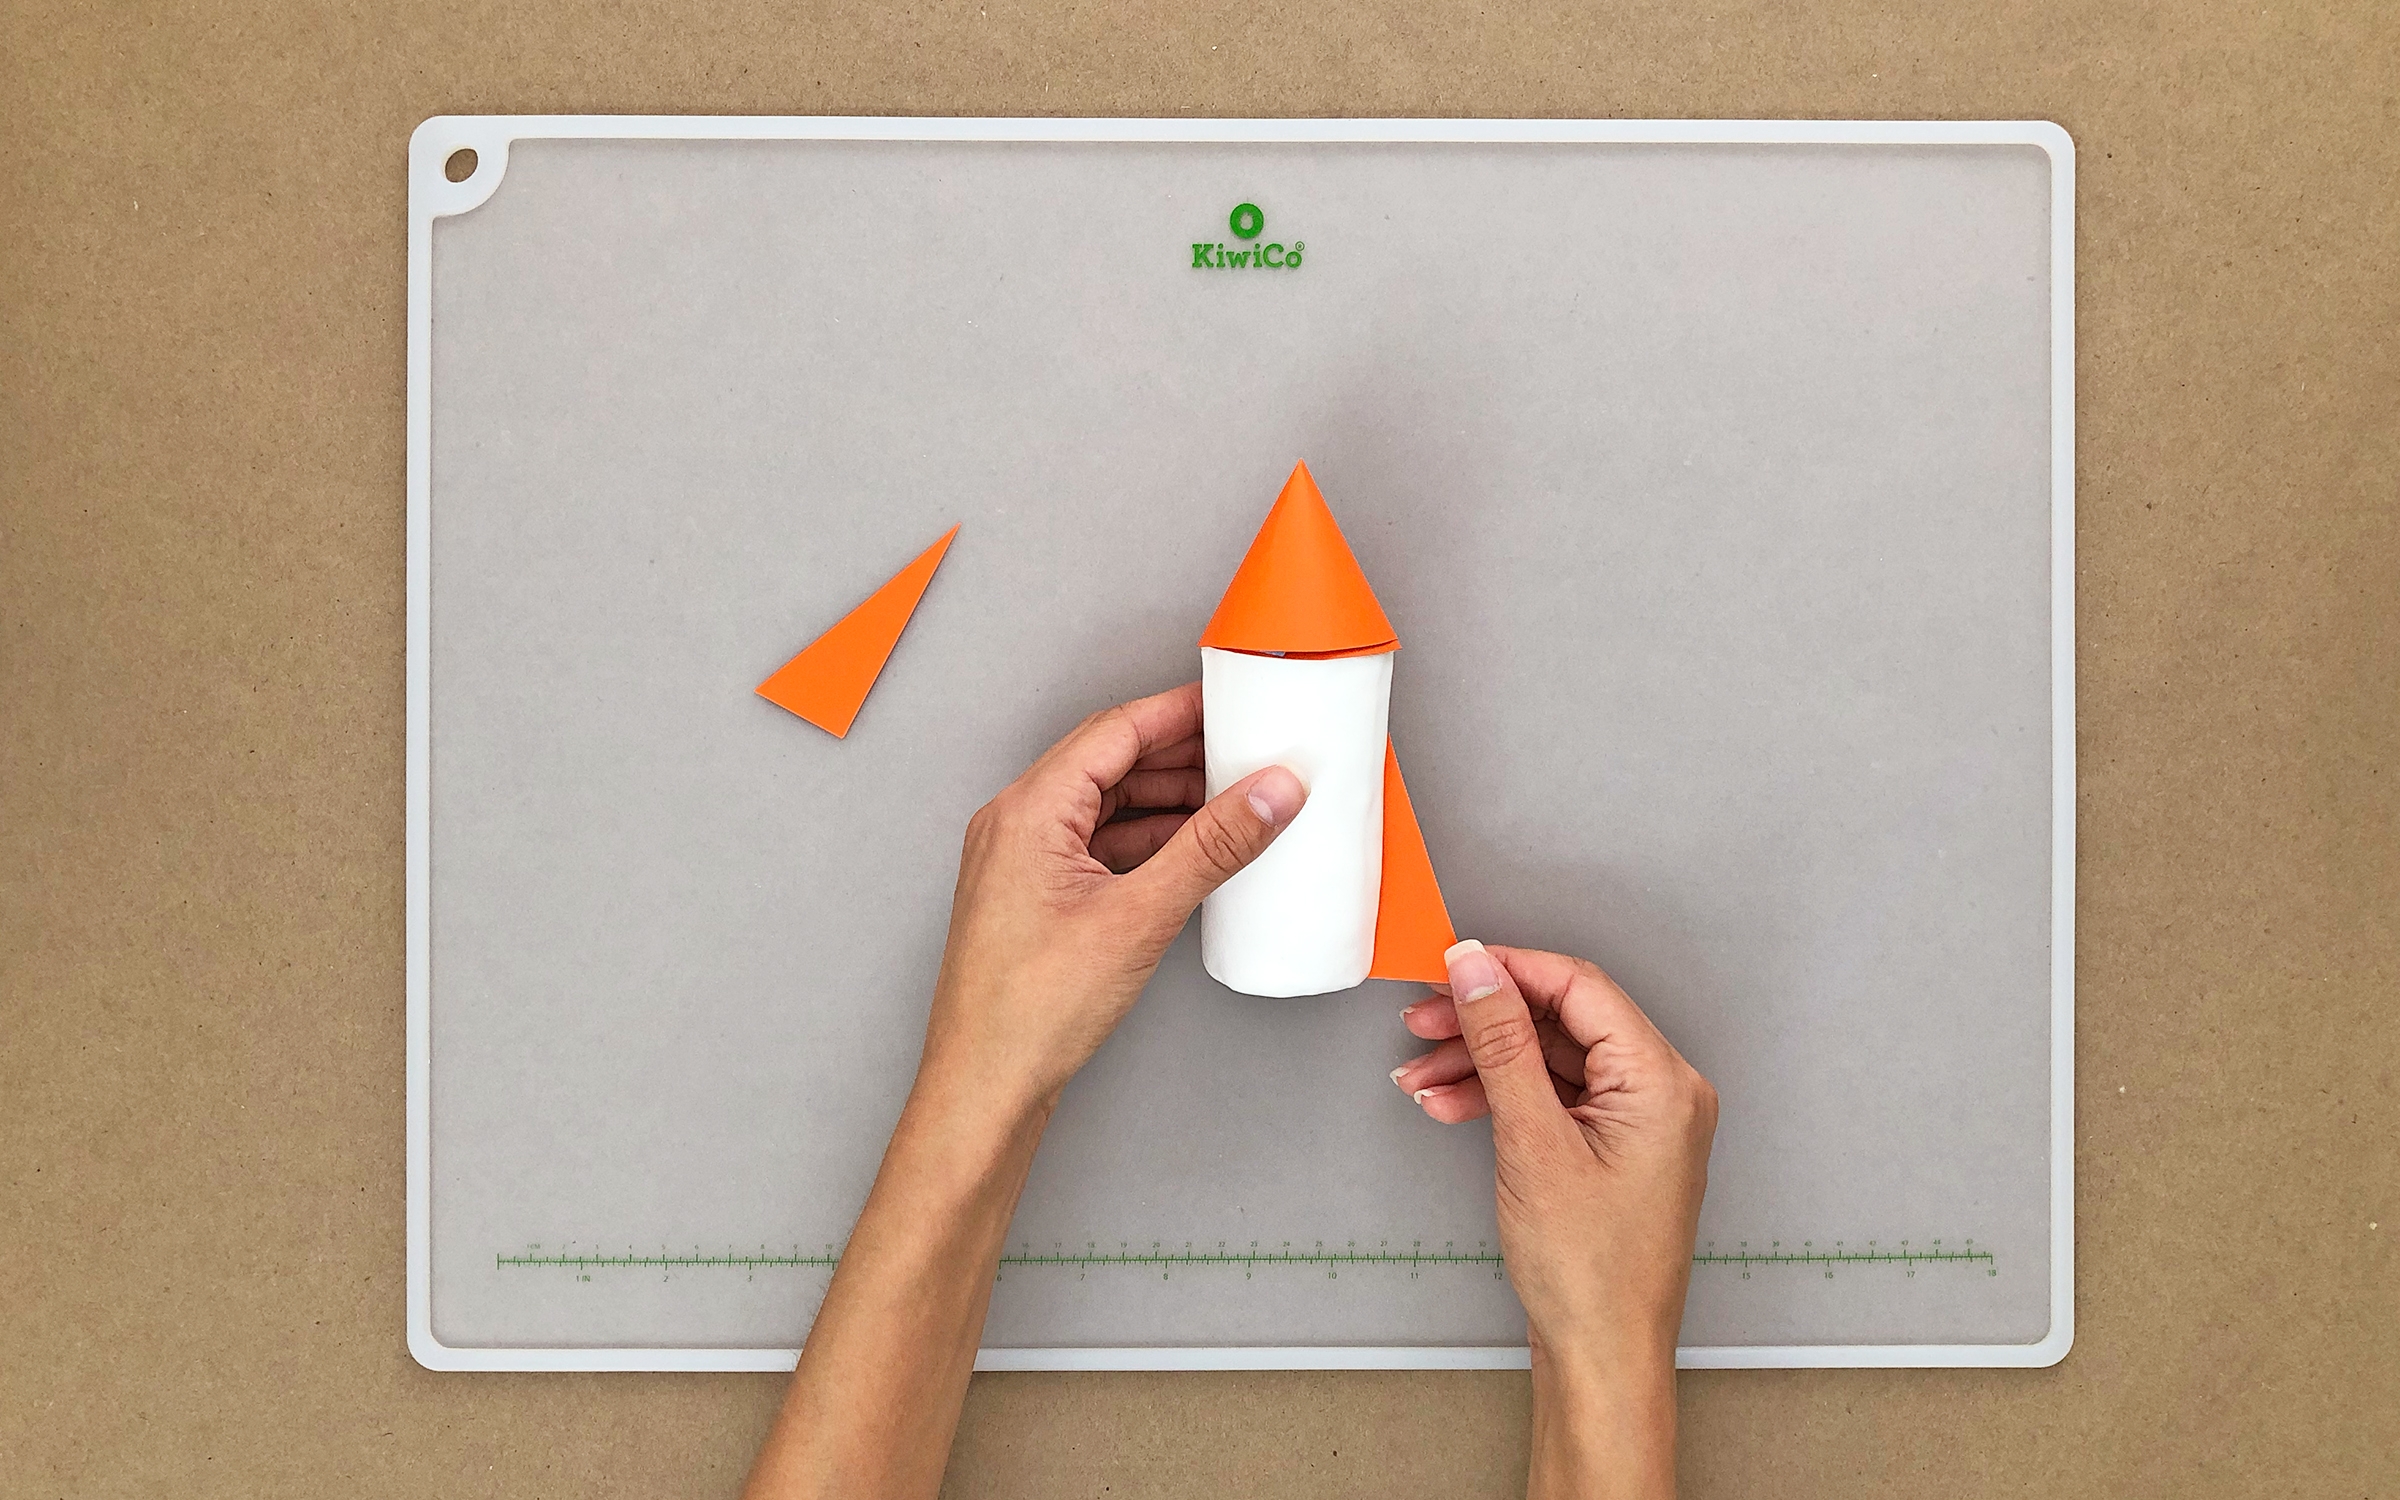
Step 8
Squish the fins into the sides of the rocket. You may need to add more clay or glue to secure them.
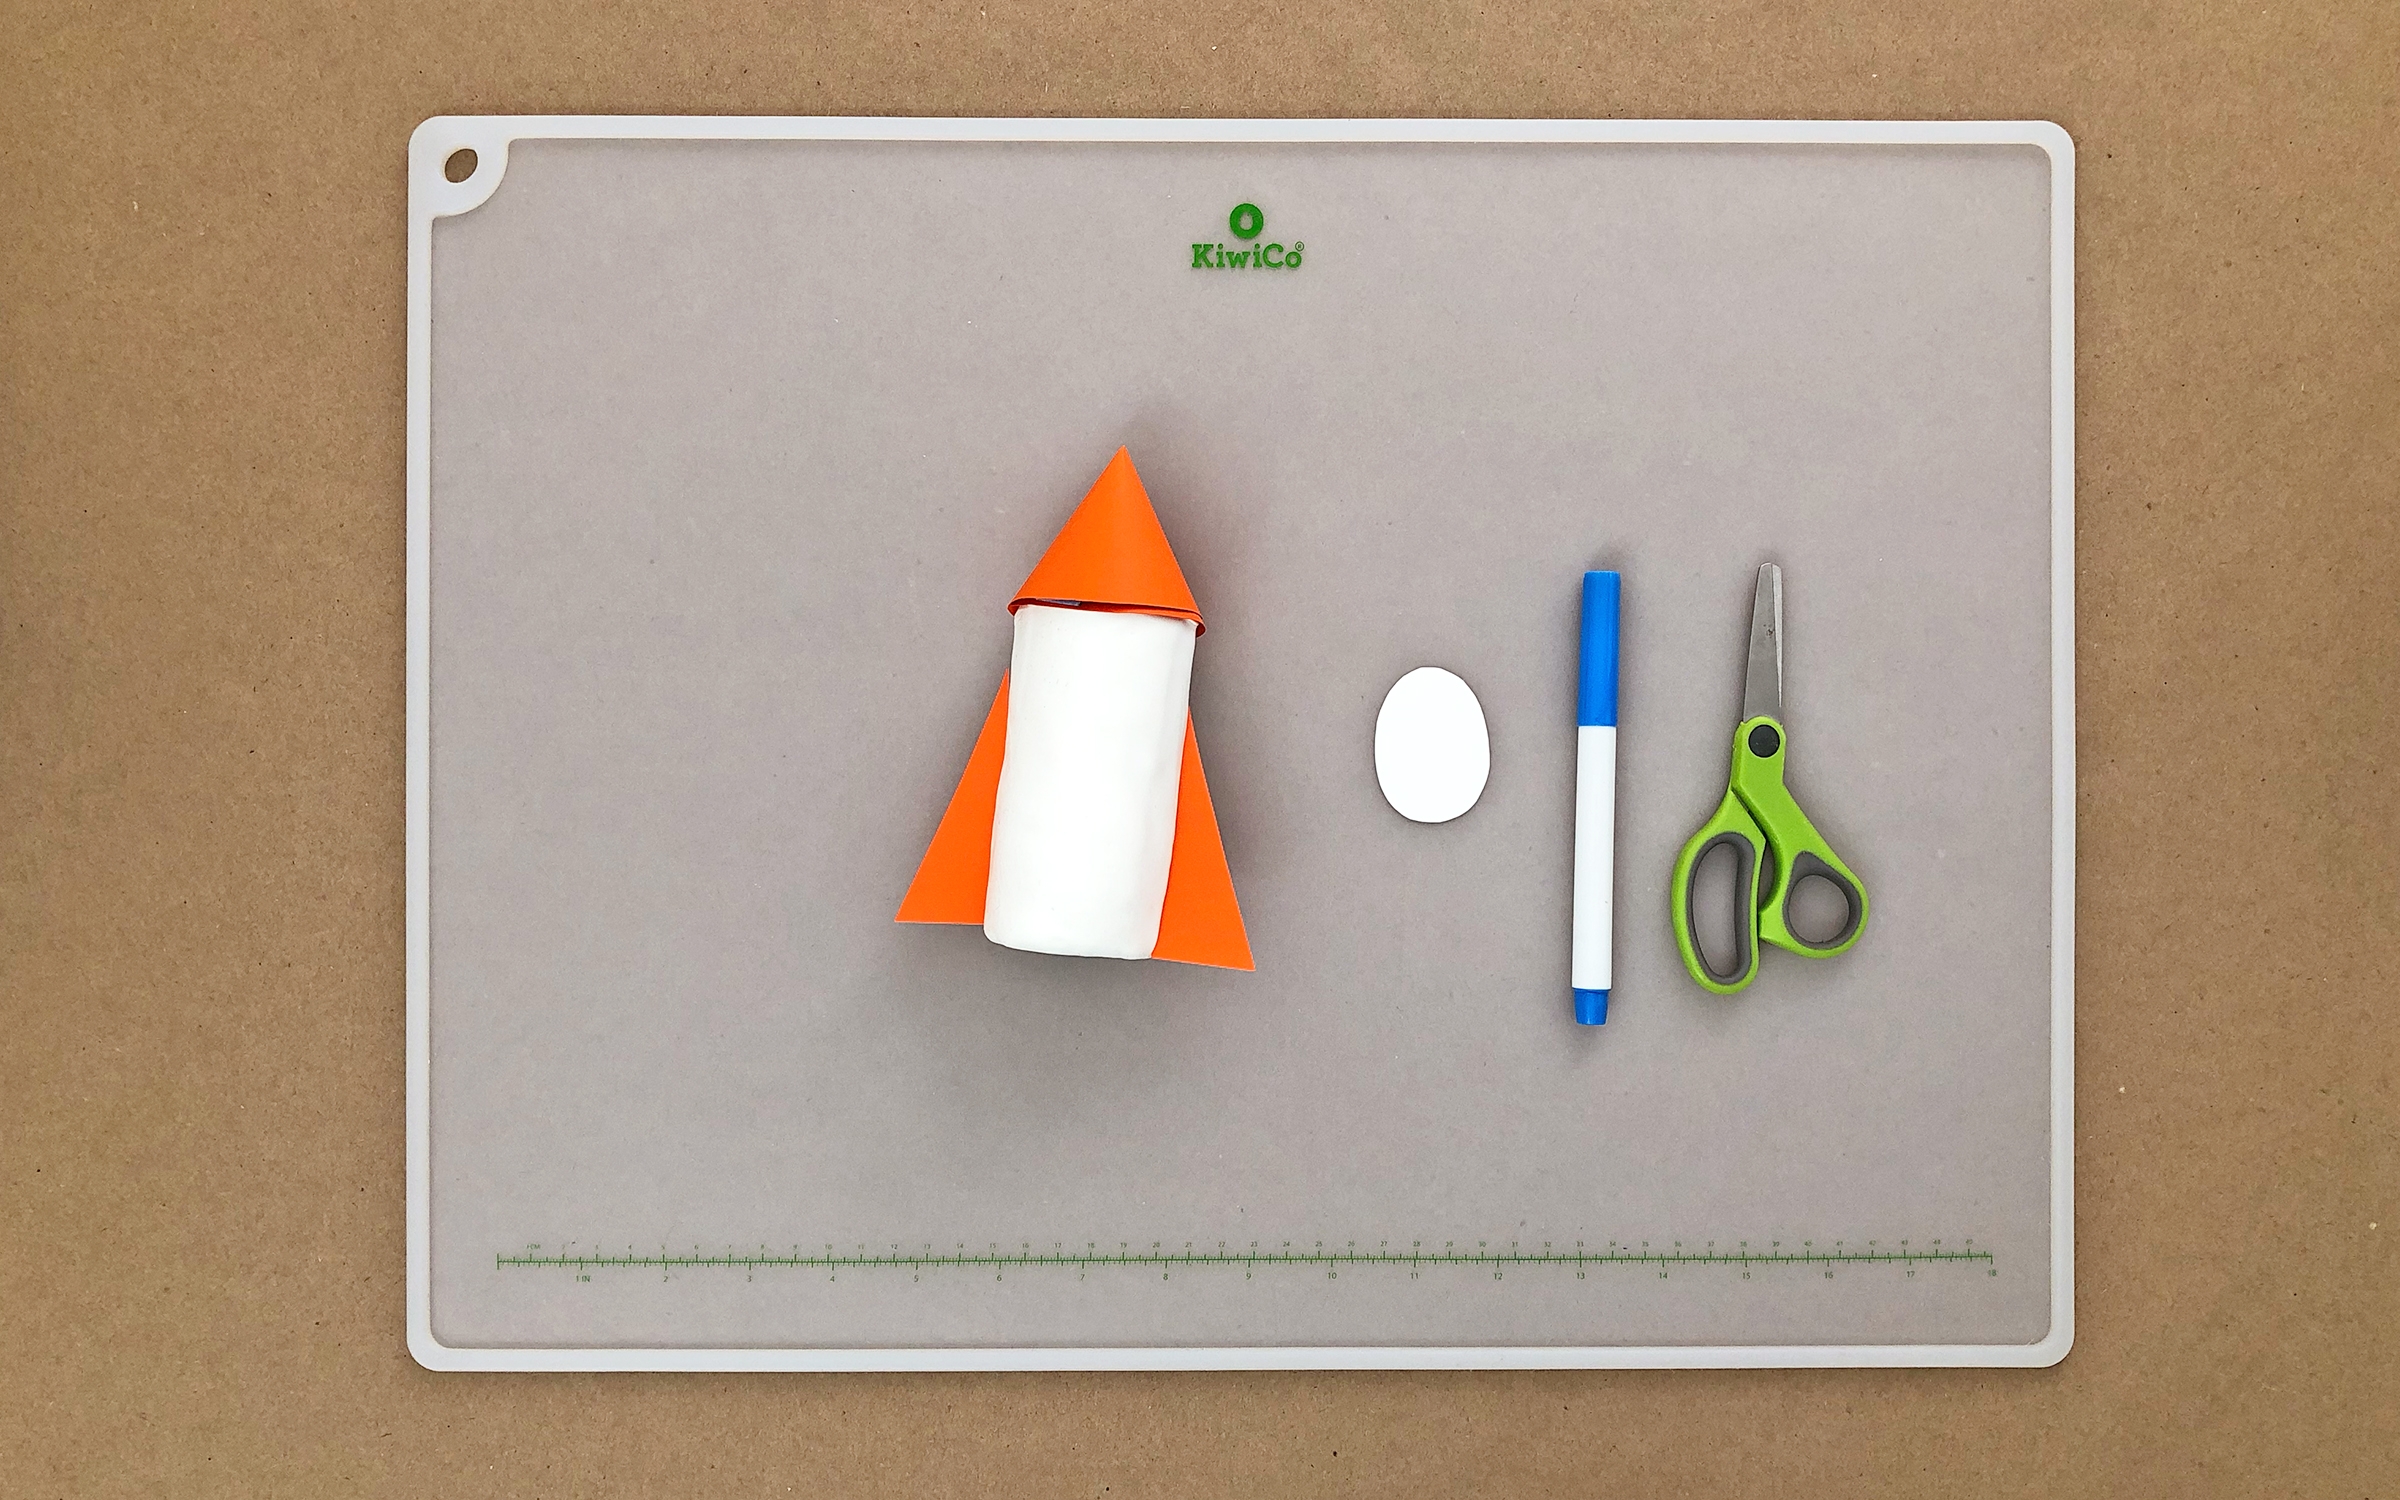
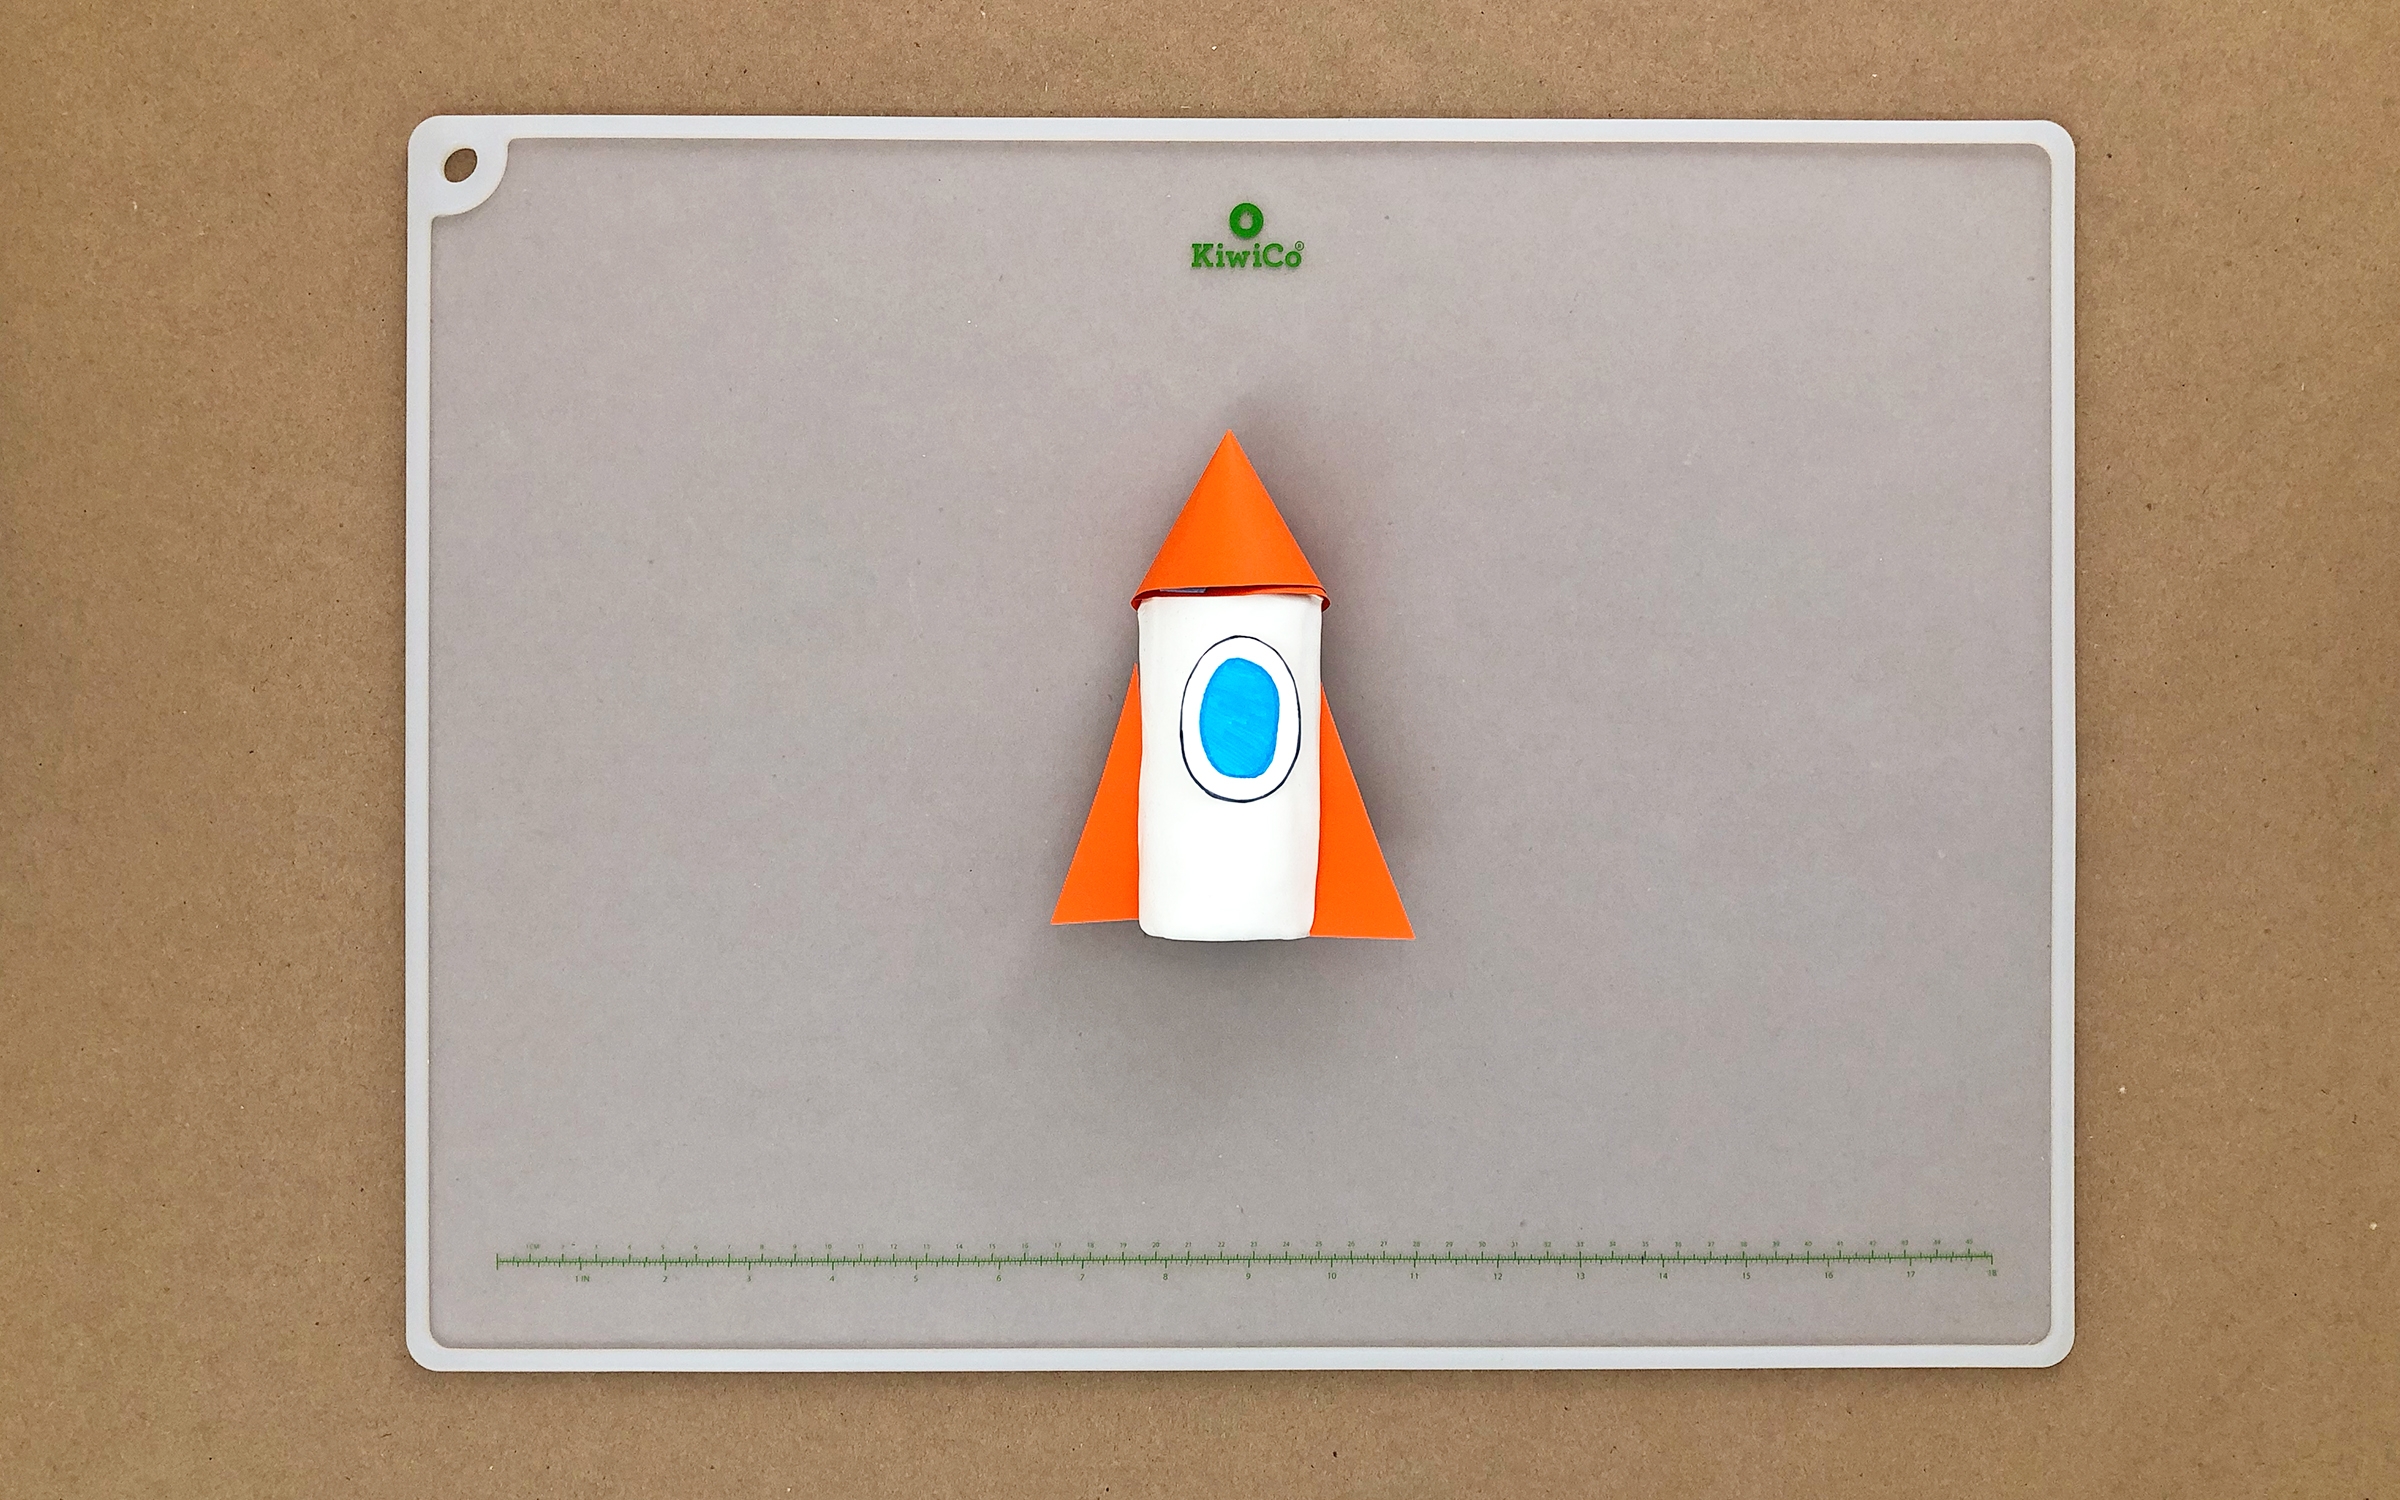
Step 9
Decorate! We used some white paper & a colored marker to create a window for our rocket.
Step 10
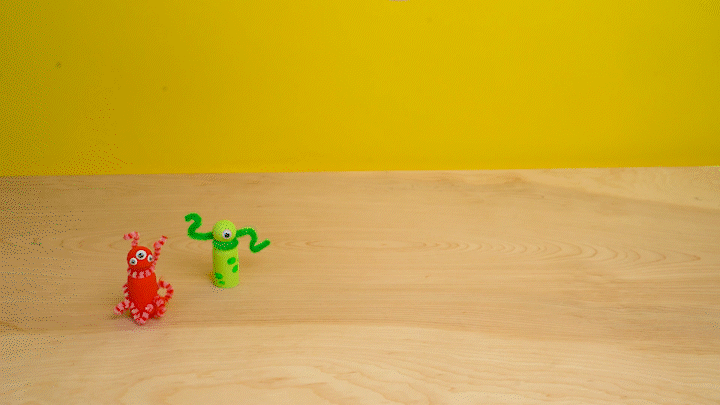
Enjoy your rocket! Blast off!
Learn more

Most rockets are made of 2 or 3 big pieces called “stages”. When the fuel from one stage is used up, the rocket lets go of the stage so it can lighten its load and travel further!
Just like our clay rocket, all rockets have nose cones. Rockets with pointy nose cones (like ours) are designed to fly at supersonic speeds, that’s faster than the speed of sound! Round nose cones are used for slower rockets and most airplanes.