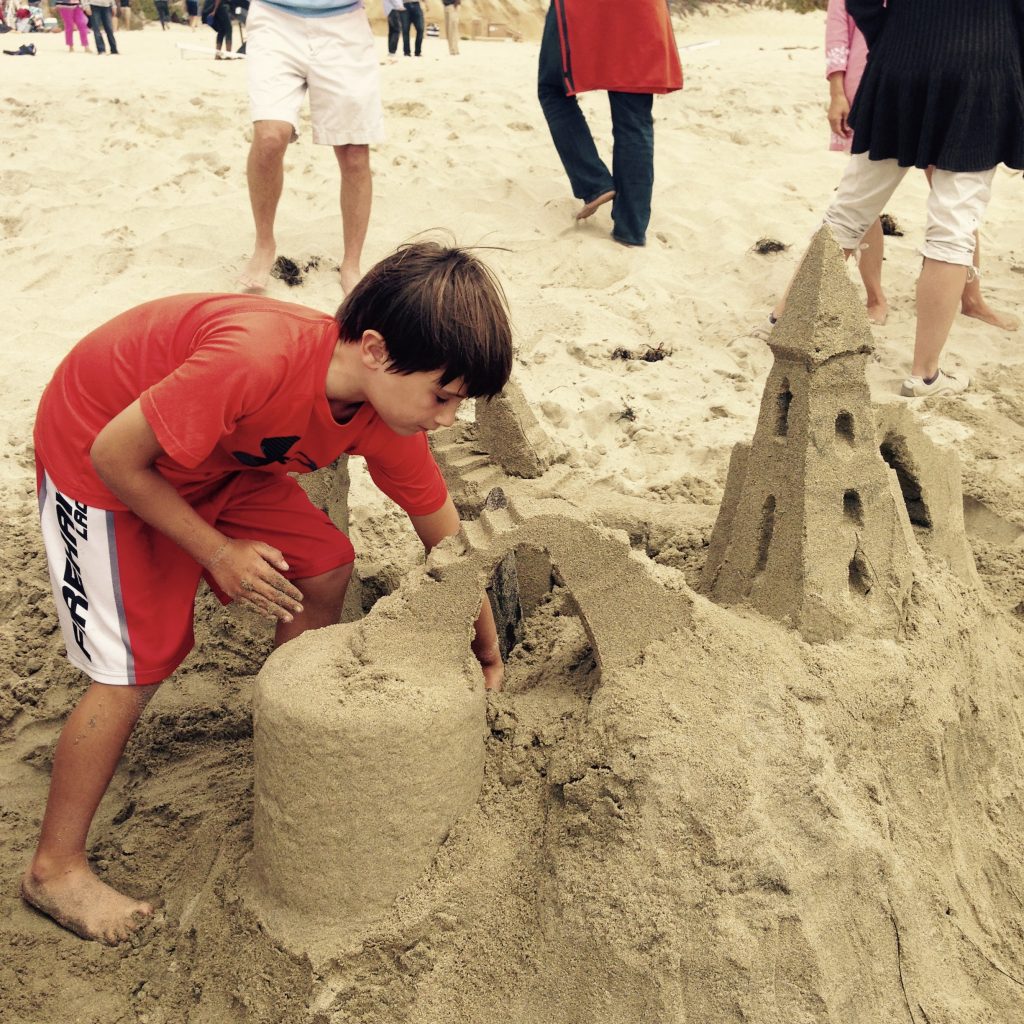
We all probably have memories of building sandcastles as kids, whether it was at a lake, a beach or just in a sandbox. I know for me, it went something like this: fill up a plastic cup with wet sand, let it sit for a minute, then flip the cup quickly onto the beach and then as carefully as I could, remove the cup. And usually, watch my “castle” crumble into more like a mound.
But my mind was opened to a new world of possibilities when, at a family reunion I attended earlier this summer, one of my relatives found a professional sandcastle builder to do a session with us. (I know – WHO KNEW there was such a thing??)
Janel, our Sandcastle Instructor, explained that the key to a successful – and sturdy – sandcastle is all in the SCIENCE!
The science behind sandcastle building has to do with the interaction between water and sand, and with a special force called “surface tension.” (Yes, pull that word out to impress your children.) In case you need a refresher from your high school physics class, surface tension is the force that causes water molecules to be attracted to one another. Think about what happens when you fill a glass of water to the VERY VERY TOP – you can see a domed effect where the water molecules are holding together. That’s surface tension in action.
Surface tension is what gives wet sand its strength for great sandcastle building. The water molecules coat the grains of sand and hold them together, forming water-drop bridges in the gaps between the grains. Too little water, and surface tension can’t hold the sand grains together. Too much water, and the water turns into a lubricant and your sand collapses and flows with the water, making a mushy mess.
We learned that the magic ratio of sand to water is about 8:1 – that is, 8 parts sand to 1 part water. The other key is making sure EVERY GRAIN of sand is coated with water to maximize the number and strength of those water-drop bridges holding the sand together. (See tips on how to do that in our Technique Tips below.)
Now that you know the science behind surface tension and sandcastles, here are some tips to build the best ones!
EQUIPMENT:
You don’t need any fancy equipment to make a fancy sandcastle. Everything you need can likely be found in your kitchen, garage or local hardware store.
- A long-handled, lightweight shovel: a long-handled shovel with a small scoop. The sand-sculpture task that feels the most like work is filling up the bucket with sand! A little garden spade is better than nothing.
- A bucket or two: we used two 5-gallon buckets – one with the bottom cut off for forming the main castle (which made it much easier to mix the water and sand in, and then just lift it off) and one filled with water to add to sand for all the additions to our main structure. Of course, buckets of any size will do! Smaller buckets won’t be as heavy, so don’t worry about cutting the bottoms off.
- Plastic molds: Use plastic food containers to make towers and building blocks.
- Carving tools Look in your kitchen for smoothing and shaping tools: for basic shaping, plastic knives, paint scrapers and trowels. A pastry knife or small spatula work well for detail work. Melon ballers (finally! A use for that!) or just a tablespoon work great for scooping out round windows.
- Finishing tools: A soft-bristled paintbrush is handy for smoothing surfaces. A paper straw works well for blowing loose sand out of detailed carving.
TECHNIQUE TIPS:
These are tips we learned for building a sturdy base for your sandcastle.
- Fill your building bucket with sand: Again, we used a bottomless 5 gallon bucket for this, but any size will do. To get the right ratio, fill your bucket about 90% full with sand.
- Mix up your sand: Pour water into the building bucket where you put your sand – and fill it right up to the top. Then reach in with your hands and really mix and mix and mix to get all the sand particles in the entire bucket all coated with water. Depending on the size of your bucket, this might be a whole-arm activity. (Fun fact: this is what cement mixers do!)
- Compact wet sand: Packing sand strengthens and tightens the little water bridges that hold the grains together. Tap the sides of your bucket with your fists or your feet until the sand on top looks compact and almost dry. Then carefully lift off your bucket – ta da! You’ve got a clean slate sandcastle base!
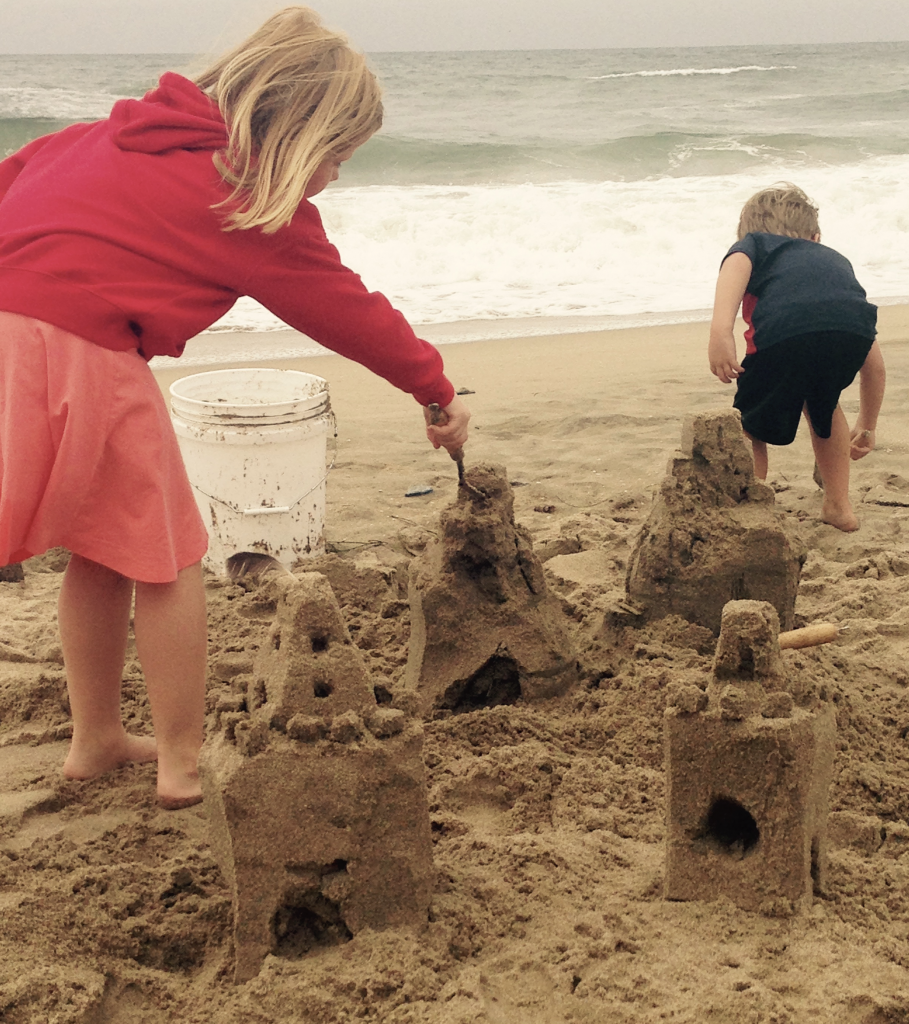
- Carve, build, decorate: Use your finishing tools – and your imagination! – to create the sandcastle structure of your dreams.
Once you have a sturdy base, you can make your own sand-dragons and sand-boats, and create beachside castles with watery moats. Use cups and old pots and pans and cookie cutters and whatever else you can find to mold interesting shapes. Keep a bucket of water close by to keep your building material sticky. Just watch out for sneaky waves (or little brothers) that can bring the whole thing tumbling down.
And though summer may be officially ending this weekend, you can bust out your sandcastle science facts to impress kids in the sandbox anytime!


