
 Shiny Whale
(Ages 3-8)
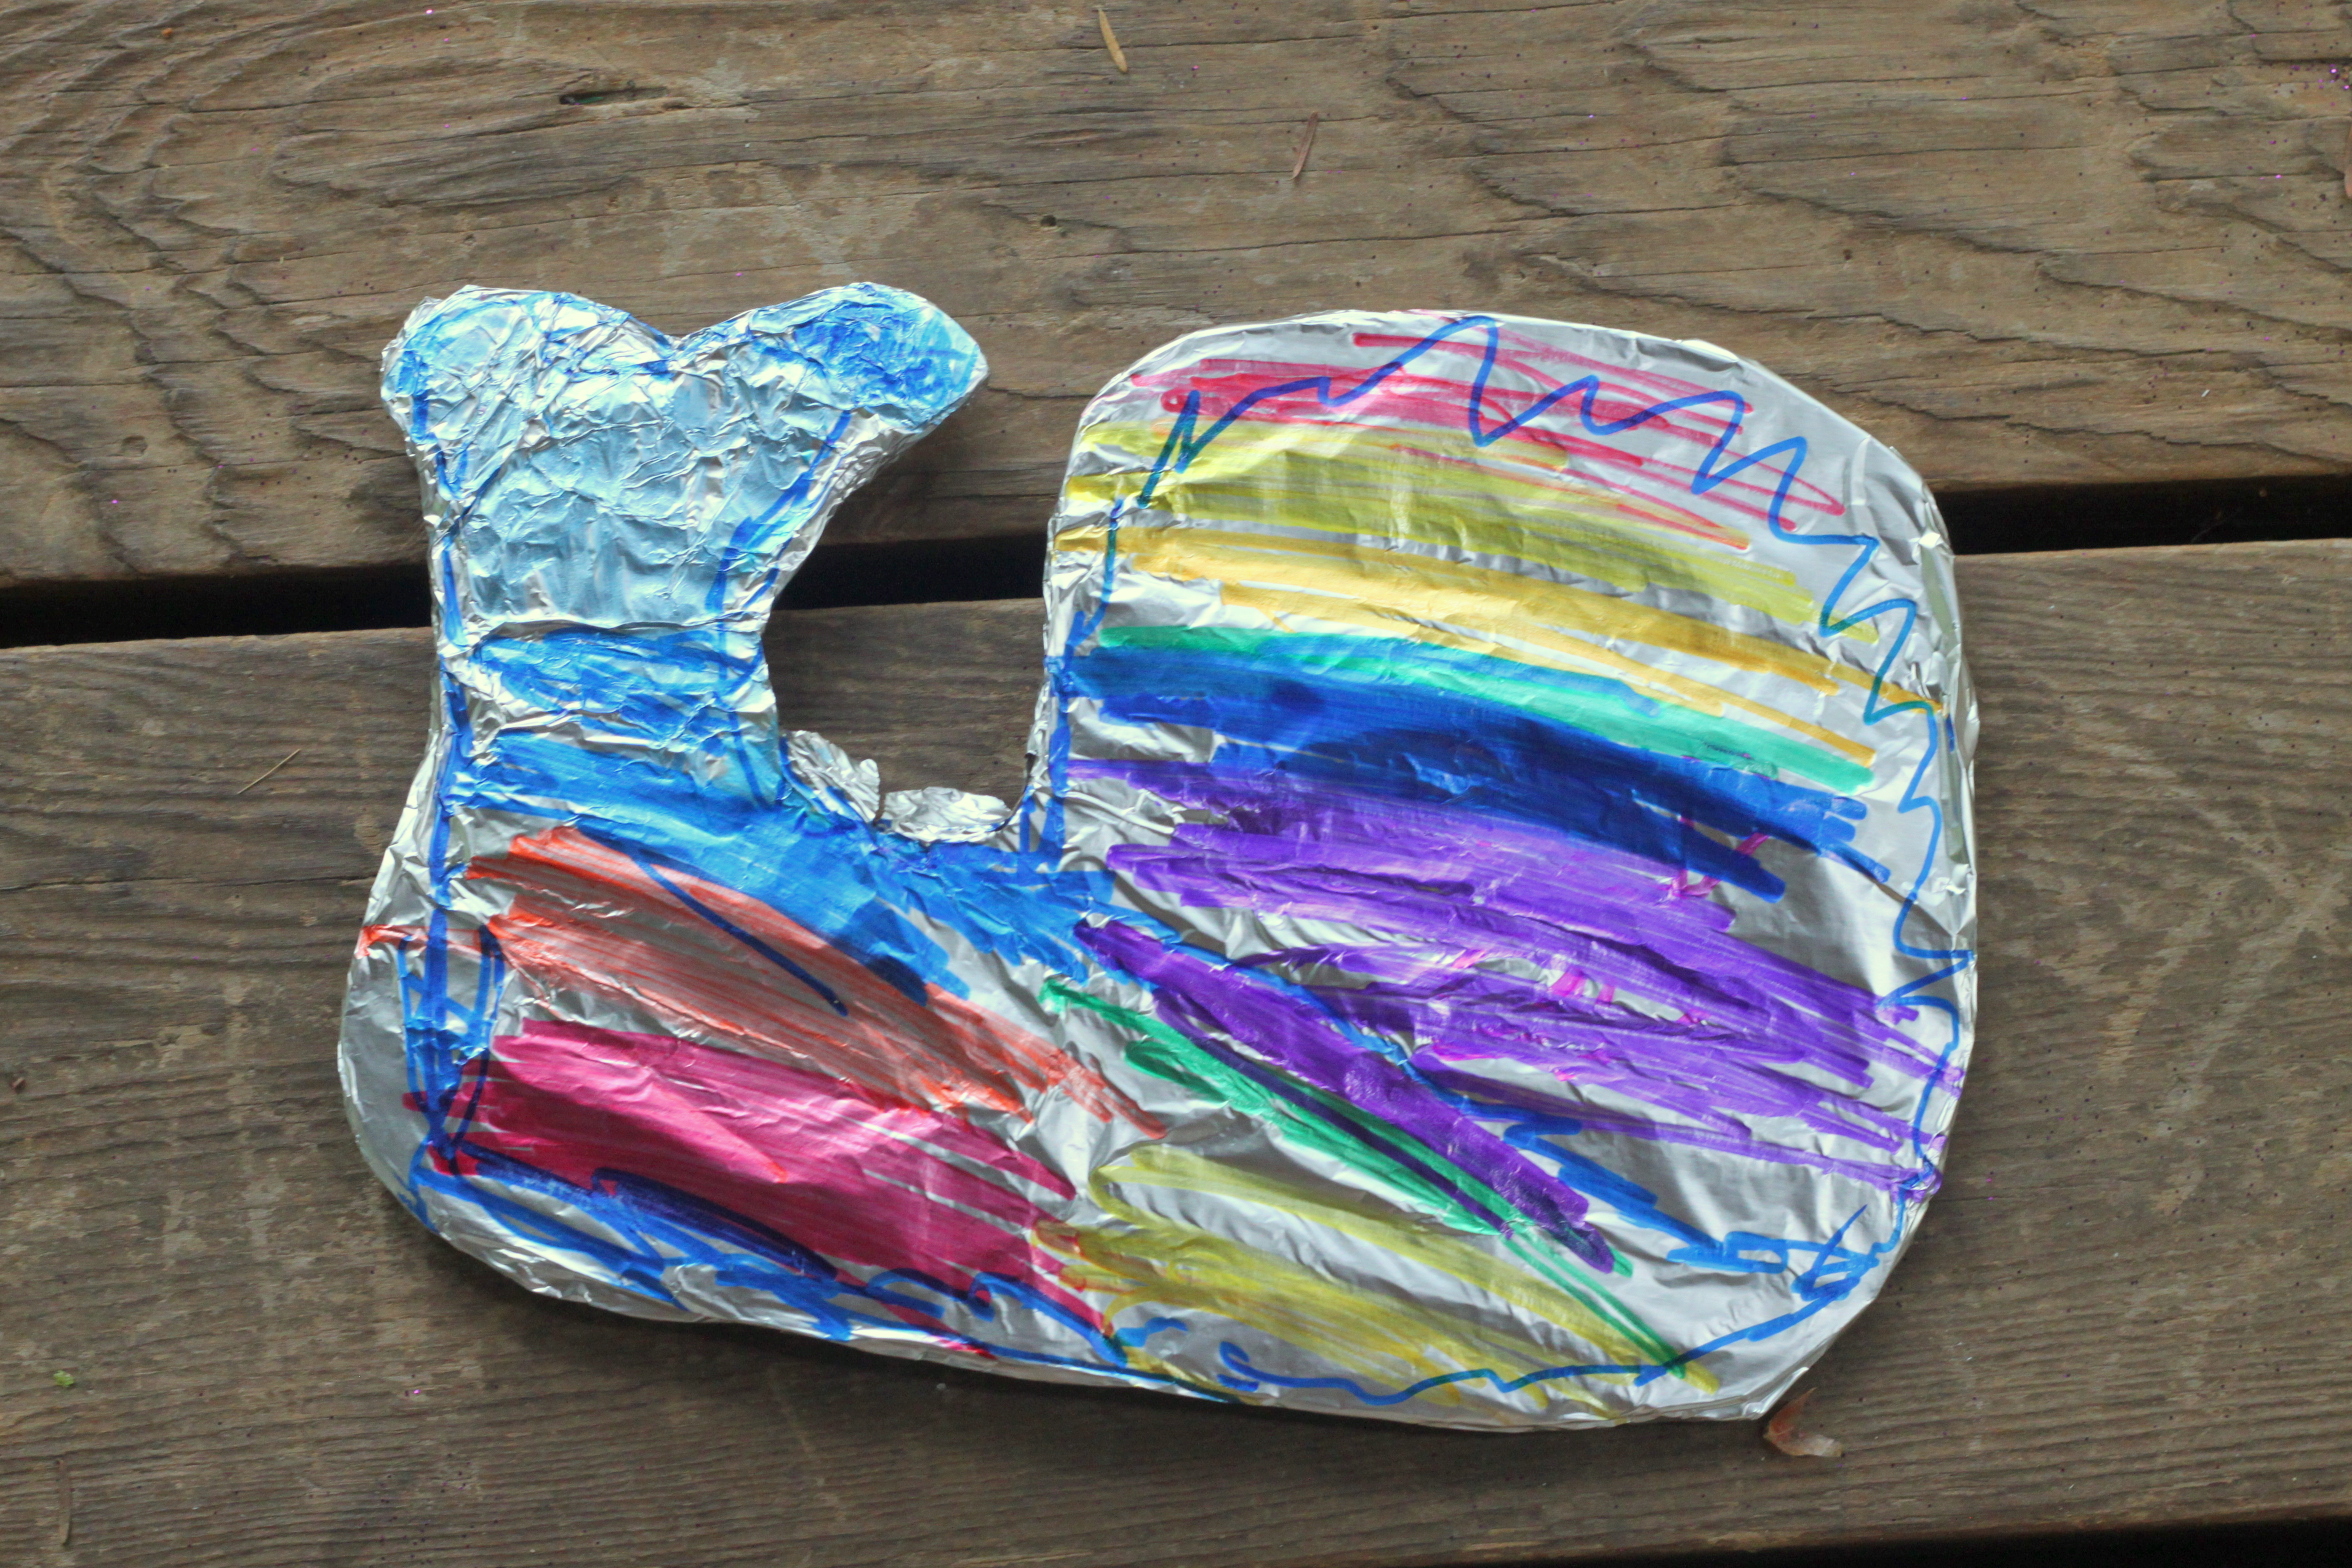
Foil is such a fun canvas for children to use in art. I think that's probably because it makes fun, shiny art! We decided a shiny whale would be fun to make...and one colored like a rainbow was even better!
 Aluminum Foil Art
(Ages 3-8)
Looking for a way to mix things up a bit for your kids and introduce new creative explorations? One fun way to go about it is to just change one of the materials - swap it out for something unexpected. Instead of paint, use colored ice cubes. Instead of paintbrushes, use fingers. Instead of paper, use aluminum foil!
And so - my daughter and I decided to try out using aluminum foil as a medium for our art project.
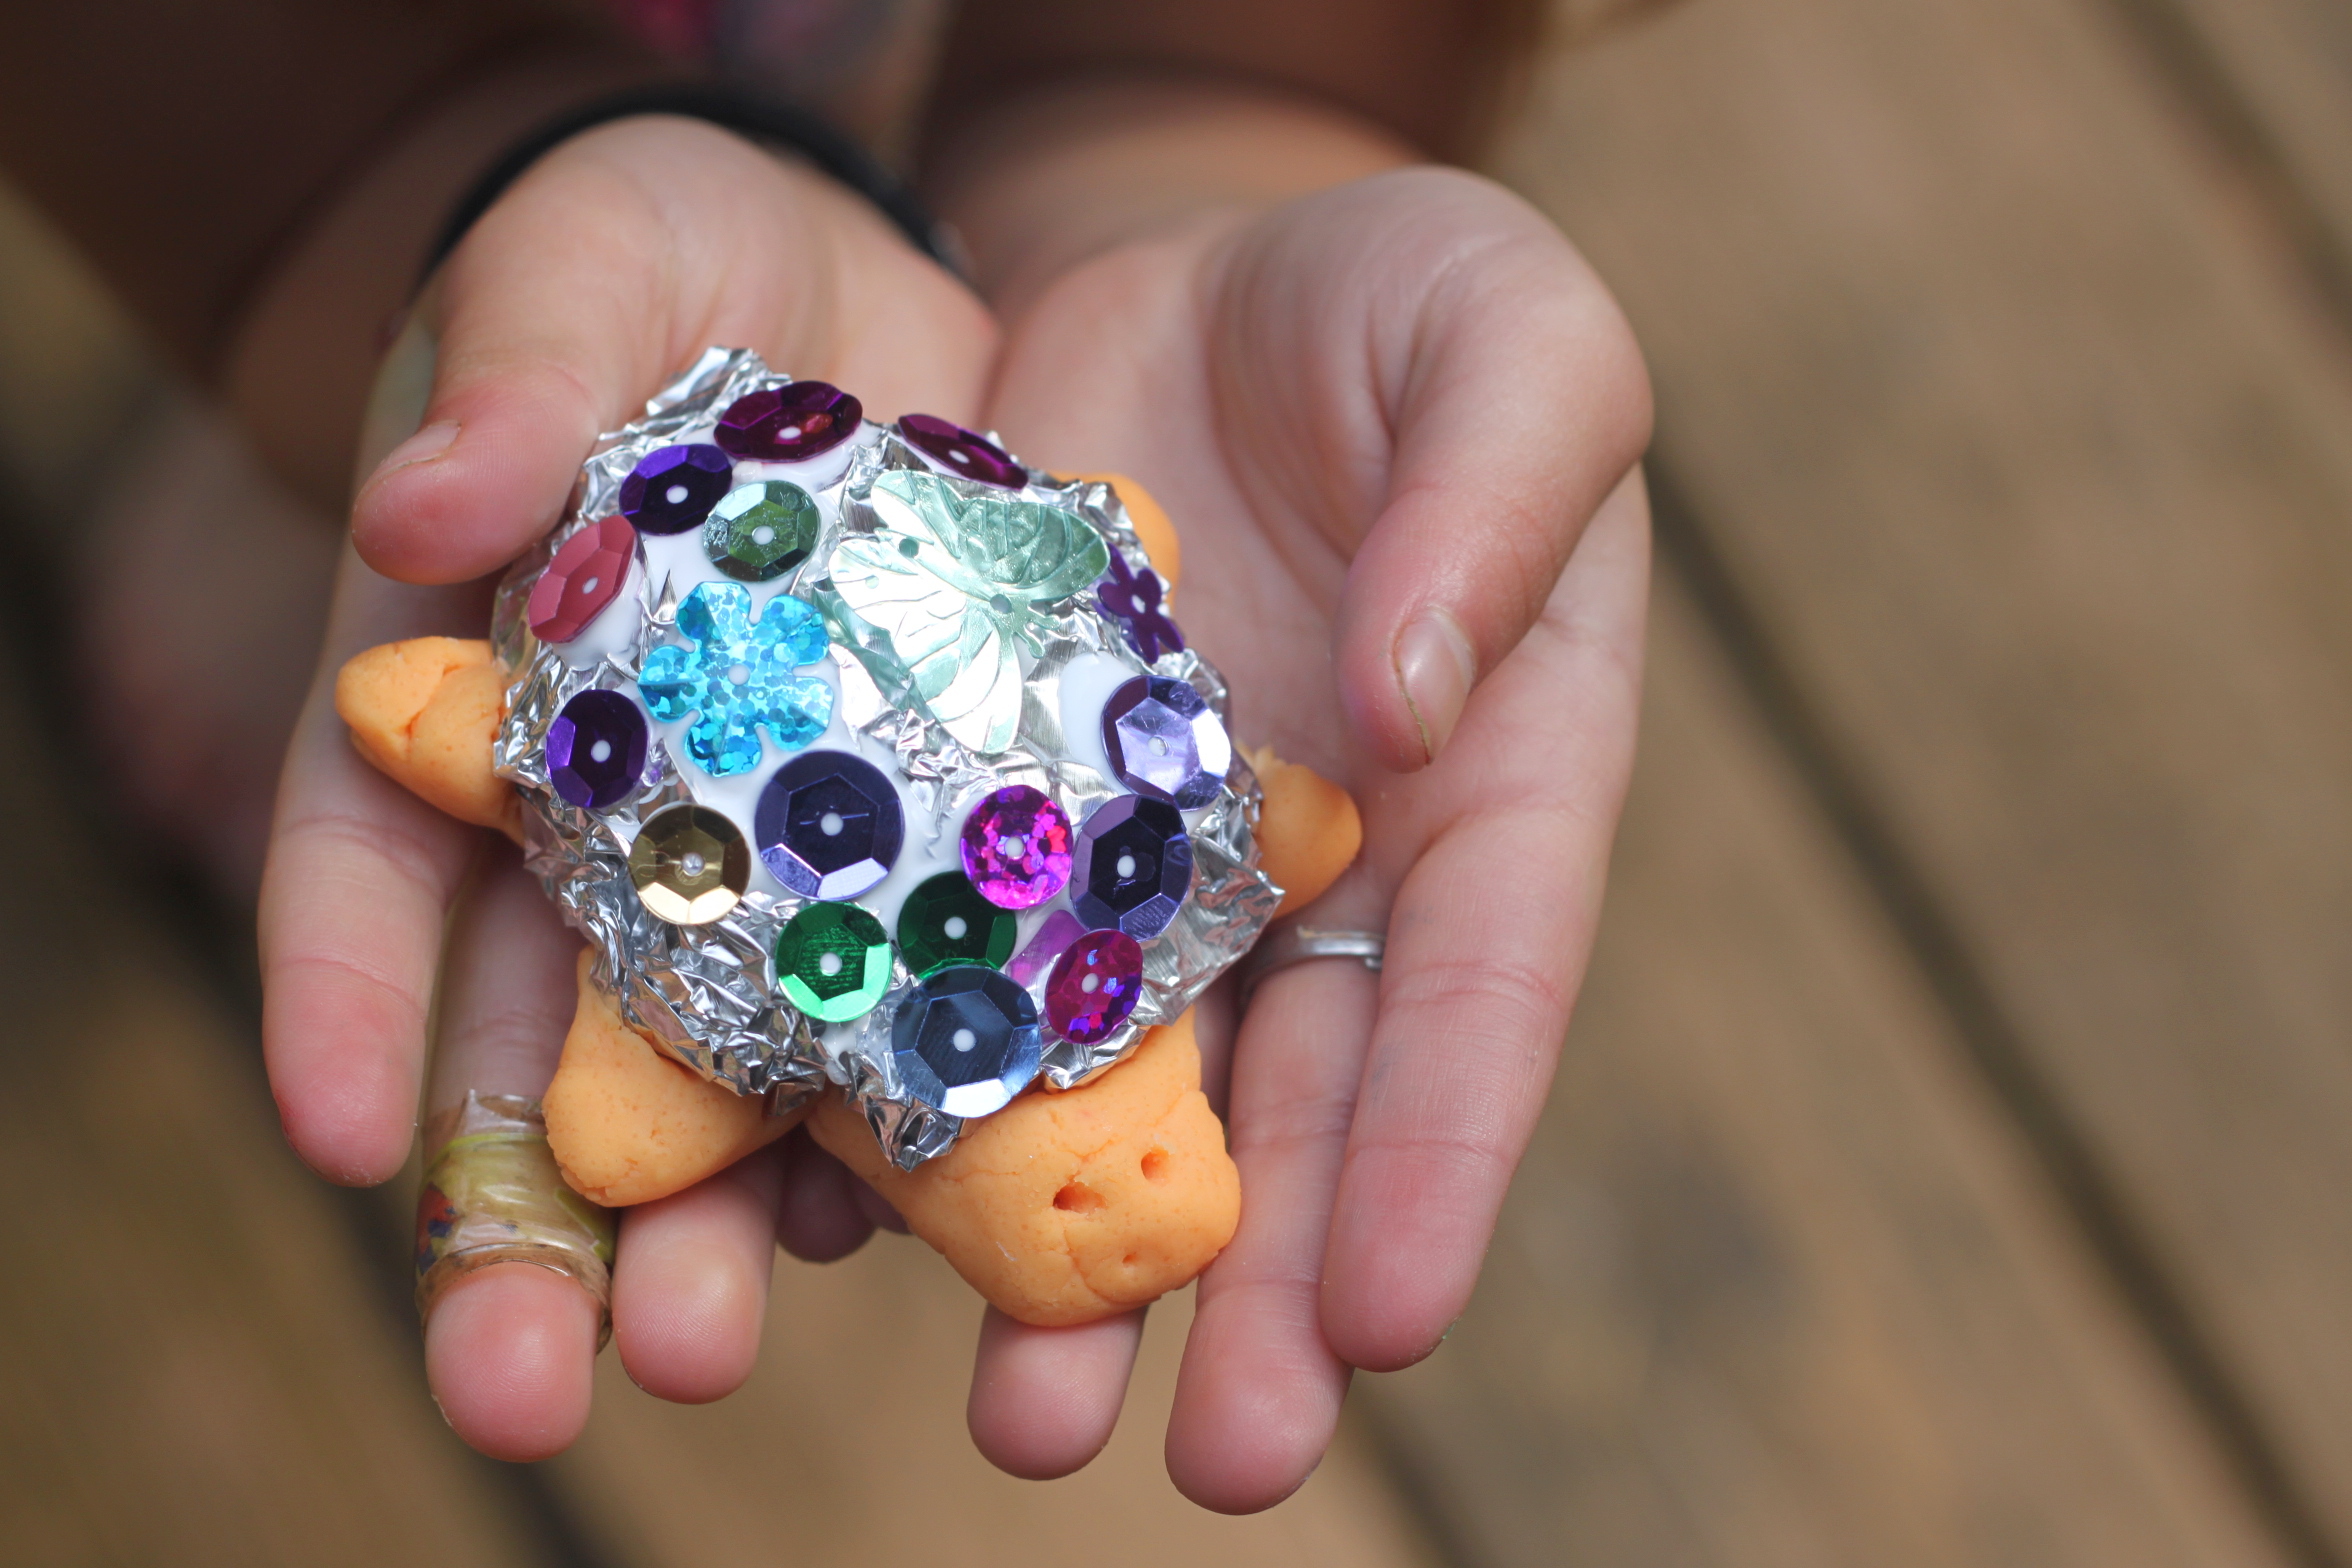
A turtle shell covered in jewels sounds pretty magical. After hearing a story about such a fancy turtle we decided to make our own sparkling turtle.
 Foil Punch Ornament
(Ages 5-16)
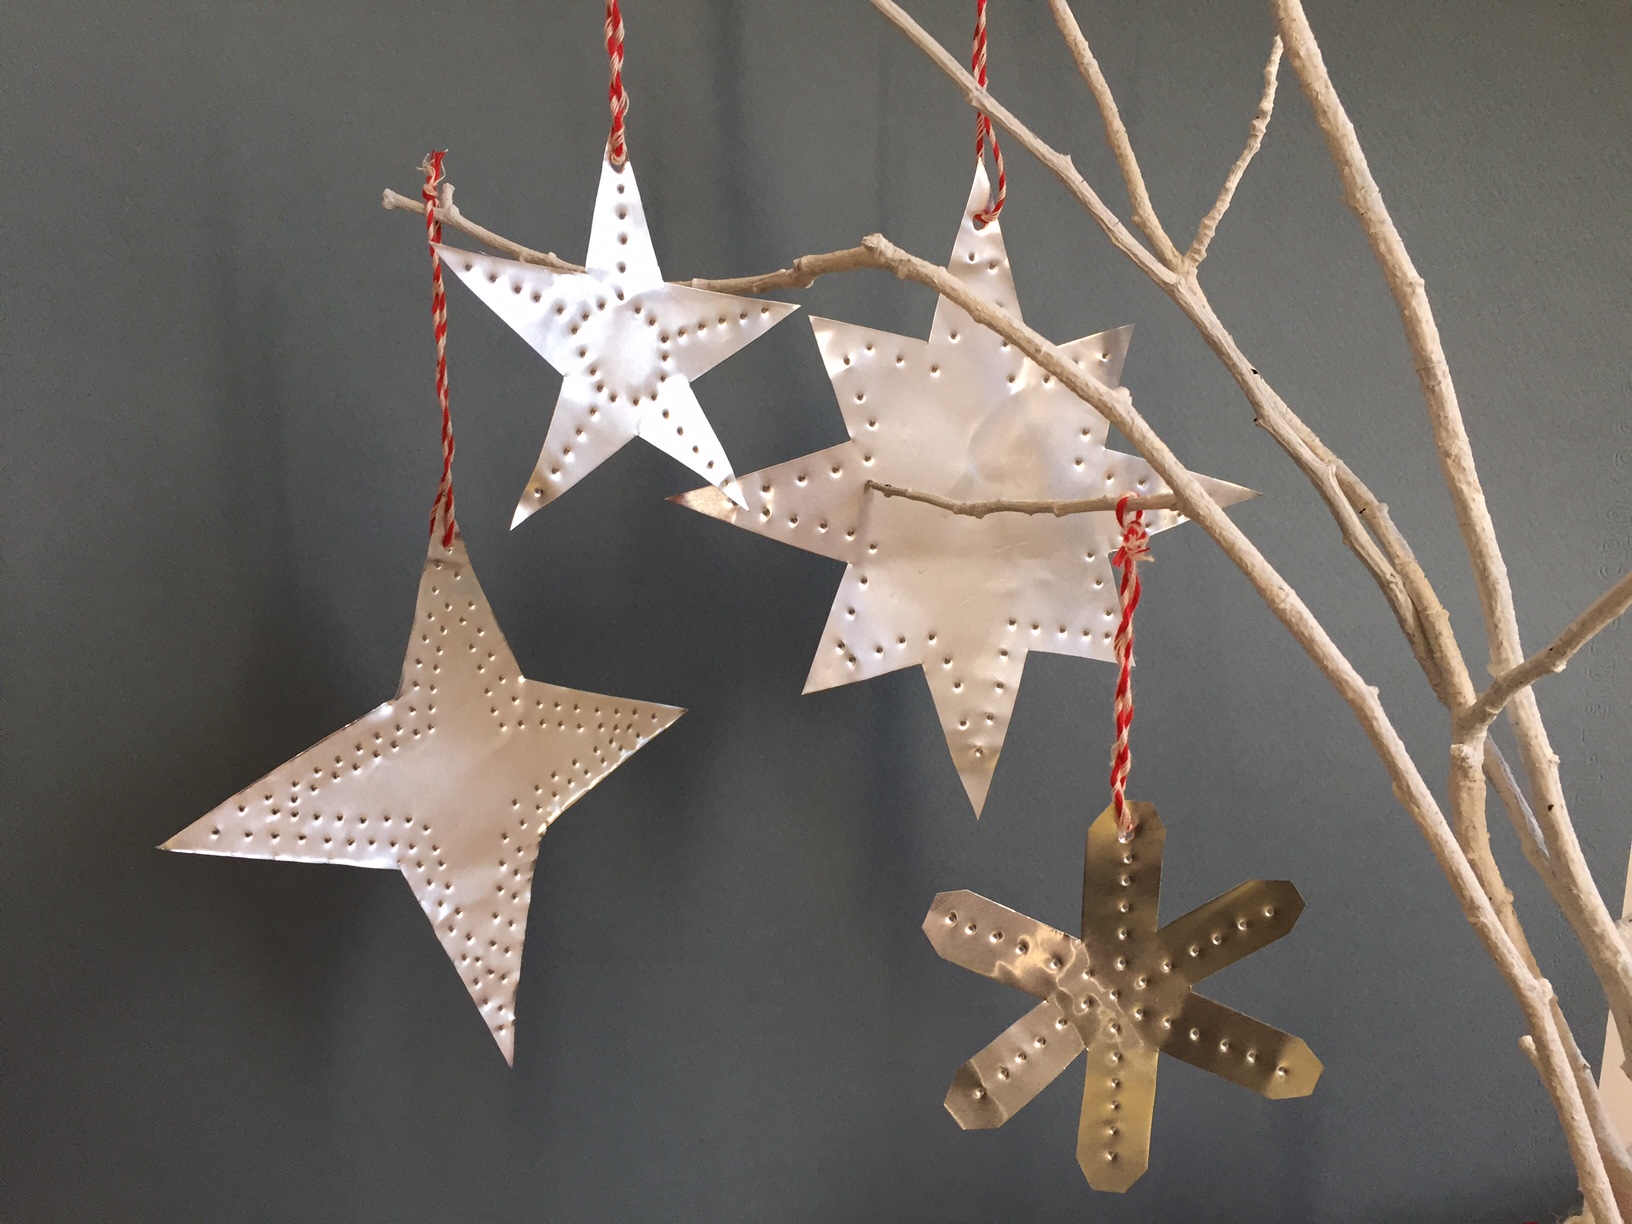
This holiday season, we wanted to repurpose our extra pie tins into luminary decorations for our Christmas tree. By exploring shapes, patterns, and light, we created these ornaments that are a simple, yet unique, way to show off our holiday spirit!
 Floating Ball
(Ages 5-11)
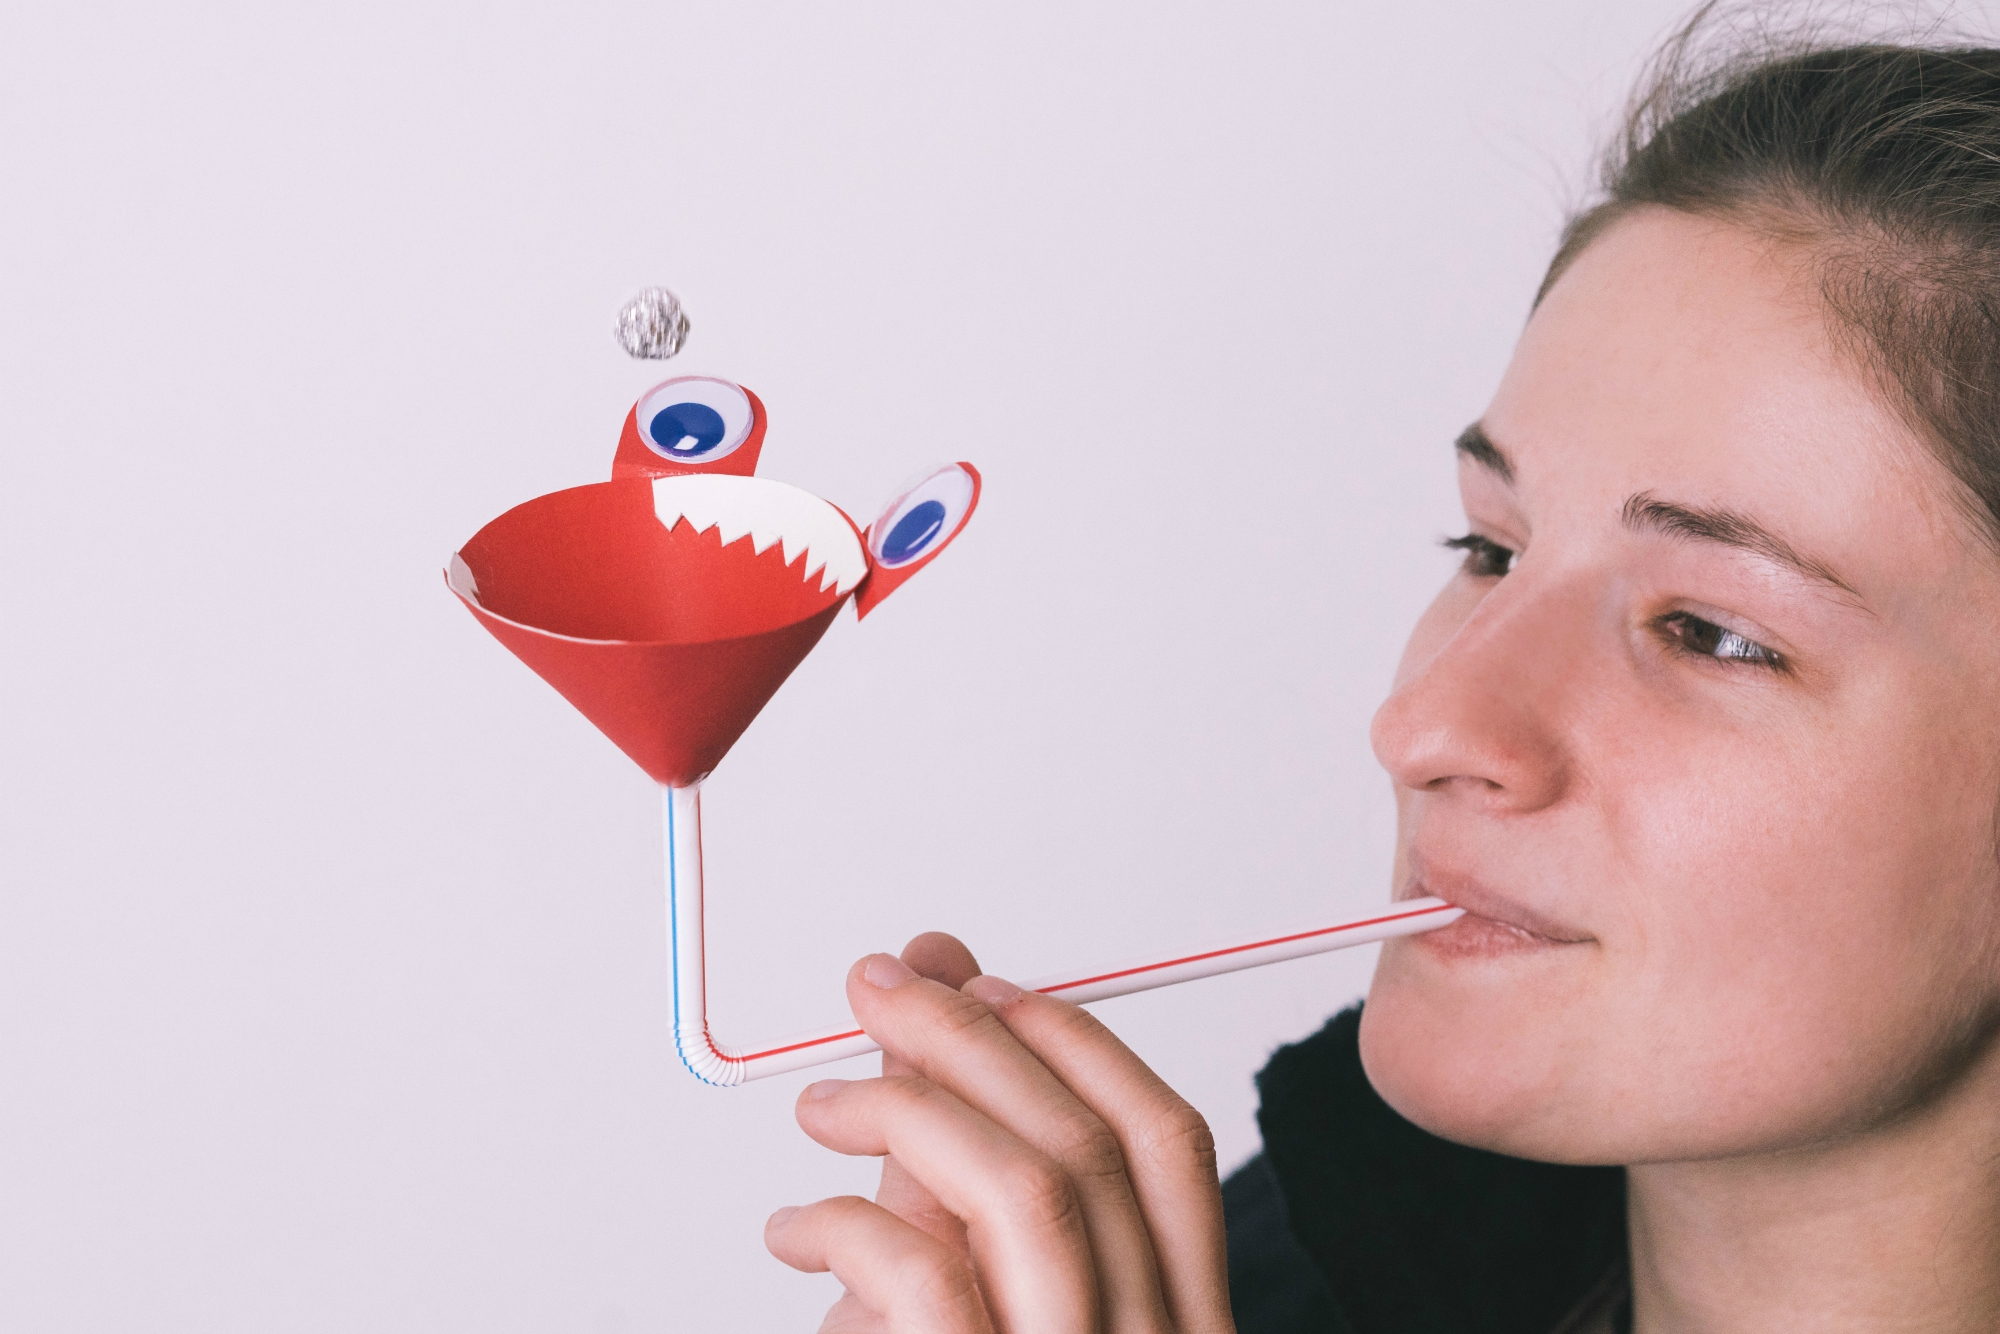
Ever think that levitation was simply a trick for the movies, or some far-off science fiction dream? Think again! With a little bit of science know-how, it's easy to levitate a small ball using only a straw, some paper and tape, and some good old-fashioned lung power. Follow along with these simple steps and you'll be levitating in no time, while learning some awesome science along the way!
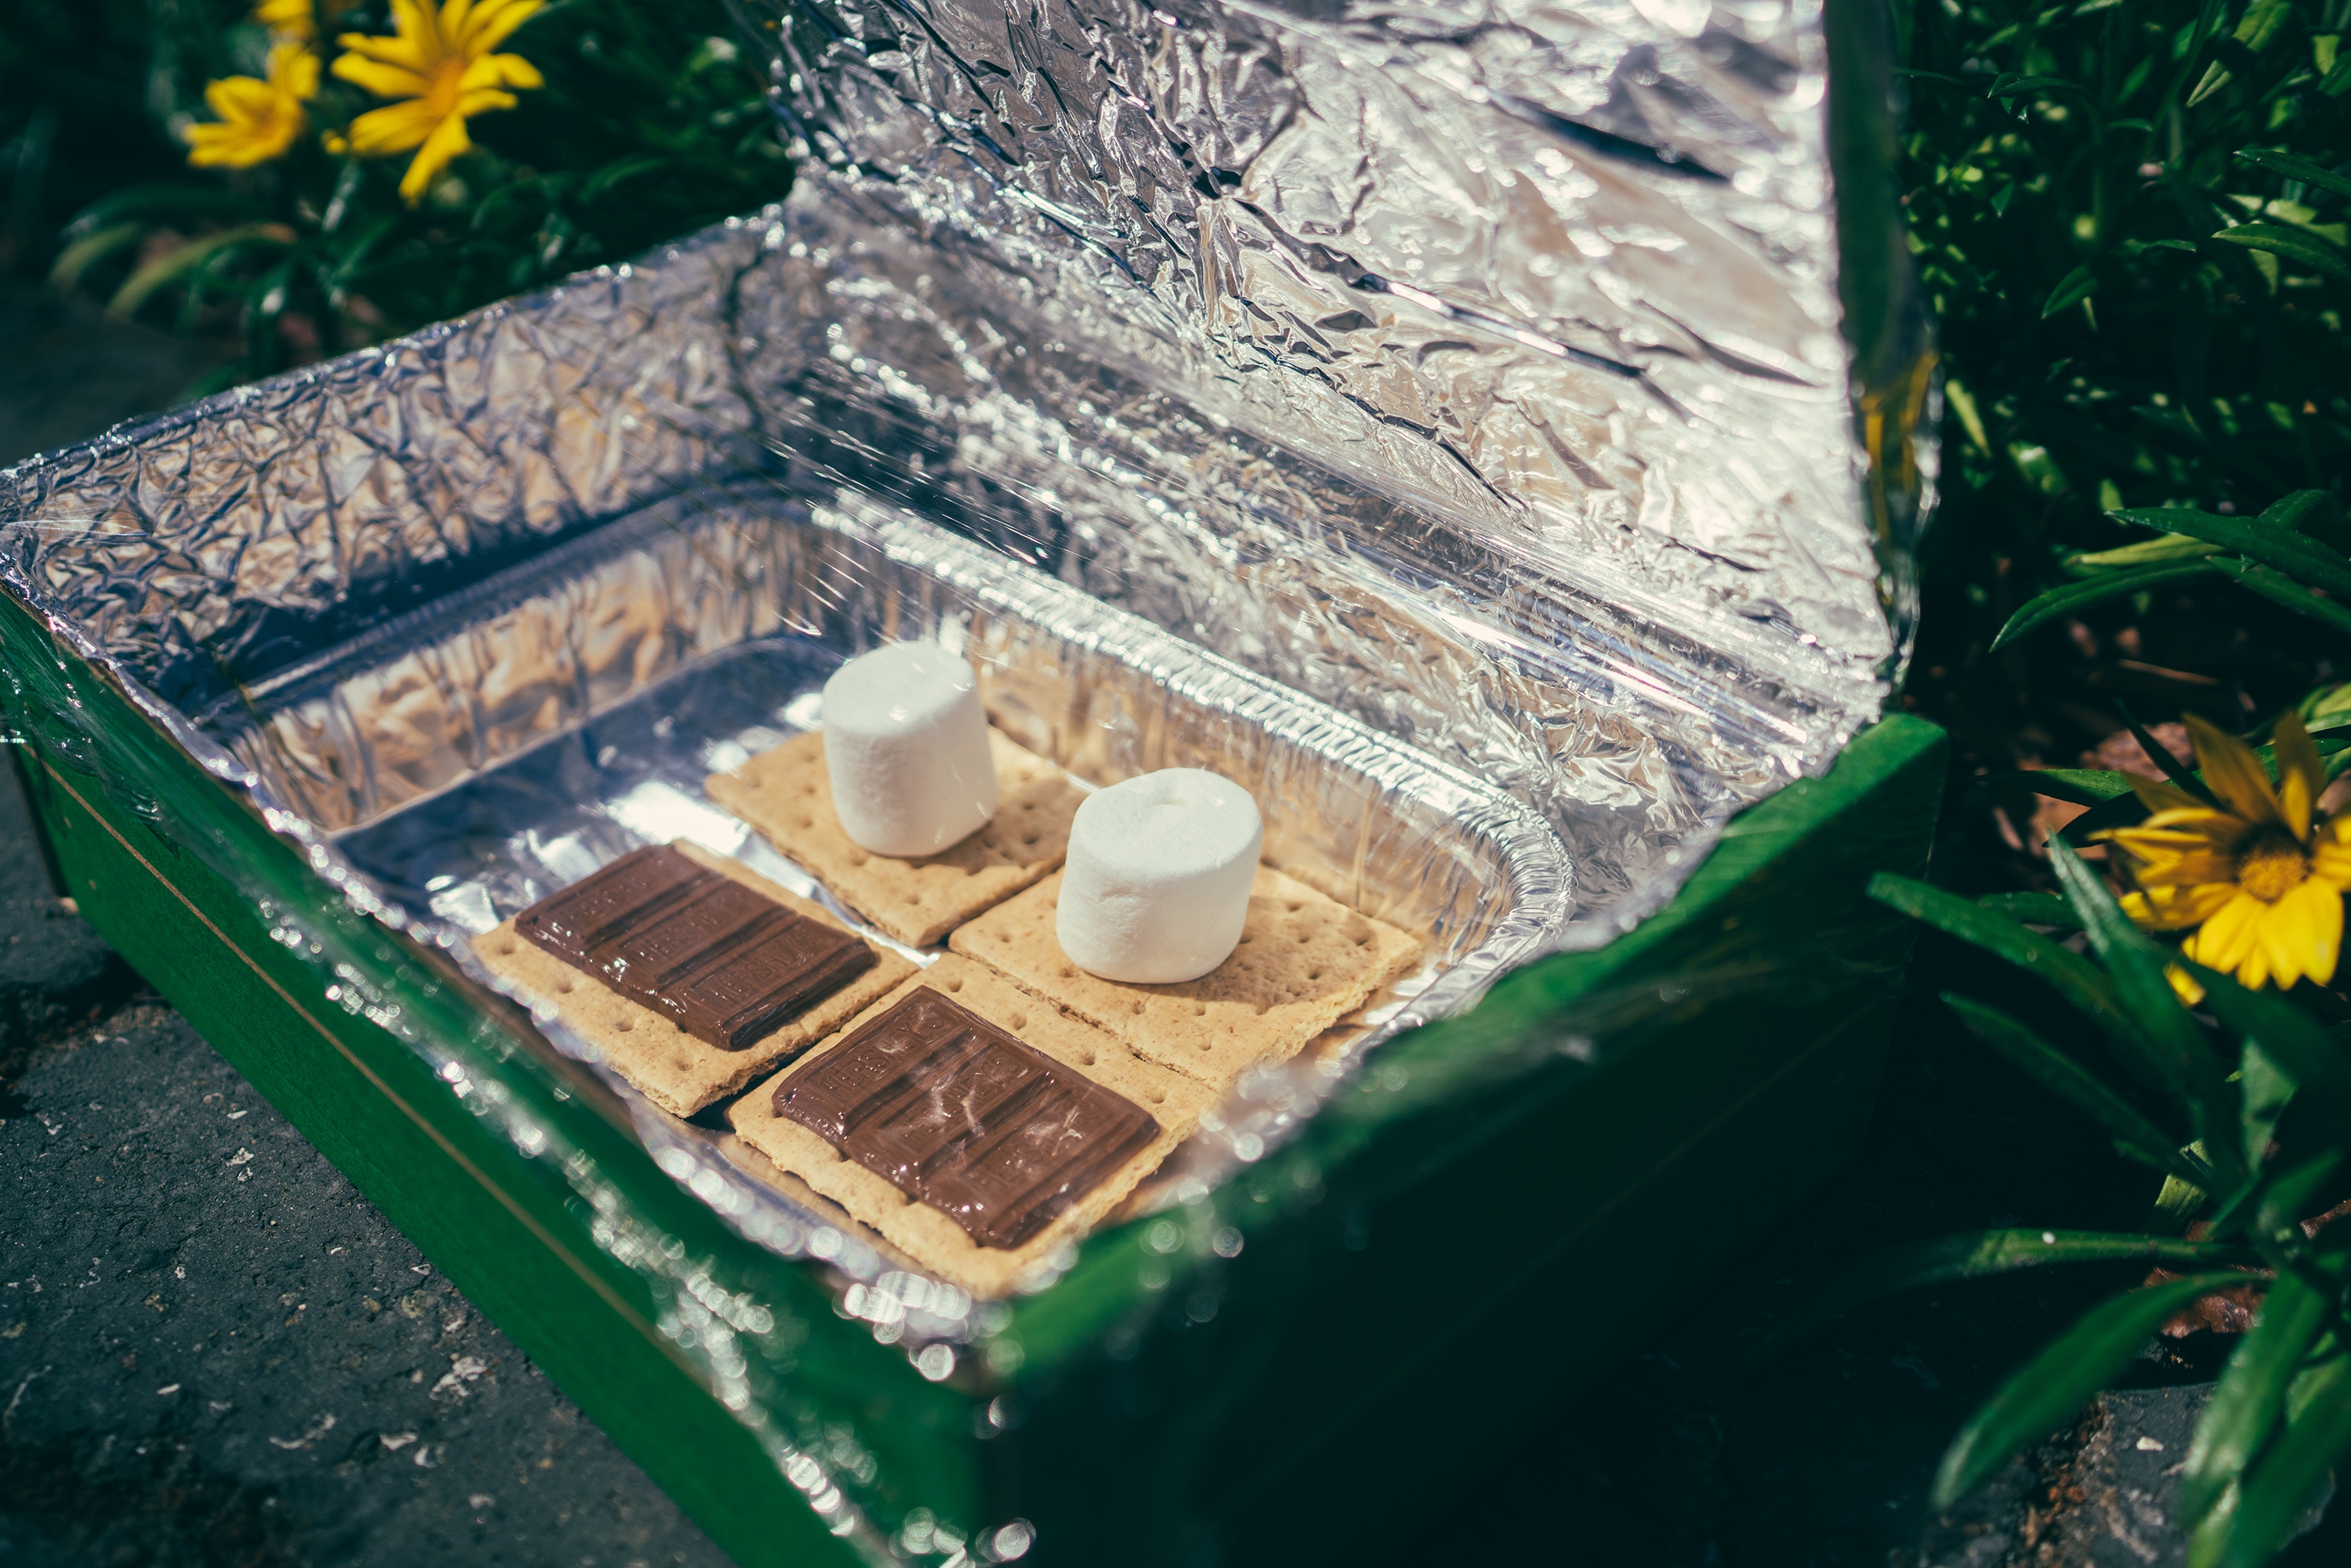 Solar Oven
(Ages 5-16)
Have you ever tried to harness the power of the sun to create some s'mores? Camping is the perfect time to do it. During the day, I set up my DIY solar oven and stacked up my ingredients inside. Then, I just let it sit while I went for a quick hike around the campsite. When I returned, I had a delicious, melted snack that was ready to eat thanks to my solar oven!
Want to explore more kitchen science experiments? Explore the tastier side of learning with Science of Cooking: Bread & Butter from the KiwiCo Store!
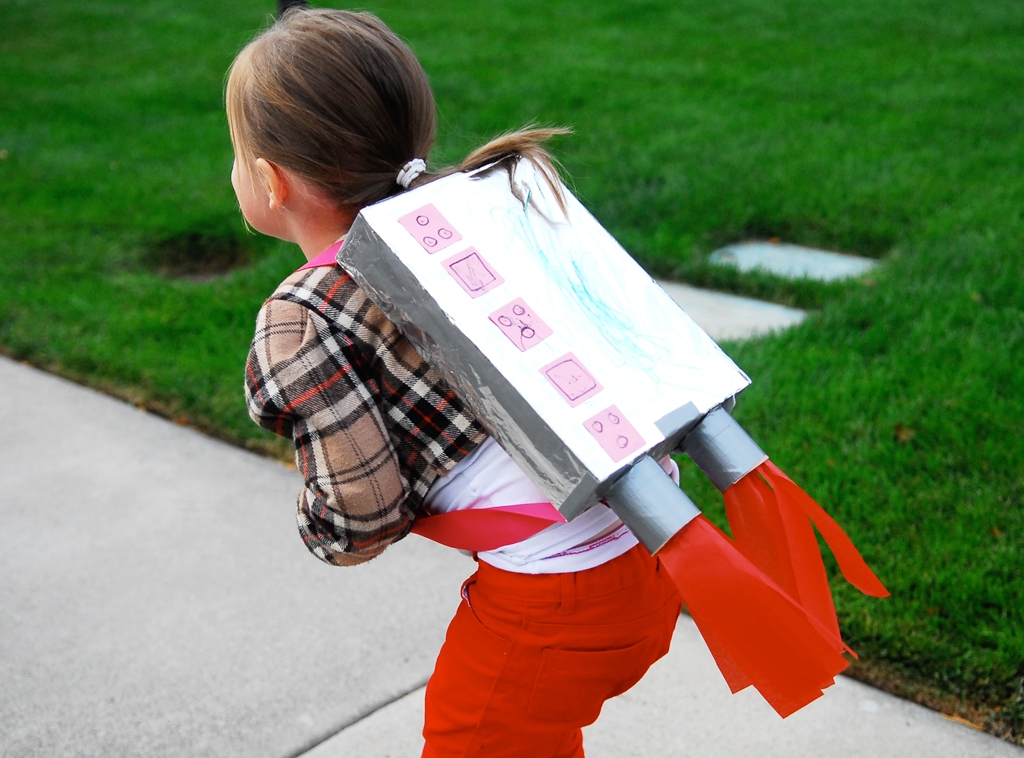 Recycled Jet Pack Costume
(Ages 3-8)
Rummage around the recycling bin and find everything you need to make these one-of-a-kind jet packs. With the help of cardboard
boxes and some other simple supplies, your kids will be ready for blast
off!
 Light-Up Mason Jar
(Ages 5-16)
Bring the stars to you and learn about the amazing night sky by creating your own mini-constellation jar that can light up. Download our constellation printable here. Or for some winter-themed fun, you can create your own light-up jar of snowflakes!
Help your little one build their creative confidence with KiwiCo's Rainbow Air-Dry Clay. This kid-friendly clay is soft, not sticky, so it’s easy to handle and shape into anything you can imagine.
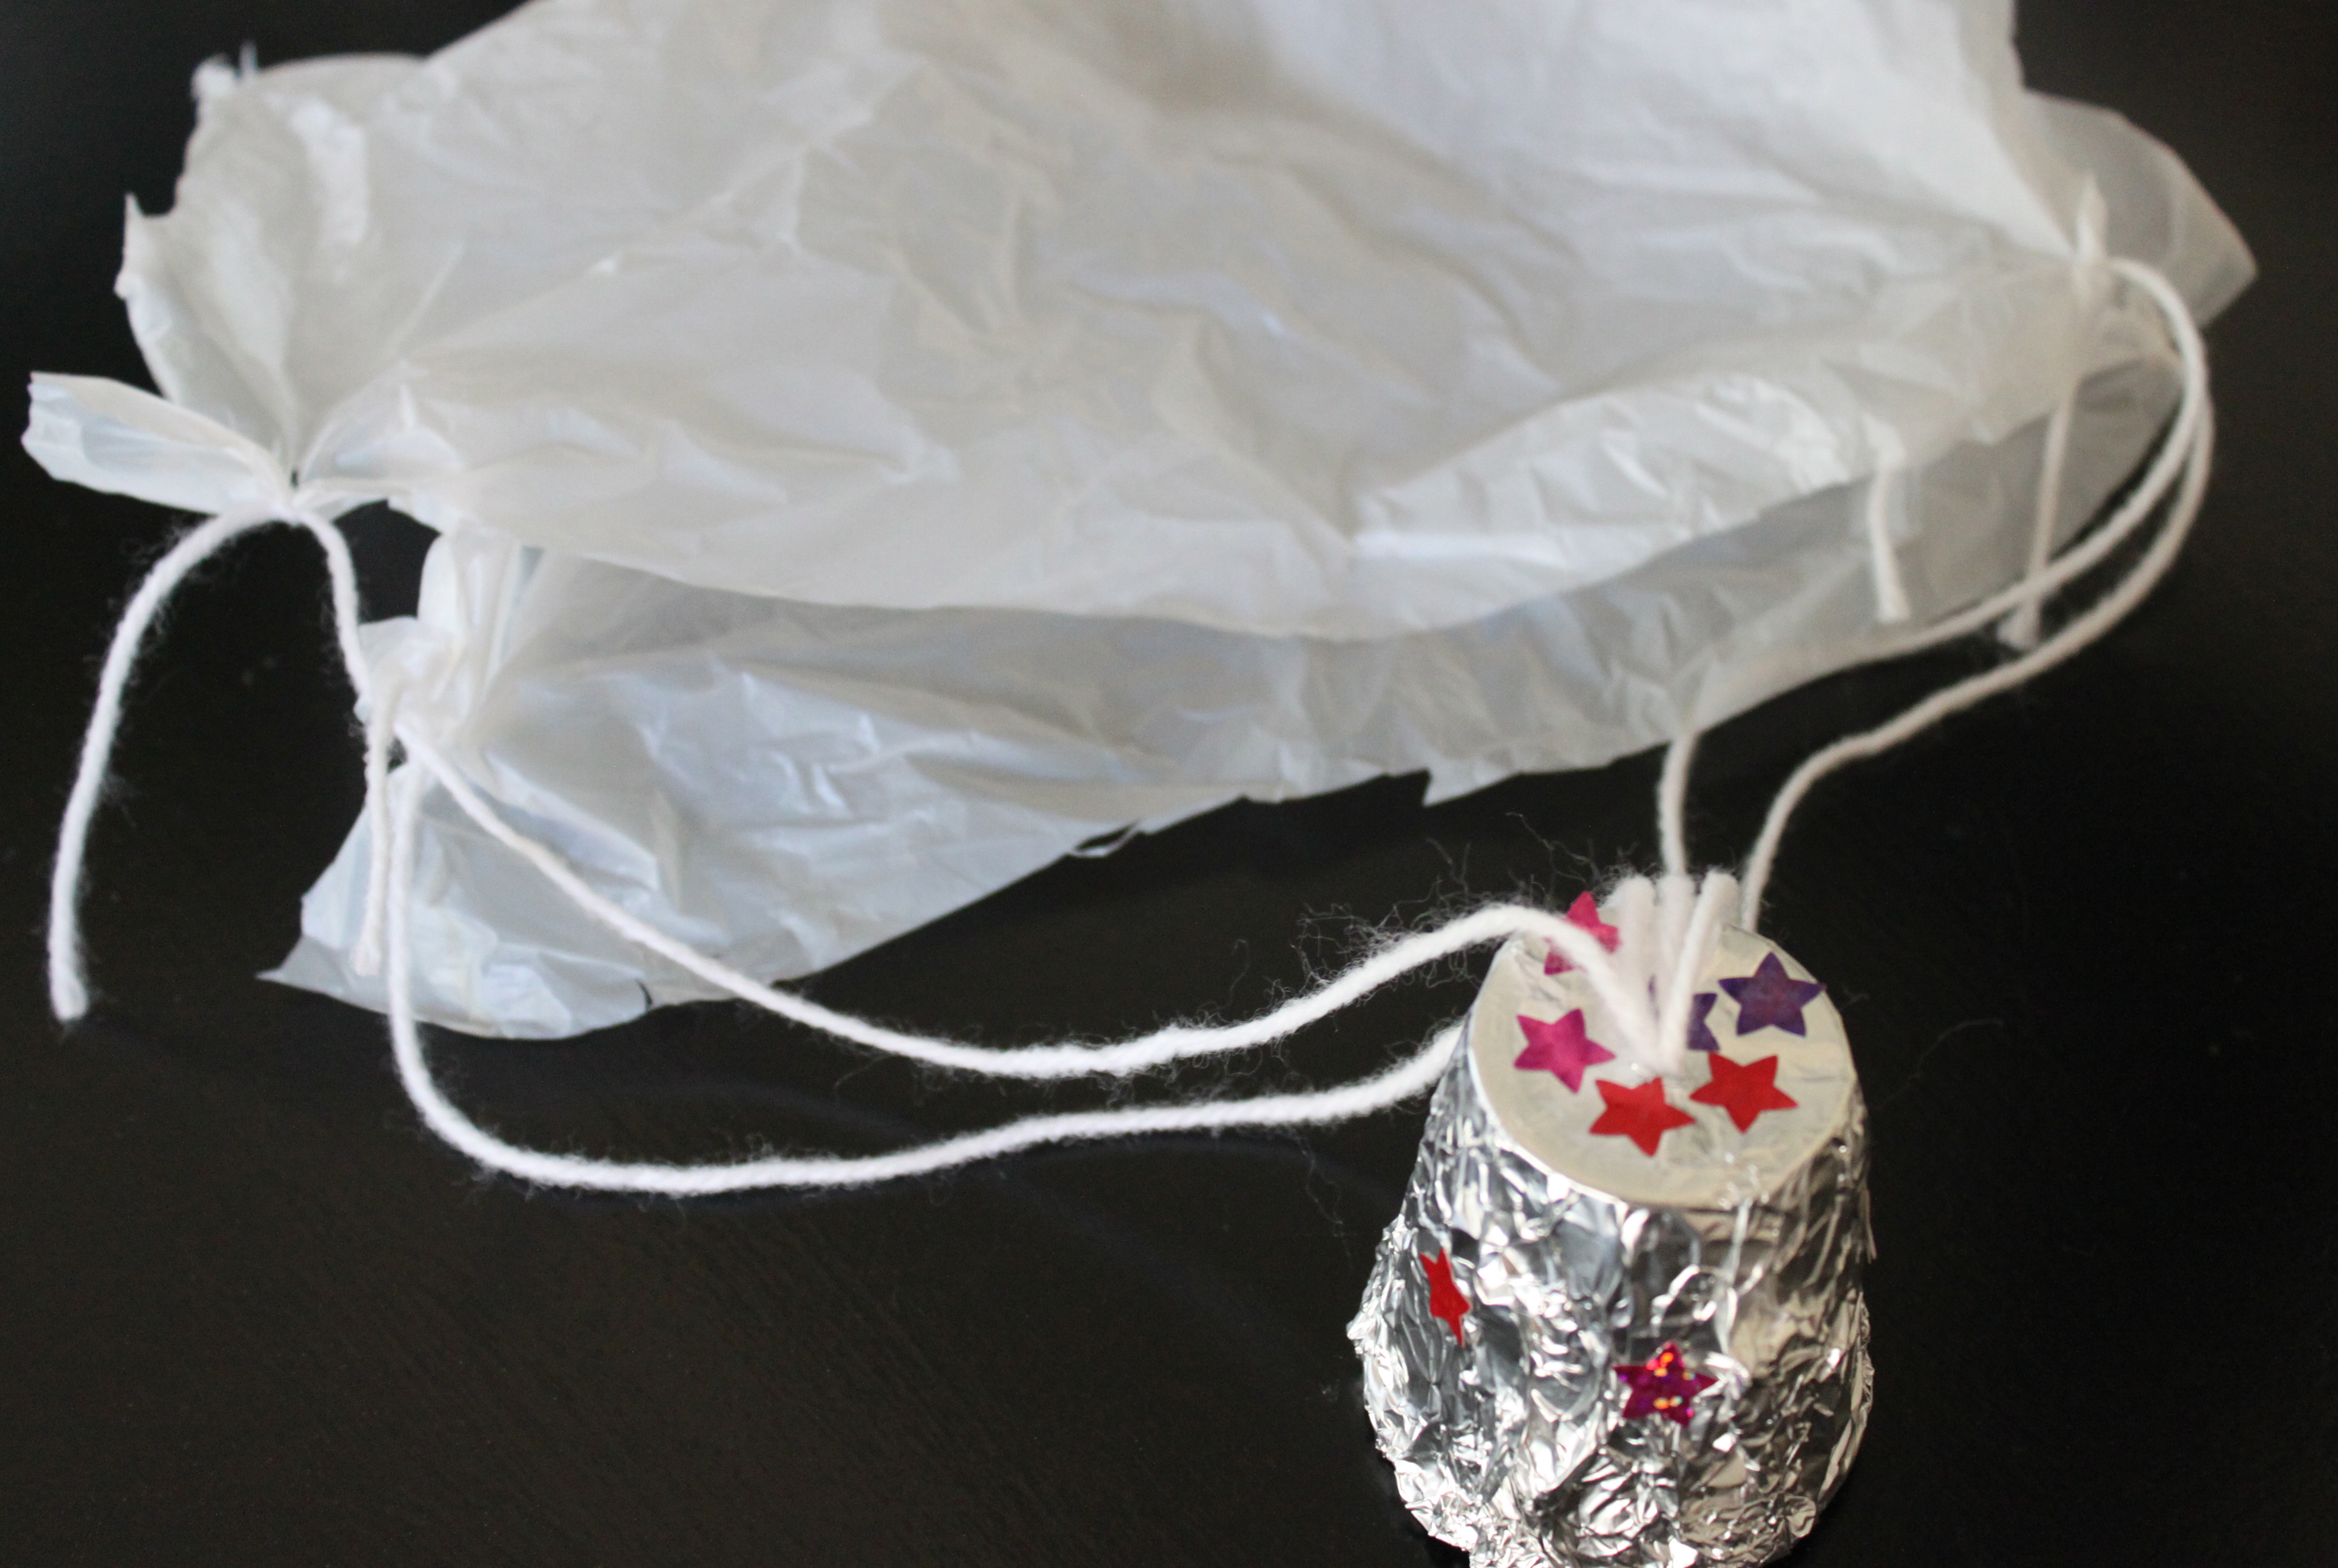 Outer Space Parachute
(Ages 3-8)
Create a space module to parachute from space.
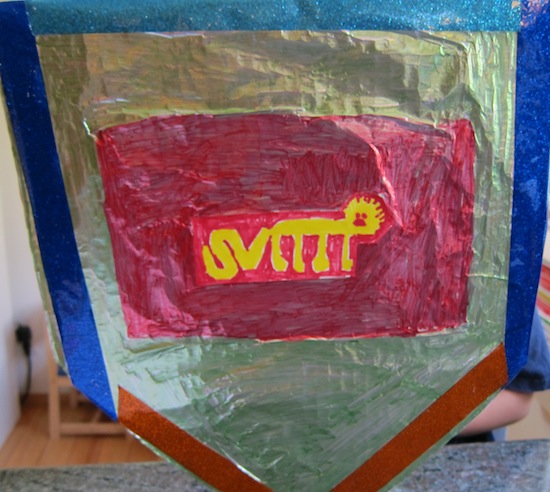 DIY Shield & Coat of Arms
(Ages 3-8)
Did you know that during Medieval times, knights used special designs and pictures on their shields -- called a coat of arms -- to identify themselves? The reason is because one man in armor looked a lot like another, so the coat of arms he carried was used to identify a knight in battle. During that time, few people could read and write, so pictures were very important. A coat of arms was like a label or a sign, so you could know instantly who was coming toward you, and, as my kids said, "know whose team he was on."
This fun & easy DIY project will allow your kids to come up with a design for their own "team."
10 Ways to Get Crafty with Aluminum Foil
Aluminum foil. It keeps food fresh. It scares squirrels away from your plants. It keeps the government from beaming messages into your brain via satellite... and it's great for crafting! Make art that shines and shimmers in the sun, ornaments to hang on your tree, a solar oven to toast marshmallows with, or a jet pack to wear while you zoom around your backyard. If you've got a roll of foil in your kitchen, you've got everything you need to get crafting!