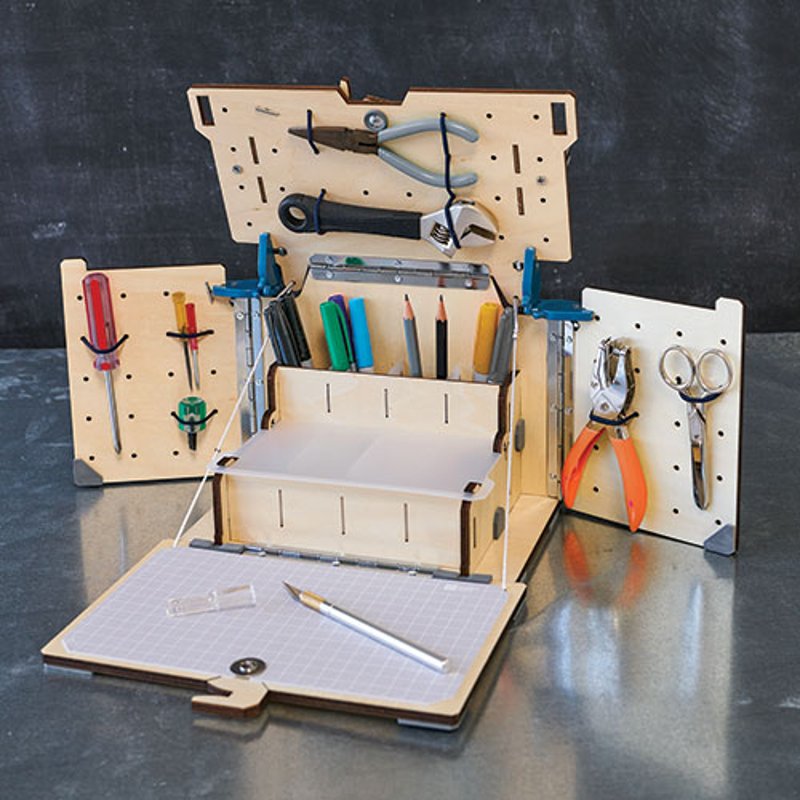
Maker Station
In this crate, you'll explore the science, engineering, and history behind tool boxes while building one of your own!
Explore:
- Being a Maker
- History of Screws
- Simple Machines
Behind the design
Peek into the KiwiCo product design studio and the design process behind the Eureka Crate Maker Station.
- A big part of our inspiration for the maker station was our love of making, but we were also inspired by practical considerations: we’ve sent tools with every single one of our Eureka Crates, and we wanted our users to have somewhere to put all those screwdrivers and hex keys. (If you’ve been a subscriber since Eureka Crate’s launch, you’ll have received at least 22 screwdrivers!)
Tools of the Trade
- Timing was a tricky consideration for the maker station’s pop-open action: the sides have to close before the top, otherwise the box won’t shut right. We tried using drawstrings, like we used for the front, to move the sides (check them out in this prototype!) but we couldn’t get them to work reliably. By switching to gears, we were able to get the sides timed like clockwork.
Synchronized Sides
- We tried several designs for the maker station’s inner compartments. This one was focused on adjustability, so you could change the size of the compartments to fit what you needed. Unfortunately, the flexibility in spacing didn’t account for flexibility in materials, and the wood dividers chipped and broke when you moved them around. In our later designs, we stuck with the adjustability concept but switched to plastic dividers that could bend into place.
Flexible Storage
- In total, we tested out twenty six different kinds of hinges on the maker station. Their size and connection points were surprisingly important for getting the right kind of movement! (If you look closely, you’ll spot a different type of hinge in each of the photos on this page.)
Opening Up

